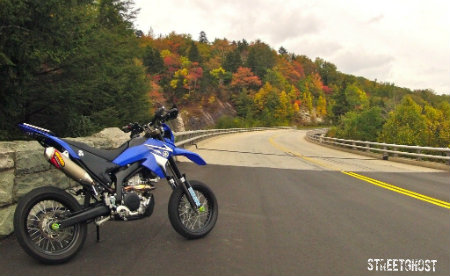
Finally got around to checking my vales at about 16,000 smiles yesterday. Intake were at 0.18 mm and exhaust were 0.25 mm. Both in spec.
I had read other folks reports on doing this and found it helpful. You do not need to take off everything the service manual says to. Here is what I did.
- Pulled fuel tank, side covers and seat.
- Pulled fins off front of radiator. They just snap in.
- Undid the small over flow hose from radiator cap area to allow radiator to drop down.
- Removed one nut and one bolt that holds the radiator to the frame. This lets the radiator drop down. I did not drain the radiator.
- There is a coolant hose that goes to a fitting on the throttle body on the right side of the bike. Pulled this coolant hose off that throttle body thingingy. I read one post that advised you need to remove the Phillips head screws and remove that fitting off the throttle body. I did not need to do this.
- There is a bracket holding coolant hose on the right side of the bike. I removed this.
- Now the radiator can really lean over and drop down and will be out of the way.
- There is an insulated hose and big wiring harness that runs over the top left side of the valve cover. You need to get a bit of slack in these so the valve cover can lift up. There was one zip tie that I cut. There is a metal bracket on the left side of the bike that I unbolted but did not remove. This let me pull the hose over a bit out the left side and let the wiring harness push up.
- Loosened the throttle cable up near the hand grip. The throttle cables run over the top of the valve cover. If they have some slack they can lift and allow the valve cover to be lifted. I did not need to remove these cables.
- Pulled wire off the spark plug. Unclipped it from wiring and removed that section of wire.
- Took two bolts out of the valve cover.
- Lifted the valve cover.
- Wiggling the valve cover and rotating it clock wise it slides out the right side of the bike.
I did not need to change any shims. So in reverse order I put it all back together. Did put new spark plug in.
Make sure the rubber gasket is properly seated in the grooves when you put the valve cover back in. The gasket has to lay on the motor. Then you sit the valve cover down on to it. Check all around to make sure that gasket is properly seated in the valve cover. I missed one spot on a different bike once. When I started the engine the oil came flowing out ! Not fun.
Hope this helps someone.
