Ultimate Airbox Mod Info
I've recently undertaken the process of uncorking the WRR. So, I needed to open up the airbox. I decided to go with a modification that most of you are already familiar with, the one often referred to as the "Ultimate Airbox Mod". Really, with a name like that, why wouldn't I do it, right?

I found what I believe is the definitive post on the Ultimate Airbox Mod on WRRDualSport.com, specifically at http://www.wrrdualsport.com/techguide/airintake/77-airboxmod. Just to be clear, my post is not an improvement upon this mod, nor am I claiming any sort of mechanical expertise. This is simply a record of how I did it, which includes some slight variation, with a couple of extra pics.
So, without further ado, let's start with a picture of the airbox lid removed. This lid is where we will remove the air-flow obstructions. This photo and its credit go to wrrdualsport.com. I hope it is OK that I included it here:
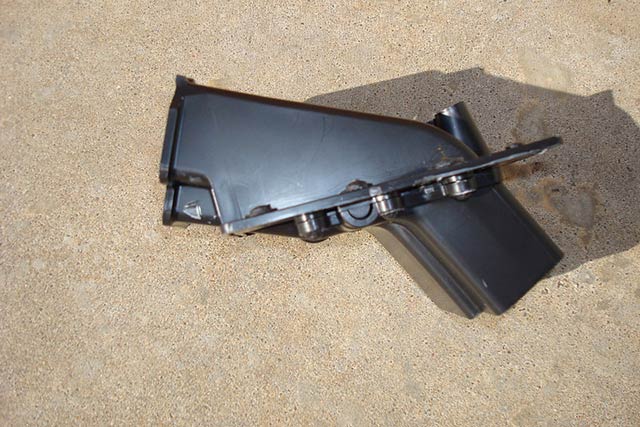
If you follow the instructions for this mod, you will grind the head off of some plastic pins in order to remove the airbox lid. Next you cut away the flapper and a good bit of surrounding plastic from inside. But, the original instructions suggested leaving a piece inline between the snorkel and the filter to act as a splash guard. I too wanted to preserve this. What I noticed inside was that, had I not cared about that splash guard, I could have removed much of the plastic to be ablated simply by grinding off another set of plastic pins on the inside.
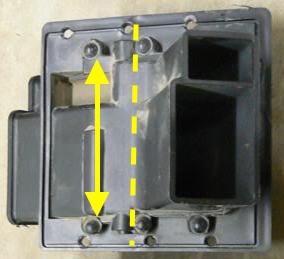
In order to keep the splash guard, I decided to keep 4 of the pins and remove the rest. In the next figure, the arrows indicate pins that I ground off, and the dotted line is where I cut. Notice that the cut is between the pins and the flapper shaft hubs. I wanted the flapper to come out with the first section that I removed. My Dremel died a long time ago. But I put a dremel cutting bit in my drill and it worked fine. After cutting on the dotted line and grinding off the indicated pins, I was able to remove a portion of the underside cover.
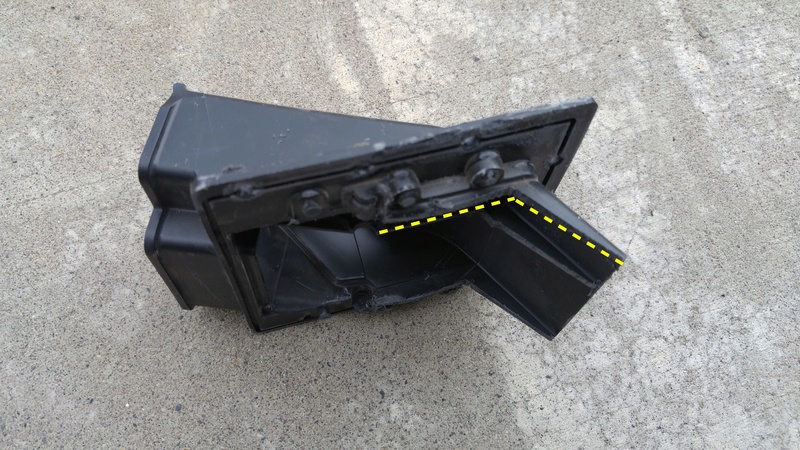
Next I needed to cut away from the other side everything but the splash guard. This figure shows the cuts that I made. I did these easily with a hacksaw.
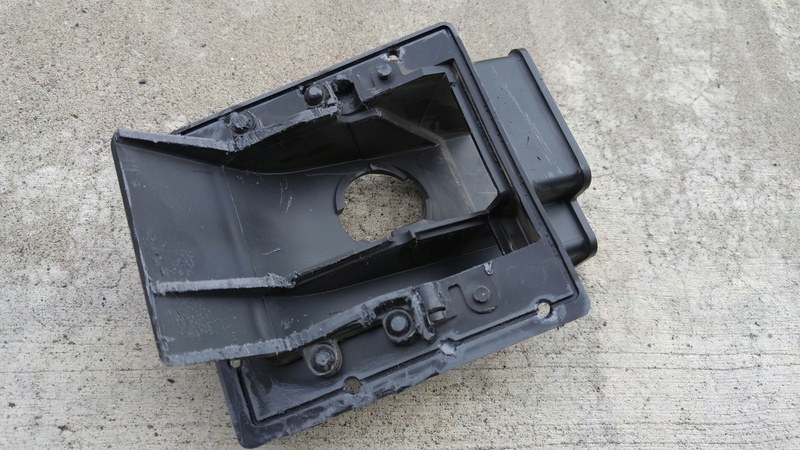
Note that I opted not to grind out the plastic barrier between the two snorkels. This barrier lies parallel to the flow of air. I decided that it did not impede airflow to leave it in, but might lend structural support.
In the original Ultimate Airbox Mod instructions, a blank sheet of plastic was used to cover the hole left by the vacuum device that originally operated the flapper. I began looking around the garage for something that I could scavenge that plastic from. Tool cases started to look like raw materials. Then I picked up the bits that I had cut from the inside, to see if any were large enough, and flat enough to cover the hole.
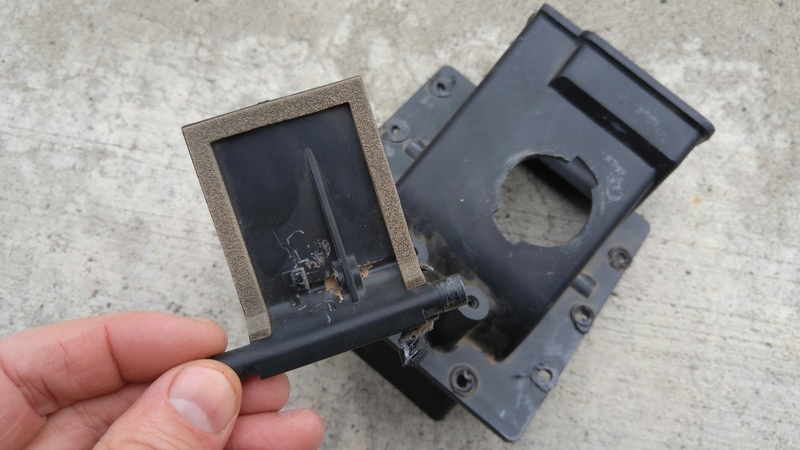
As it turns out, the flapper itself is large enough to cover the hole! I cut off the axle on which it rotates with my hacksaw, and then cut and sanded the structural ridge flat. I ended up with a piece of just the right size.
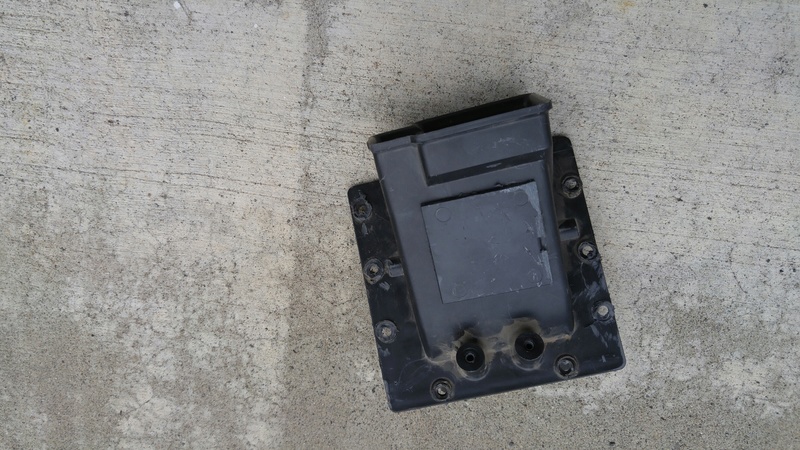
And here is a pic of the finished project.
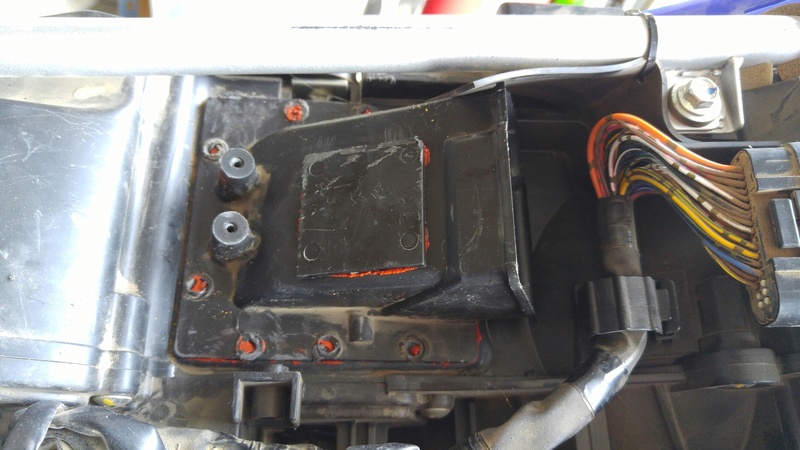
This is all pretty straight-forward I know. But, just in case anyone else is preparing to do this mod, I thought I'd share my experience.
Cheers,

