| | Let the surgery begin.. |  |
|
+6WRoldman YZEtc wilburj INSTIGATOR Pancho rpo83 10 posters |
|
| Author | Message |
|---|
rpo83

| | Subject: Let the surgery begin.. Tue Dec 15, 2009 8:02 am | |
| Looks like most of my new farkles will arrive this week  So in preparation, it is time to start cuttin'... I pm'd HighFive about his Ultimate airbox mod to ask how he was liking it down the track. All results very positive, so it looks like my bike will be sheding more than the flapper. First of all i needed a tool that could do the job, so on the way home from work this evening, it was into the hardware store for one of these 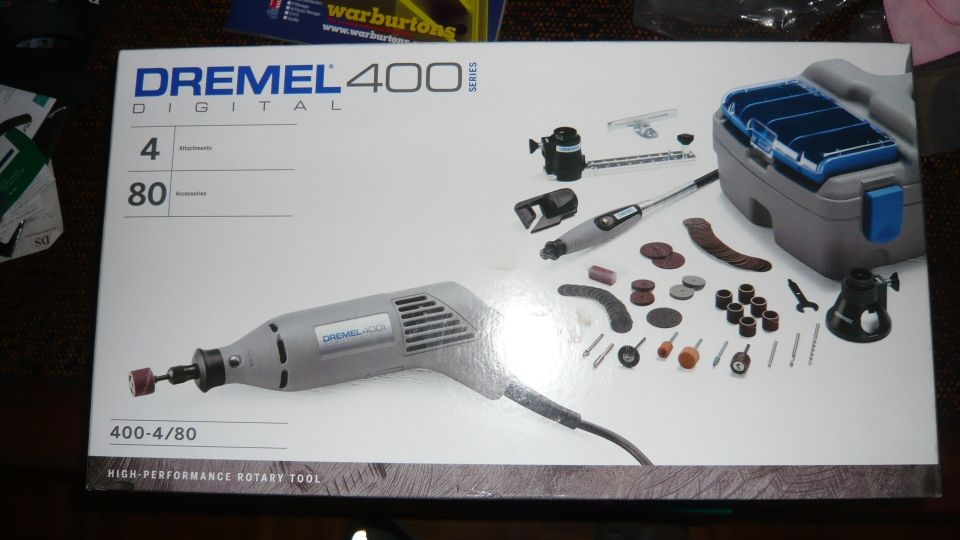 After a little research to figure out which bit to use  it was time to take a deep breath and start grinding and cutting. In a couple of minutes it looked like this.. 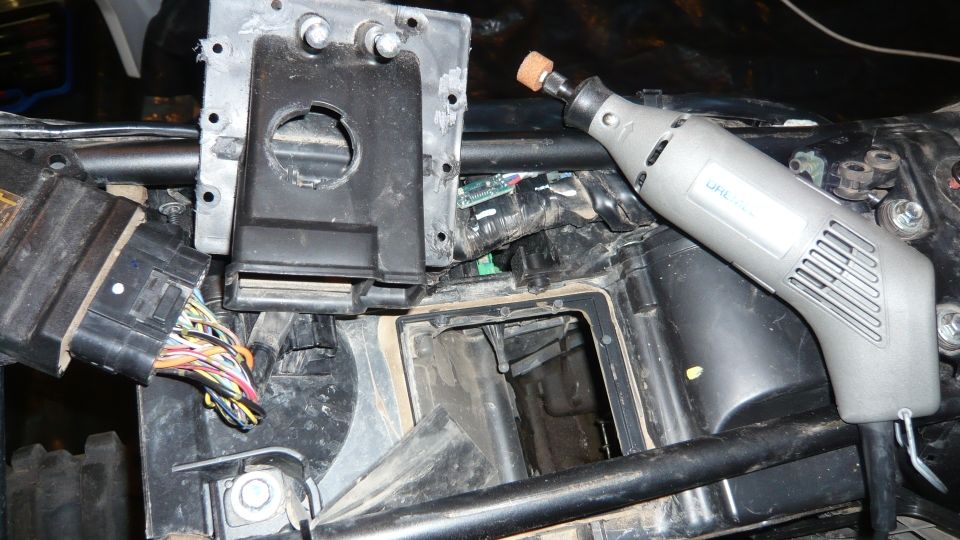 By the end of the evening it looked like this  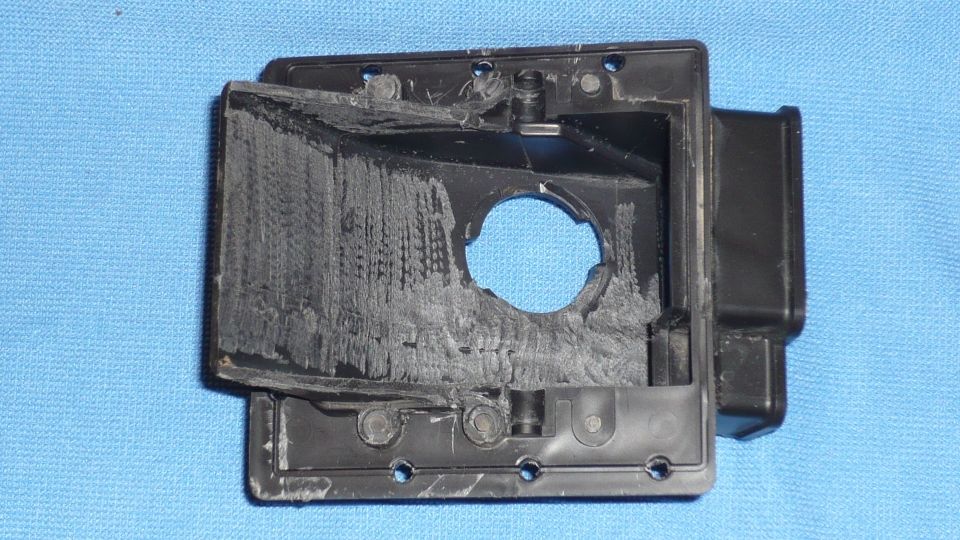 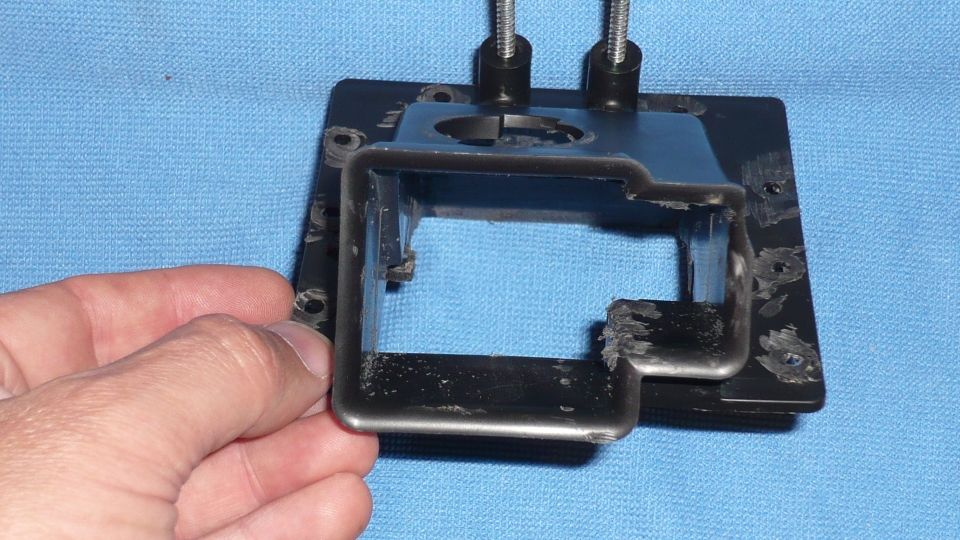 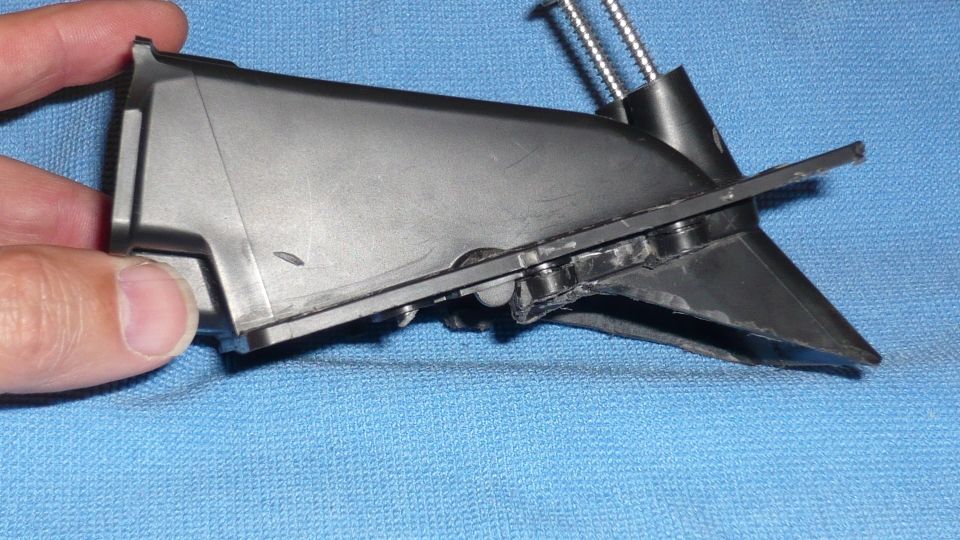 I'll take the lid to work tomorrow and hopefully get time to give it a finishing rub down with sandpaper. As i was on a roll i also got these done.. 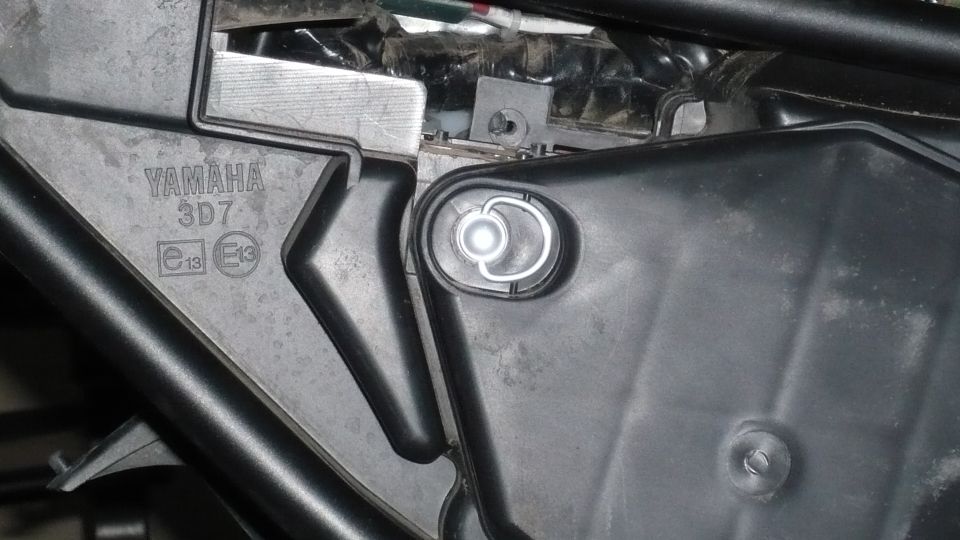 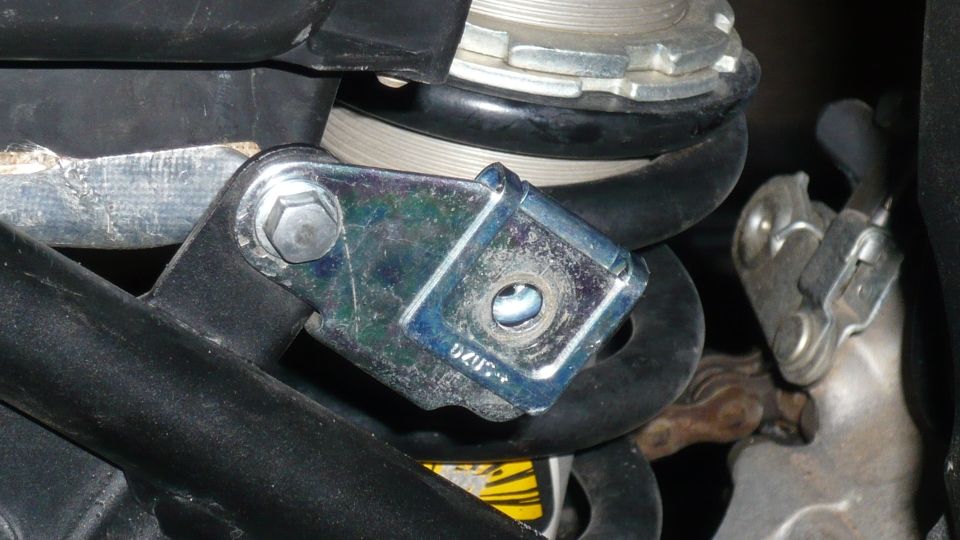 So now the side cover looks like this 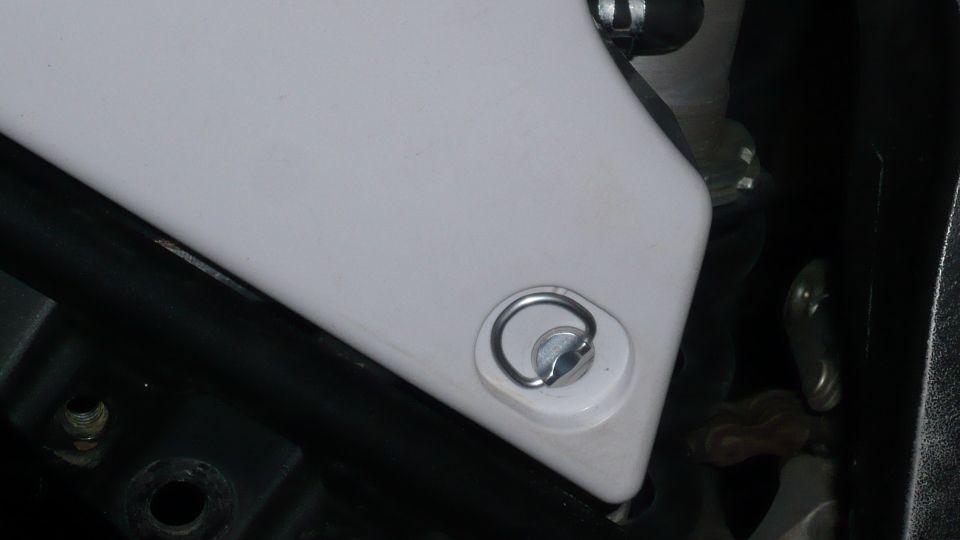 Ohhh, and the other side... 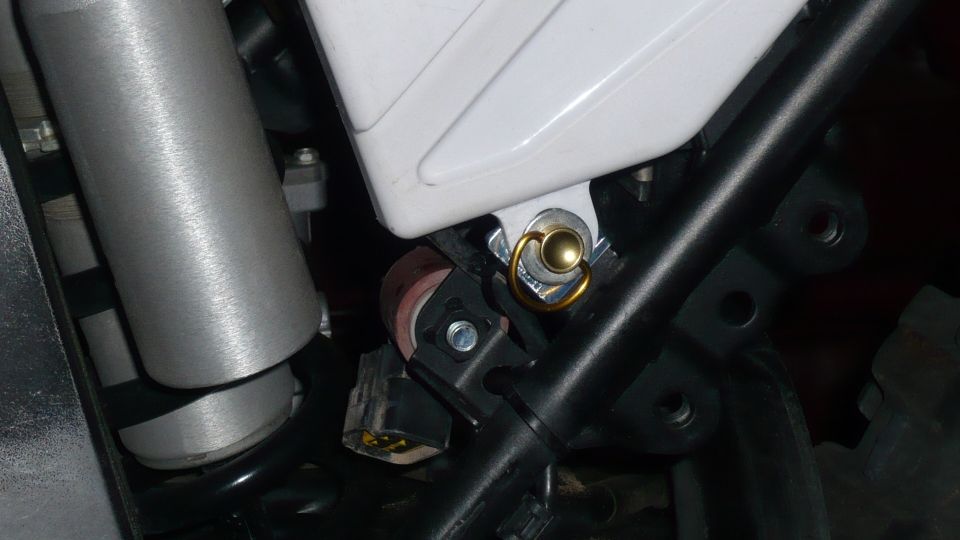 The 17mm fastener is just to short, looks like i need a 19mm  That's all for tonight, hopefully a big box with cool stuff arrives tomorrow... Stay tuned. | |
|
| | |
Pancho

| | Subject: Re: Let the surgery begin.. Tue Dec 15, 2009 8:44 am | |
| There's always a good reason to buy a new tool! Good luck with the mods! | |
|
| | |
Guest
Guest
| | Subject: Re: Let the surgery begin.. Tue Dec 15, 2009 1:29 pm | |
| Now, this is good reading. Take lots of pics. |
|
| | |
INSTIGATOR

| | Subject: Re: Let the surgery begin.. Tue Dec 15, 2009 7:50 pm | |
| Sweet!!!! Might want to lube that chain though.....  | |
|
| | |
rpo83
| | Subject: Re: Let the surgery begin.. Tue Dec 15, 2009 8:25 pm | |
| I bought it with the chain like that, i am awaiting my new 14/49 & 520VM to arrive. When the new stuff arives the stocker will be dumped, i was almost going to crop the pic, cuz i knew someone would comment But you can rest assured i don't treat my stuff the way the original owner did. New box has just arrived, Bi-Zenon HID H4 headlight kit | |
|
| | |
wilburj

| | Subject: Re: Let the surgery begin.. Tue Dec 15, 2009 10:44 pm | |
| You know, I made a hole in my air cleaner door and went riding, after some warm up miles I took it off road and found that little hole cost me what bottom end I originally had. I came home and covered that hole with gorilla tape and cured the bottom end loss. I know more air in and more air out equals more power but typically the extra power is gained at the top end of the rpm scale with a loss of bottom power. As for me, I think I will keep this bike pretty stock as I like to ride single track and need all the bottom end i can get. With the addition of a 49 tooth sprocket I now have a real nice low low gear and a nice pull in 2nd and third. Also better tires are in my opinion the way to make this bike more dirt worthy not by adding a little power on top. But that is why we are all different what works for me may suck for you. Have a great time with your new dremmel. Remember measure twice cut once. lol wilburj | |
|
| | |
rpo83
| | Subject: Re: Let the surgery begin.. Tue Dec 15, 2009 11:24 pm | |
| Hi Wilbur,
If i wasn't putting the pipe and programmer on, i would heed your advice. I'm sure the engineers who designed the great bike know much more than we tweakers.
After hearing back from HF, and looking at his dyno results, i am happy with what i have done, the hole for the vacuum diaphram will be covered, so all i have really done is open up the original snorkel area.
Thanks for the input though. | |
|
| | |
rpo83
| | Subject: Re: Let the surgery begin.. Wed Dec 16, 2009 7:52 am | |
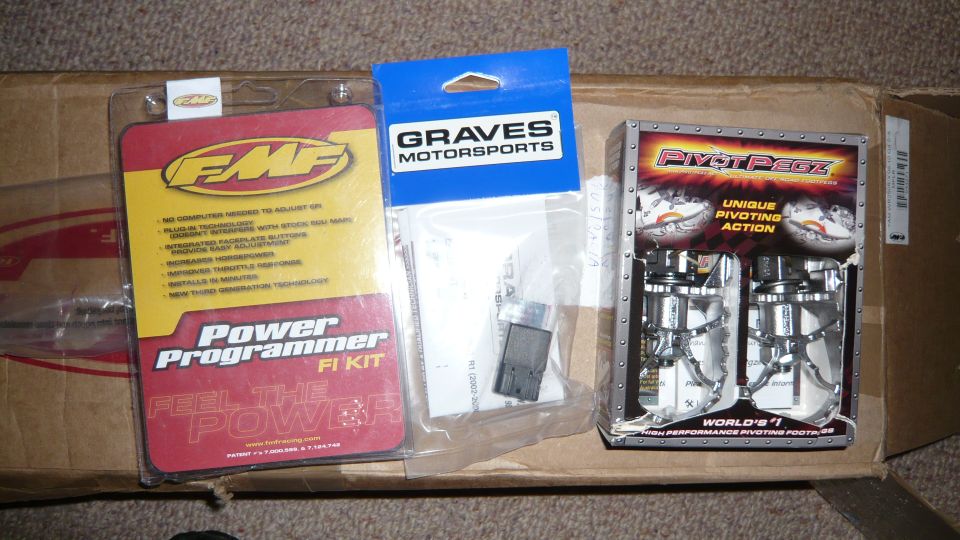
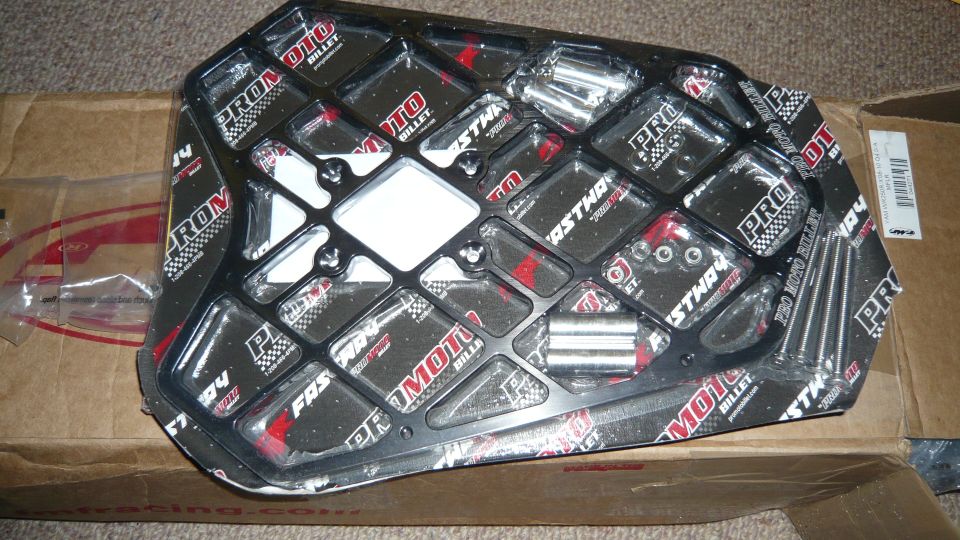
| Another slightly productive day today, i only had about an hour to work on the bike, here is what i got done. Airbox sanded and put back together using a flexible silicone, it looks ok, the flash makes it look horrible  Another view.. 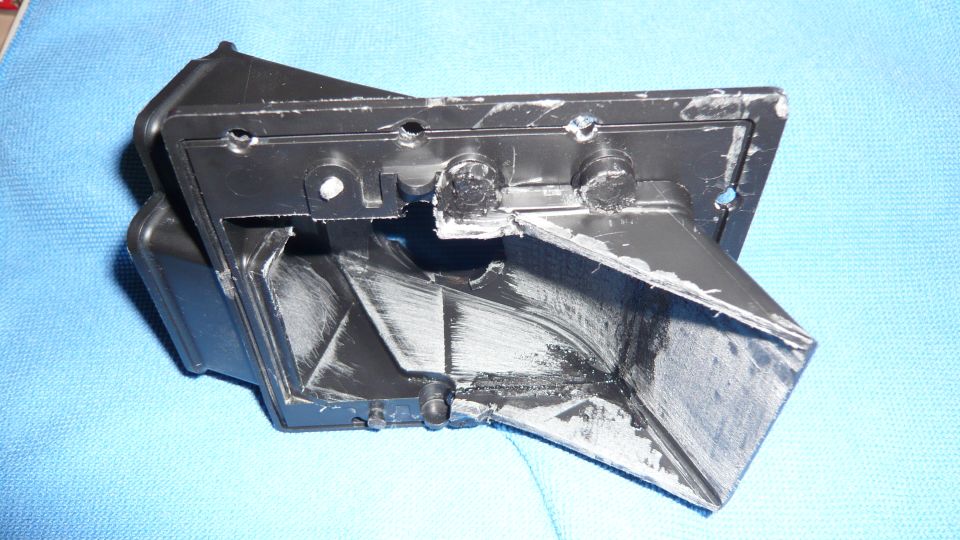 A couple of minutes later, in place on the bike 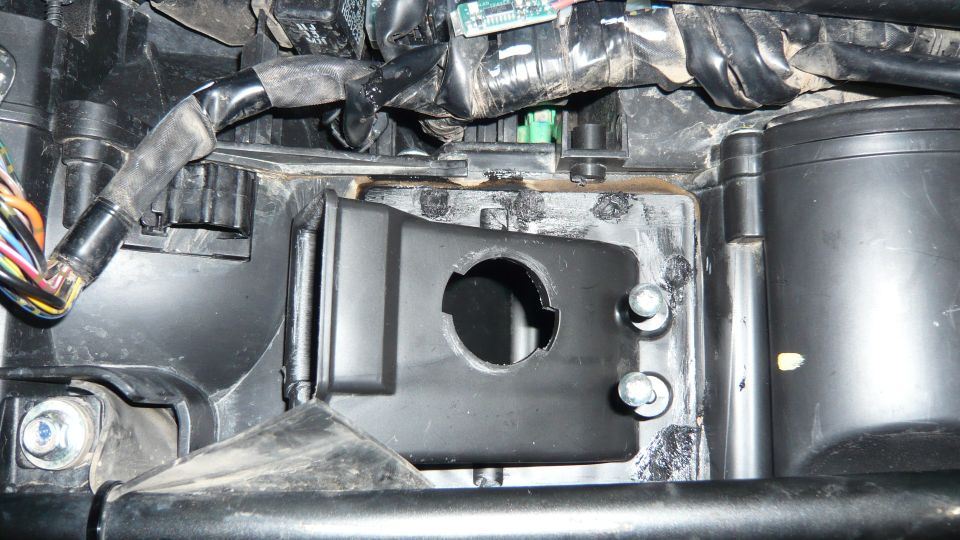 These also arrived today, Bi-Zenon HID H4 headlight kit, plug and play. 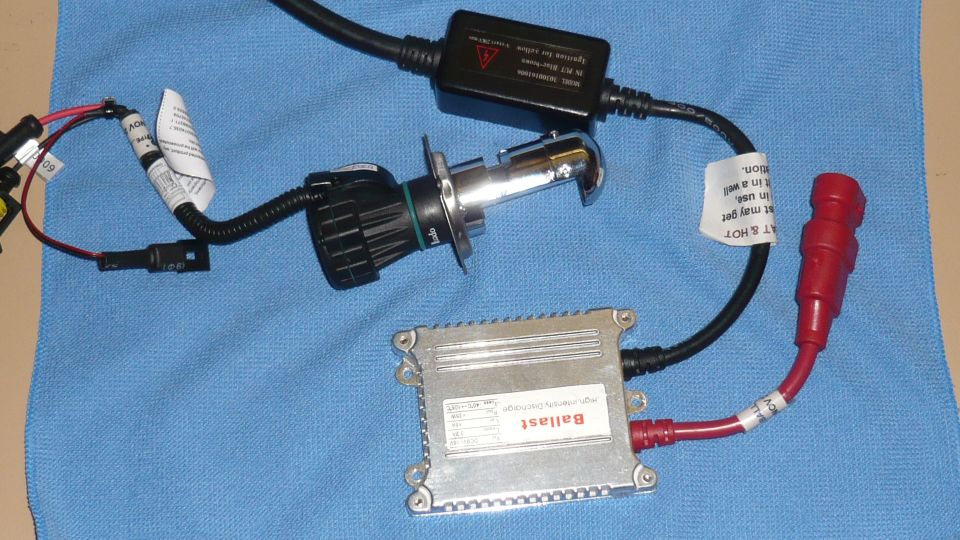 Checkout how small the ballast is  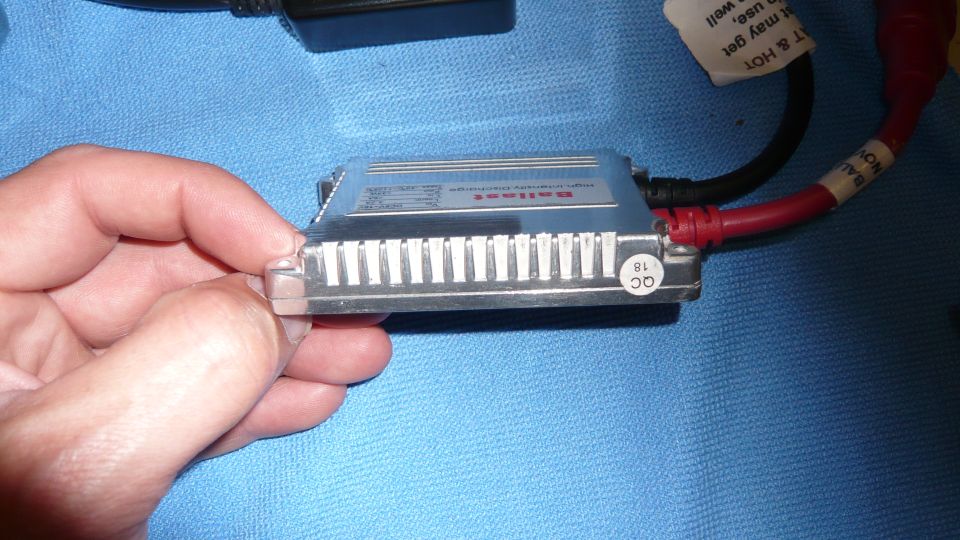 I hope the exhaust, programmer, pivot pegz and pro moto rack arrive before the weekend | |
|
| | |
rpo83
| |
| | |
rpo83
| | Subject: Re: Let the surgery begin.. Thu Dec 17, 2009 3:36 am | |
| Working on this bike is easier than i thought. Progress so far. Header trial fitted..  Had to stop for the night as i don't have any high temp silicone  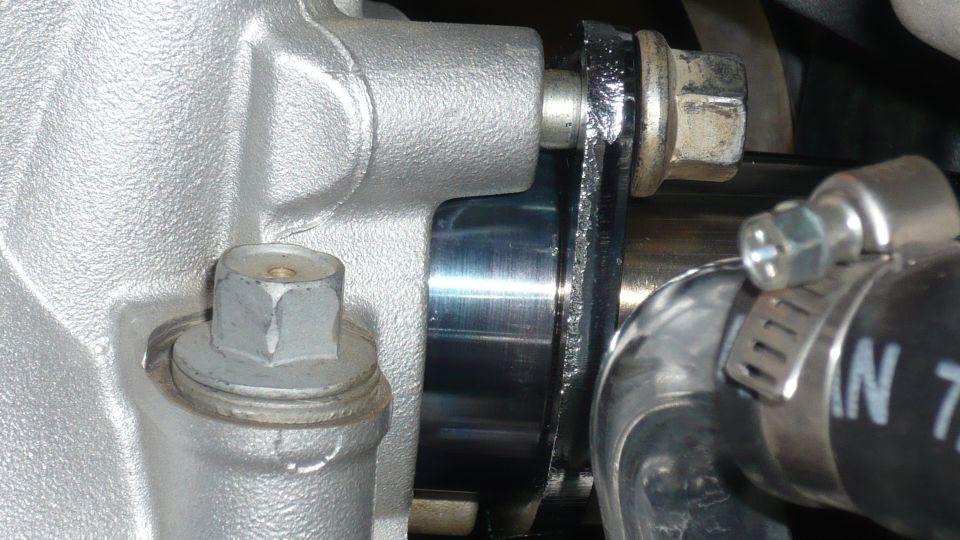 Both pegs fitted, the right hand side took longer as i had to remove the rear brake lever.. 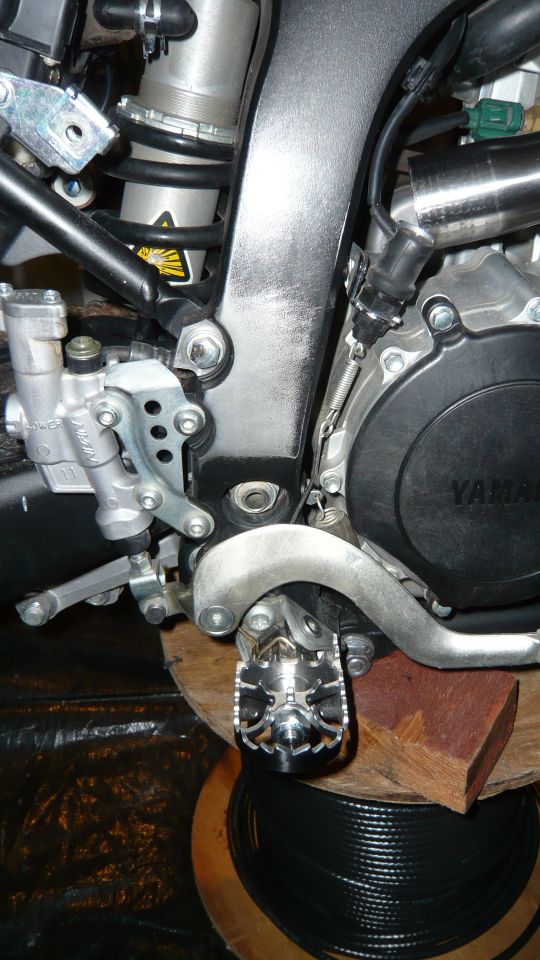 Old versus new  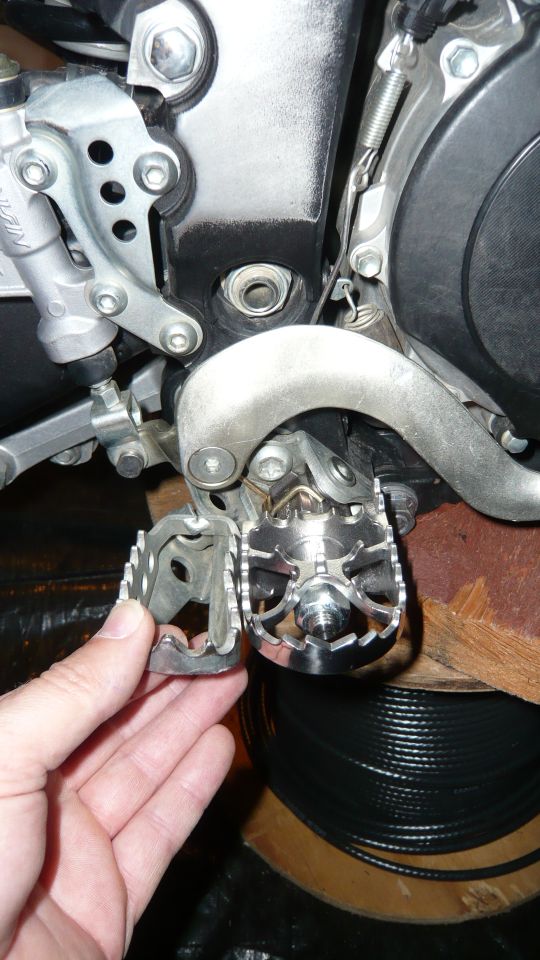 Graves EXUP eliminator installed, i routed the original loom up to under the seat, i thought it would be safer tucked away up here, hopefully i will still have room for the Eastern Beaver 3 circuit fuse box and fmf programmer 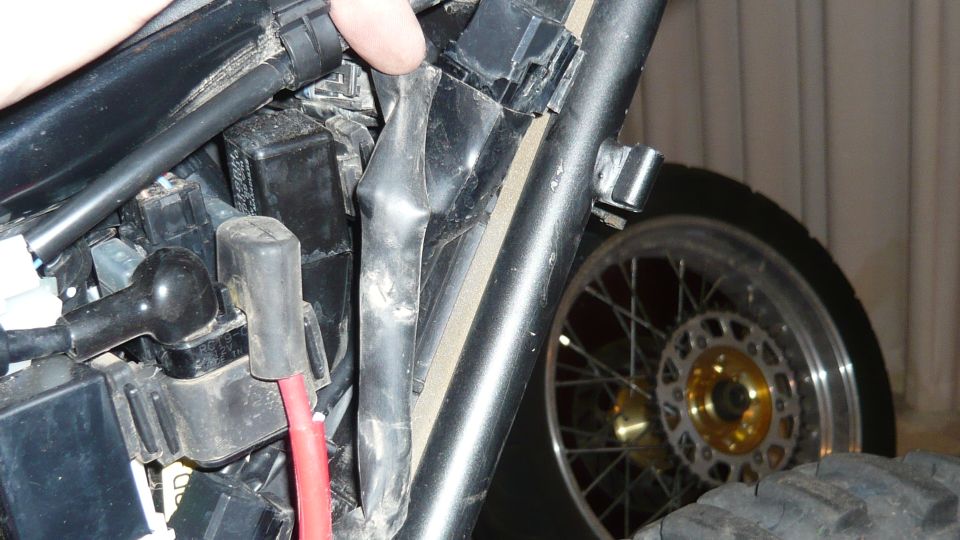 Nice and empty here now. 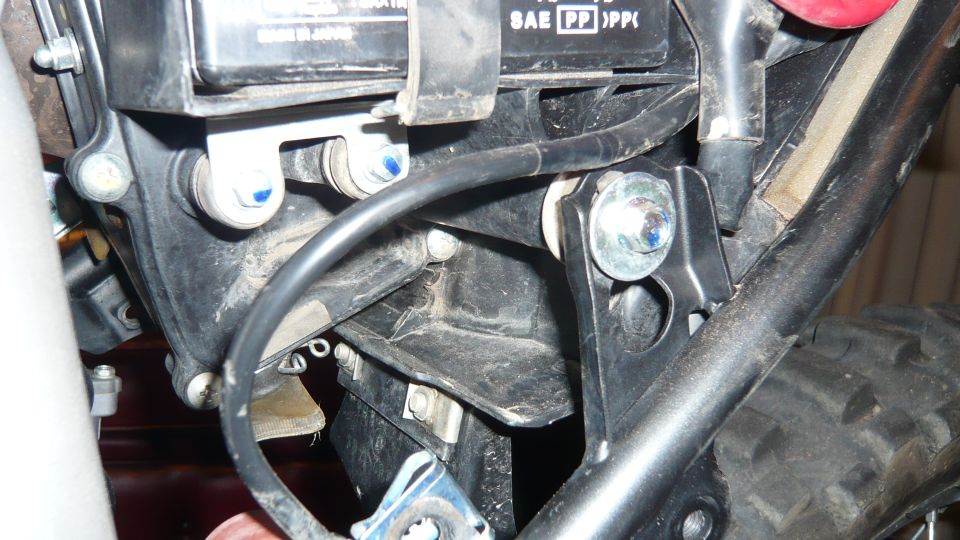 Thats all for now, hopefully the bars and sprockets arrive tomorrow, but somehow i doubt it. Hopefully she will be finished for the christmas break so i can go for a ride  | |
|
| | |
rpo83
| | Subject: Re: Let the surgery begin.. Thu Dec 17, 2009 7:47 am | |
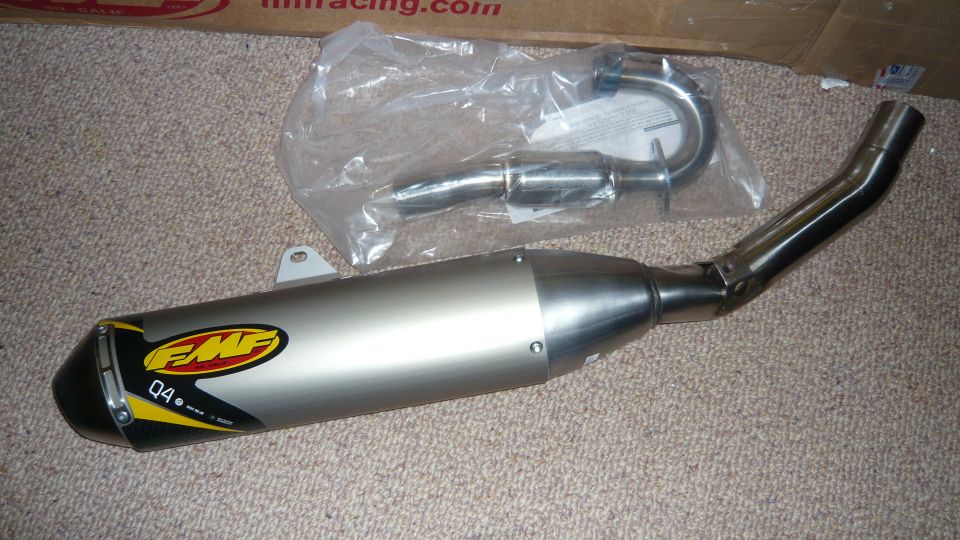
| Ok i trial fitted the muffler tonight, or at least tried to First problem was that there was no clamp supplied, and the original Yamaha one is spot welded to the pipe.. so i will have to try and source a clamp tomorrow. Second problem was that i couldn't get the pipe to fit correctly.. Here is a top view of the rear bracket. 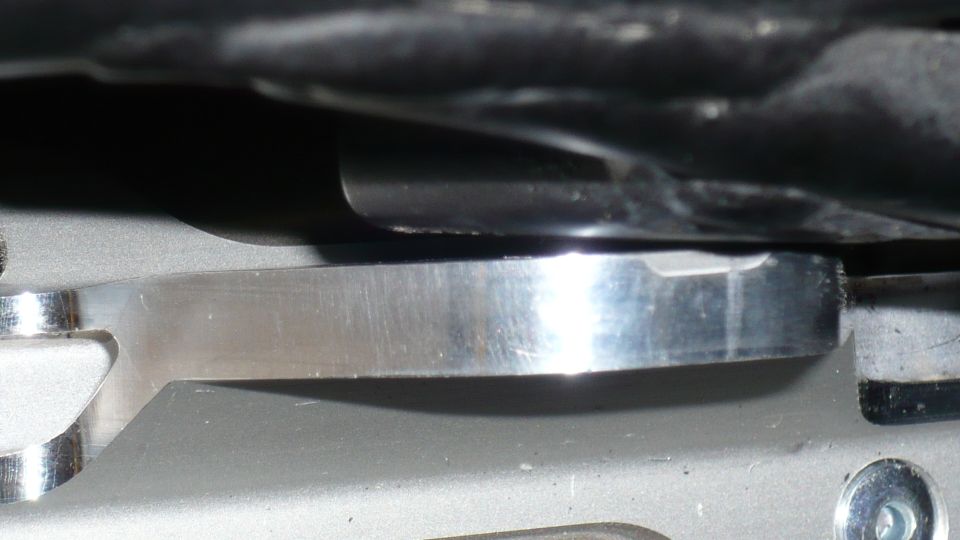 There is tons of clearance to the subframe at the top leading edge of the muffler 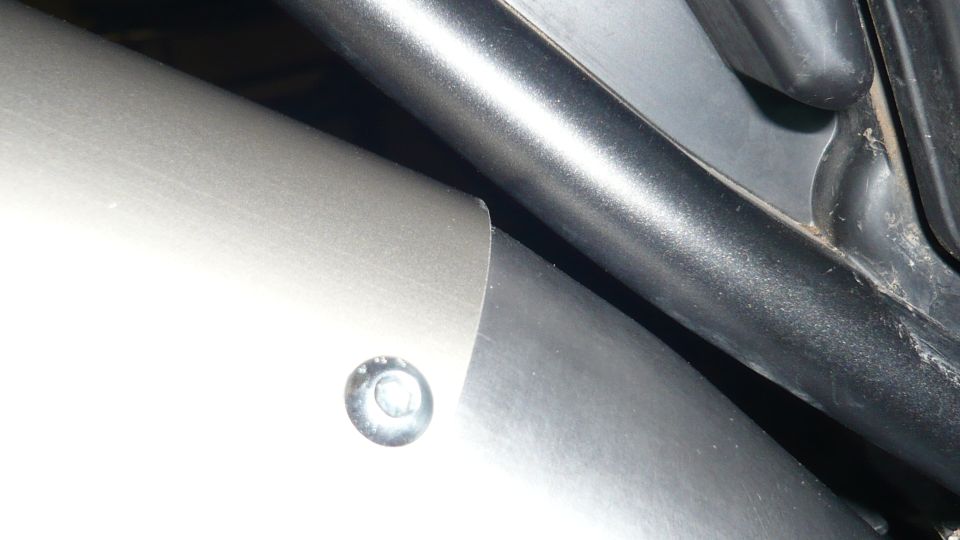 But where the mid pipe bolts to the subframe it is tight 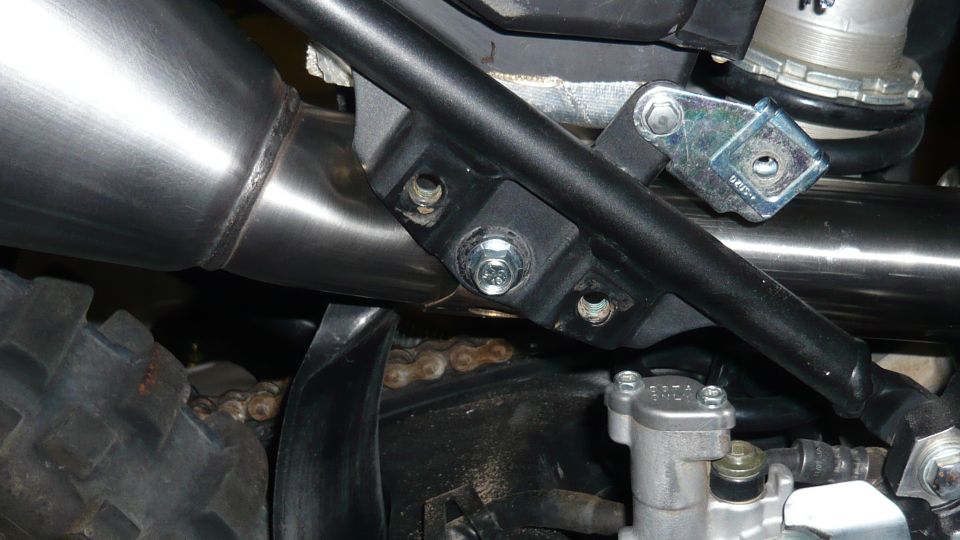 So, can anyone tell me how your pipe fitted, similar to mine, or is mine way out?? | |
|
| | |
YZEtc

| | Subject: Re: Let the surgery begin.. Thu Dec 17, 2009 7:59 am | |
| The FMF Q4 and Powerbomb header fit my WR-250R perfectly with no fitment problems - everything lined-up as needed.
Try loosening all of the attachment points and rotating the header pipe a few degrees either way.
There is no clamp required since the fit from header to muffler is tight enough without one.
Just use some high-temp silicone sealant on the joint before you slip them together. | |
|
| | |
rpo83
| | Subject: Re: Let the surgery begin.. Thu Dec 17, 2009 8:09 am | |
| Thanks YZ, I was a little confused about the clamp as there is no way to reduce the header joint diameter (no cuts). The header is just sitting there, as soon as i attach the mid pipe bolt, it creates the problem. I can only assume that the subframe is slightly bent, thanks for the reply | |
|
| | |
rpo83
| | Subject: Re: Let the surgery begin.. Sat Dec 19, 2009 2:57 am | |
| Busy day today, but i have just taken the bike for its first shakedown run. I set the programmer to HighFive's settings but ran the last 4 options at 0.5. I may change it to exactly what he set as it feels a little touchy when you are transiting to either on or off throttle. I had no problems with error codes due to the O2 sensor being disconnected just waiting for the bars and sprockets to arrive, so i can finisher her. I am starting to doubt my gearing change, i went with 14/49 but to be honest the standard gearing feels OK. Time will tell, i have only ridden on roads, so maybe as soon as i hit any technical stuff i will find the limitations  Thanks to all members here and on the other forums, it really helps when have these wonderful places to chat. Here she is after her maiden run....  | |
|
| | |
WRoldman

| | Subject: Re: Let the surgery begin.. Sat Dec 19, 2009 11:09 am | |
| Sweet. | |
|
| | |
sswrx

| | Subject: Re: Let the surgery begin.. Sat Dec 19, 2009 10:03 pm | |
| | |
|
| | |
rpo83
| | Subject: Re: Let the surgery begin.. Sun Dec 20, 2009 4:39 am | |
| I have just finished routing the cables for the Eastern Beaver 3 Circuit fusebox. I decided to install the fusebox on the air filter side of the bike. It fits beautifully nestled in under the lean angle sensor and the relay sits at the side of the snorkel, providing very short runs to the battery. There is much more room to run cables along this side of the frame as well 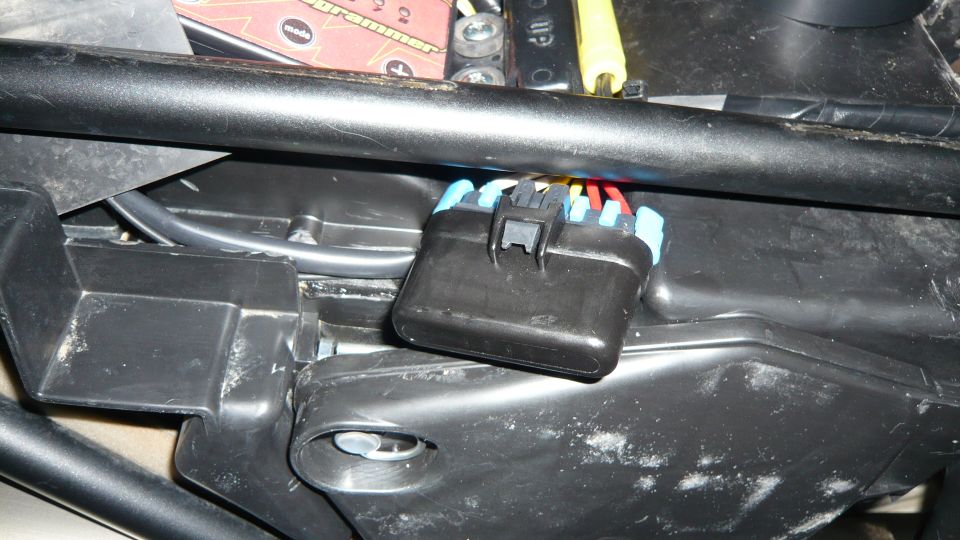 I ran the 3 positive cables in heatshrink tubing, then taped and cable tied the 3 negative wires into a neat loom which runs along the rocker cover breather.. 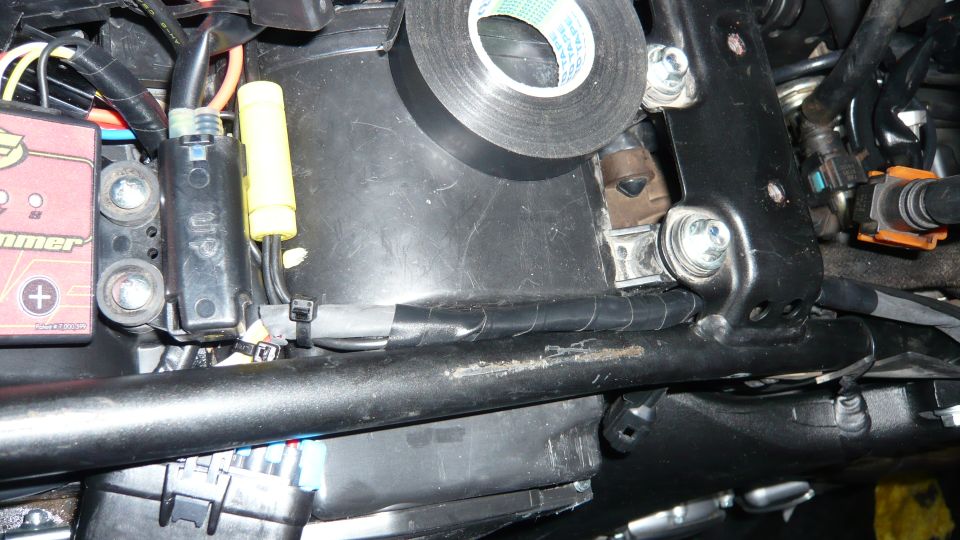 The loom then goes through the frame and up the right hand side of the headstem   Here is the relay and fuse holder for the fuse panel 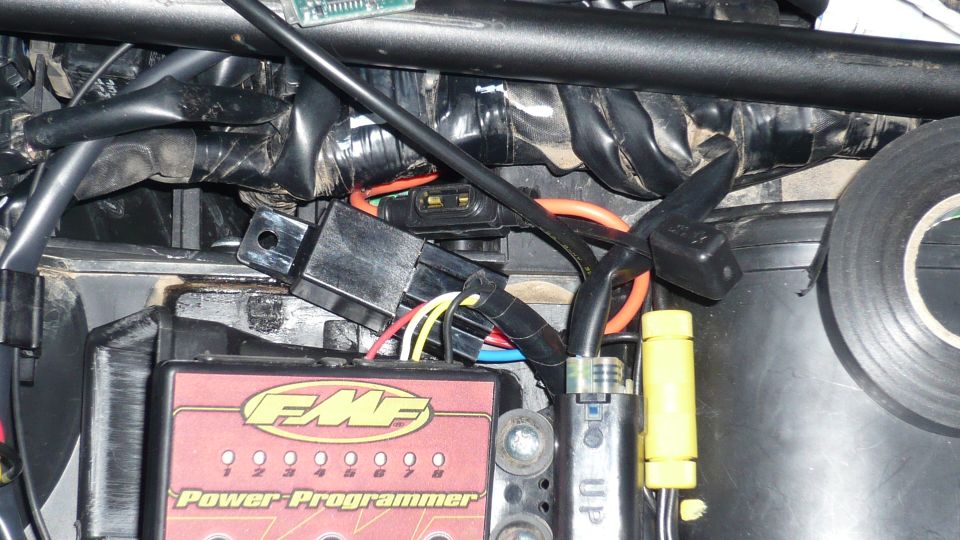 From the other side of the bike.. 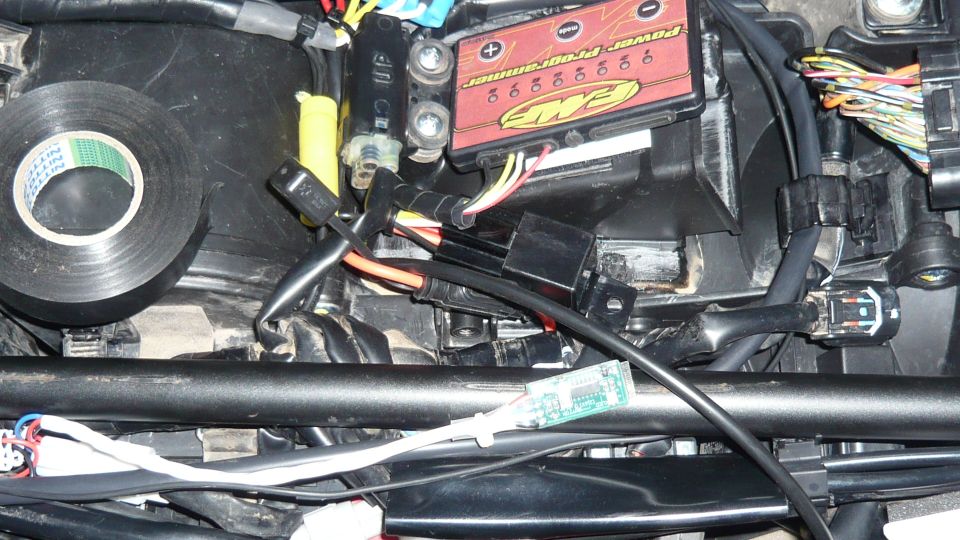 I just have to run the power for the HID's, then sort out mounting of the powerlets.. | |
|
| | |
rpo83
| | Subject: Re: Let the surgery begin.. Sun Dec 20, 2009 4:46 am | |
| - sswrx wrote:
- I had the same issue with my Q4 system. You probably have the problem solved but here's the link to the topic where I did my mod to get the proper clearance.
Hi sswrx, did your pipe have an indentation there from the factory??? Mine did, i couldn't get it to line up perfectly, so i just gave up and bolted it on | |
|
| | |
0007onWR

| | Subject: Re: Let the surgery begin.. Sun Dec 20, 2009 1:21 pm | |
| I doubt the fitment issues are on the Yamaha side
The bike is probably consistant and the FMF parts are variable
Mine fit great
I cut a slit in the muffler female pipe and removed the stock clamp from the stock muffler and installed it in the same location of the new powerbomb and Q4 | |
|
| | |
sswrx
| |
| | |
Pancho
| | Subject: Re: Let the surgery begin.. Sun Dec 20, 2009 9:47 pm | |
| Hey Steve, are you already planning on what to do with your time once the wrr is ready? Maybe buy a puzzle or Sudoku book? That's a lot of spare time you will have! | |
|
| | |
rpo83
| | Subject: Re: Let the surgery begin.. Sun Dec 20, 2009 10:06 pm | |
|  Going riding Leave home on the 27th for a nice 3 day ride. I just hope the new bars and sprogket set arrive SOON | |
|
| | |
malibu_dan

| | Subject: Re: Let the surgery begin.. Mon Dec 21, 2009 10:13 pm | |
| - rpo83 wrote:
- These also arrived today, Bi-Zenon HID H4 headlight kit, plug and play.
Who's plug-n-play kit did you go with for your HID solution. | |
|
| | |
rpo83
| | Subject: Re: Let the surgery begin.. Tue Dec 22, 2009 1:53 am | |
| Hi Dan, It was just a cheap eBay kit. I made a low offer and they accepted I paid A$40 ea for the 2 kits (bought a spare, maybe resell it to recoup shipping) and A$33 for freight. I installed the kit last night, no pics yet. It is a tight fit all behind the stock screen, but it fits. I'll post some pics up later. | |
|
| | |
rpo83
| | Subject: Re: Let the surgery begin.. Tue Dec 22, 2009 7:41 am | |
| Here are some pics of the HID install. Ballast is cable tied to the top windscreen support. 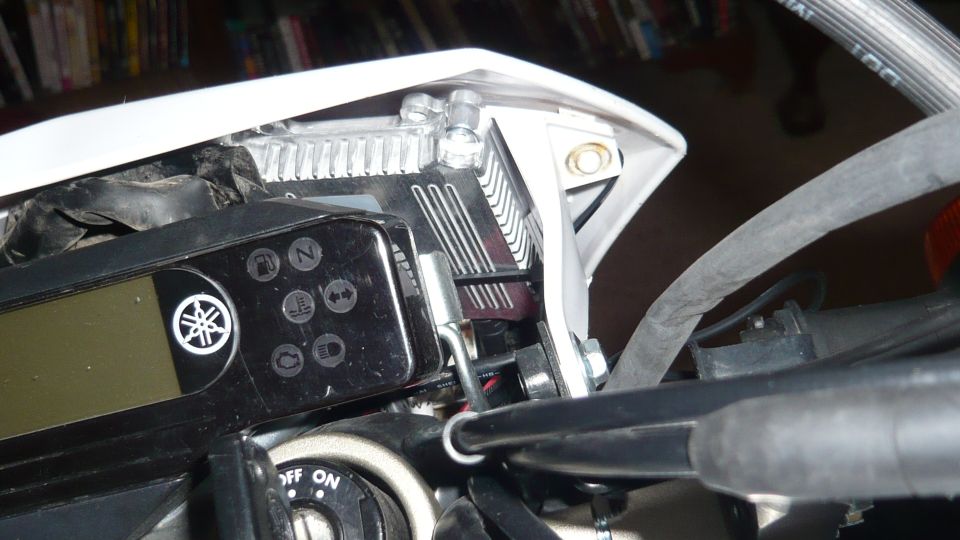 40A relay is cable tied just below and to the left of the dash 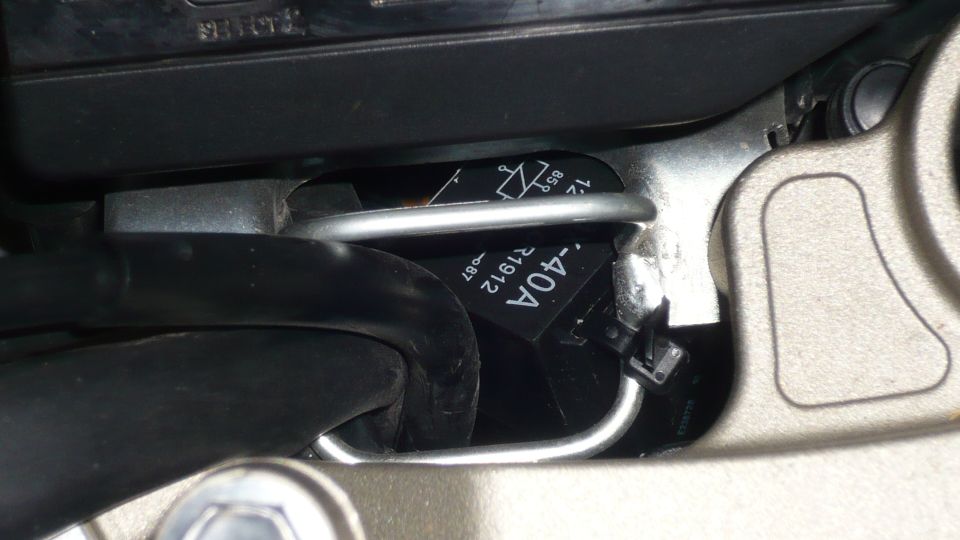 The ignitor is cable tied at the bottom of the headlight surround 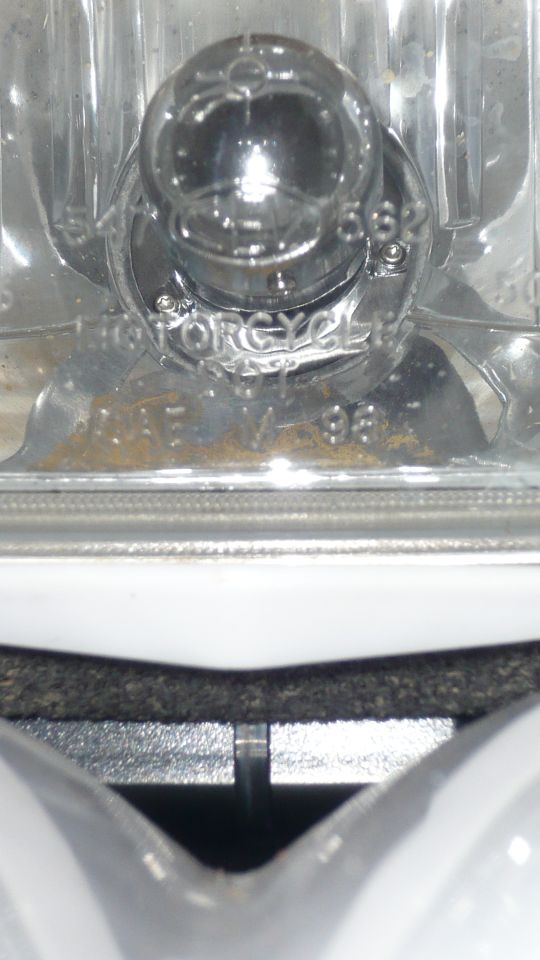 It is getting slightly cramped behind here now, so i may have to look at a different headlight and surround/screen, or space the standard one out a little further. I have just been visiting my brother in-law who has a WR450F, and the headlight on these looks very good, i may play around with his to see if i can make it fit. | |
|
| | |
Sponsored content
| | Subject: Re: Let the surgery begin.. | |
| |
|
| | |
| | Let the surgery begin.. | |
|