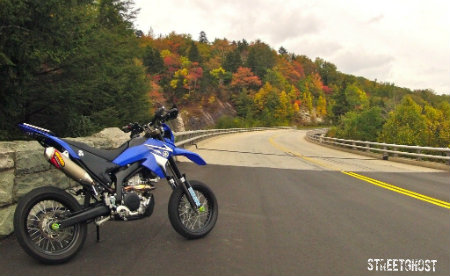
My 2008 RR came home with about 1900 miles of very light usage. I say light because the tires look like commuter tires, flat in the center with injection nubbies still present on the second row of knobs. Careful checking revealed a total of two small scratches. Absolutely no modifications were done, even the flapper was in place and hooked up. I am working out the long term goal for modifications, what capabilities to add or enhance, and what trade-offs get conceded along the way there. A rack for the rear is the one big thing yet to be nailed. Why do I need a rack? Do I really need one? These questions keep bouncing around my brain. After all, the goal is not to try to make this match the cargo capacity of my KLR.
Enough words about the plan, this is a picture thread Ed!
This weekend I have a ride planned despite the sub freezing temperatures expected in the morning hours. The first addition to the bike was a power cord to run the jacket liner.

That decal and the fuel warning below it have since been removed.
Next, I needed a way to run my GPS. The power cables for Garmin 2610 units are a pain. That series uses a flat 7 pin side slider that no other ones take. The cheap cords are $25.00, so I decided to just add an accessory outlet and use the cig lighter adapter for now. A new GPS is in the long term picture, when it gets here it will he hard wired.

The outlet fits nicely on the right side of the headlight shroud.
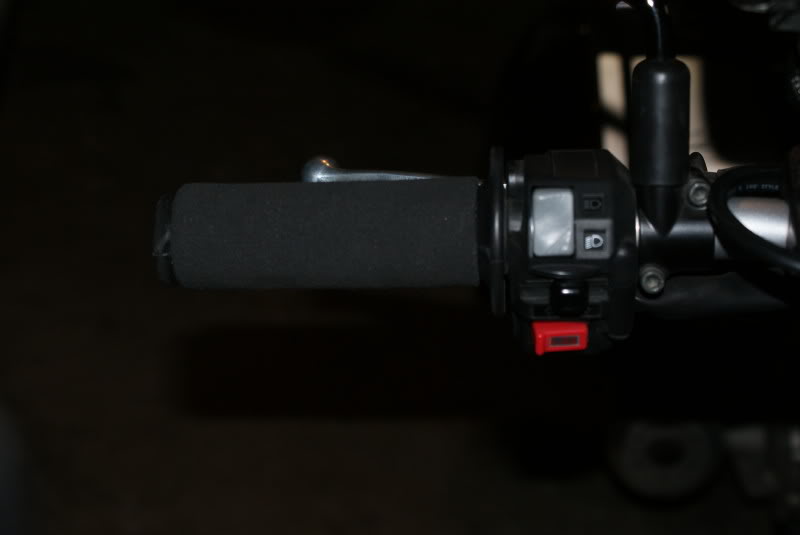
Grip heaters were next and this was a good time to add grip puppies for my arthritic hands. I put the elements on top of the stock grips and the puppies over those. I find this greatly improves the heat retention since the element on the left is not right down on the metal bar.

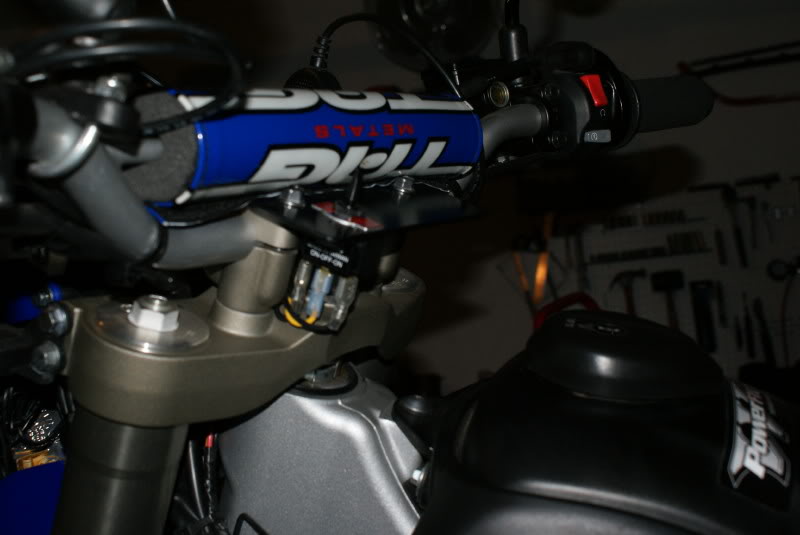
Figuring out where to put the switch was a puzzle. I ended up making a place by using some aluminum bar stock, rounding teh corners and attaching it via the rear bar clamp bolts. It is painted black to cut glare.

There is room for more switches or a volt meter when I decide to add those.
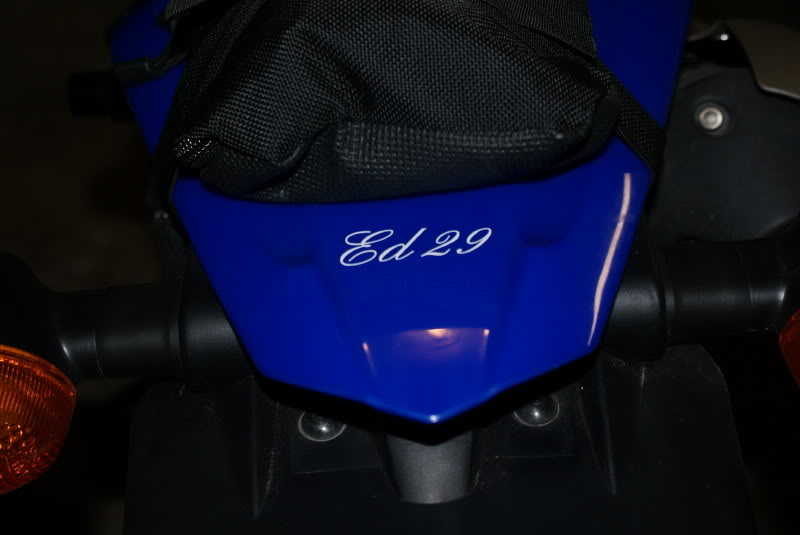
I like to be prepared in case of a puncture, so tubes and tire irons went in a fender bag. The downside of that is that when mounted in the traditional location the bag blocks a lot of the headlight. For now My solution is to mount that bag out back. A bicycle pump is on the sub frame below.

One last touch and it is ready to go.

Ed
