Subject: Installing the SpeedoDRD from 12oclock Labs Sun Aug 18, 2013 1:49 am
For those of you who are wondering how hard it is to install the 12oclock labs SpeedoDRD here is some quick info with pics. It should take you less than 30 minutes, or possibly less than 10 minutes. It takes about 5 minutes to program it after installation.
1. Put the WR up on a stand to allow the rear wheel to spin freely and to make it easy to work on.
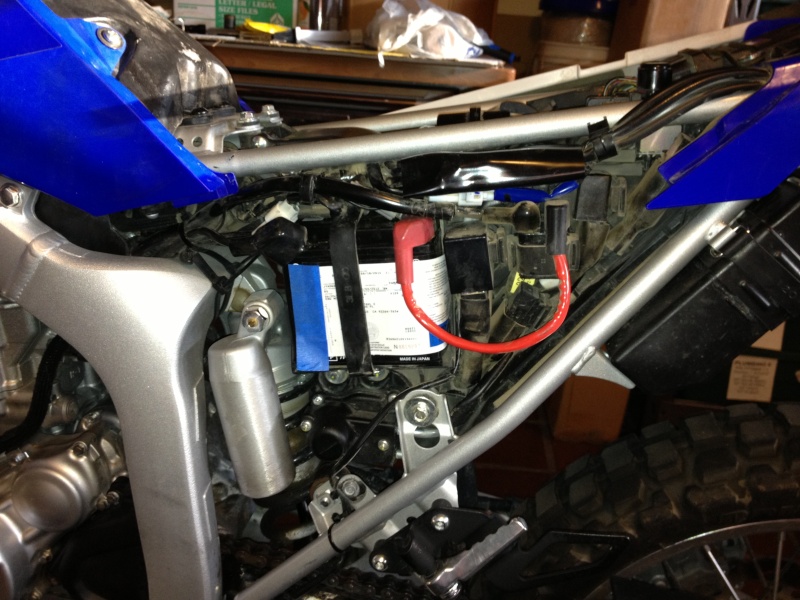
2. Remove the seat (8mm socket) and the left side cover (5mm Allen) where the battery is located.
3. Open the package to the SpeedoDRD. The main component should look like this:
Look at the two connectors on the end of the SpeedoDRD. They each have three contacts. You are looking for identical connectors on the WR. There is more than one choice of connector, so lets make sure you are using the correct one.
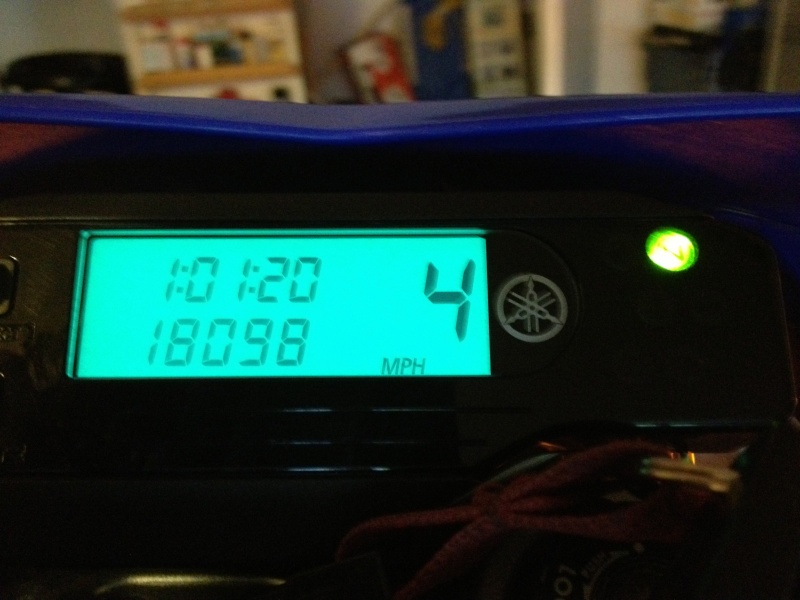
Turn on the ignition, but do not start the WR. With the transmission in neutral, spin the rear wheel as if the WR was going forward and look at the speedometer. It should register a low speed like 2-4 mph.
Turn off the ignition.
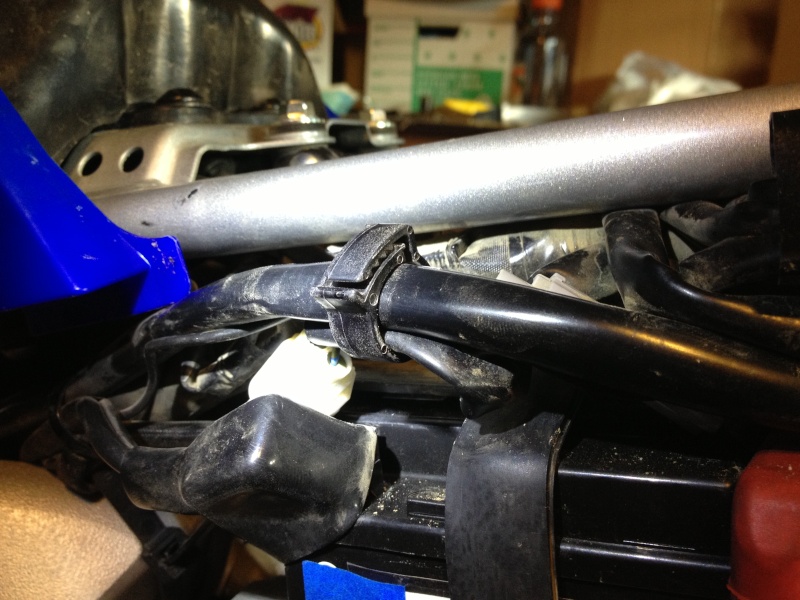
On my WR the speedometer connector was near the top left of the battery.
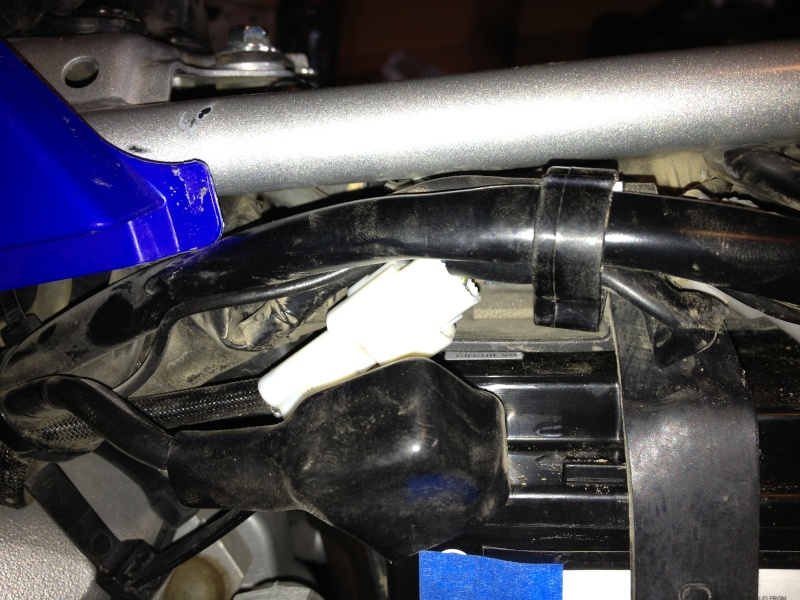
Here is the correct three wire connector.
Unlock this clip that keeps the wires together to make it easier to access the connector.
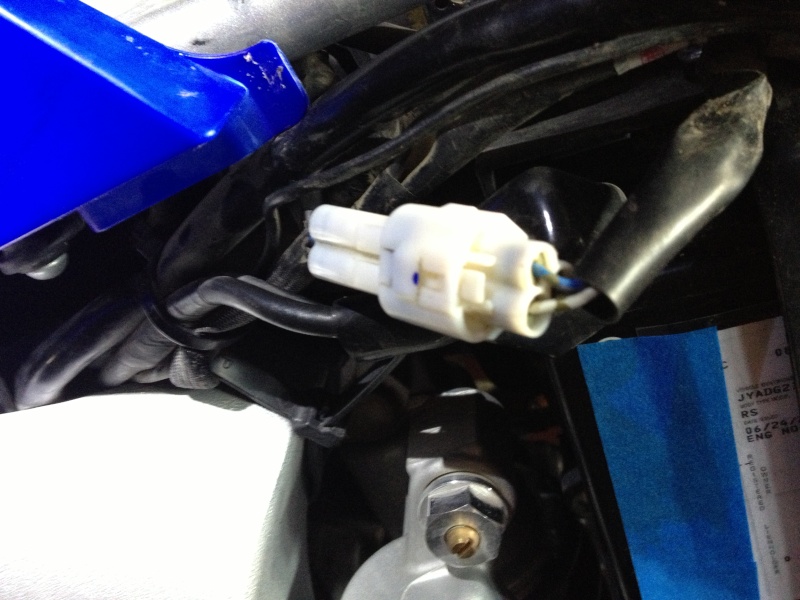
One side will have a Blue, White and Black wires.
The other side will have a Blue, White, and Black/Blue wires.
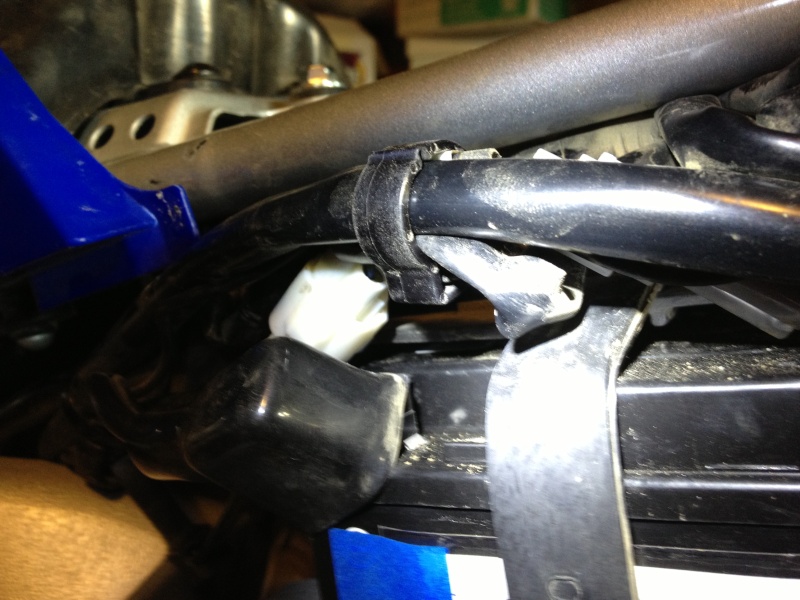
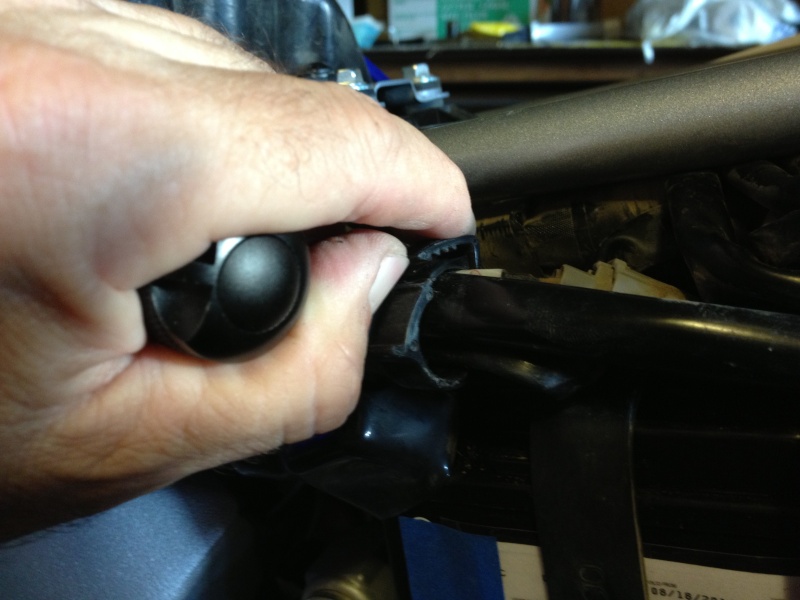
Now rotate the connector and locate the locking tab. It must be pressed inward to unlock the connector.
Pull apart the connector and clean the road dust out with compressed air.
If you chose the correct connector, if you do the speedometer test again, when you spin the rear wheel, the speedometer will read zero since you have effectively disconnected the sensor. Turn off the ignition after this test.
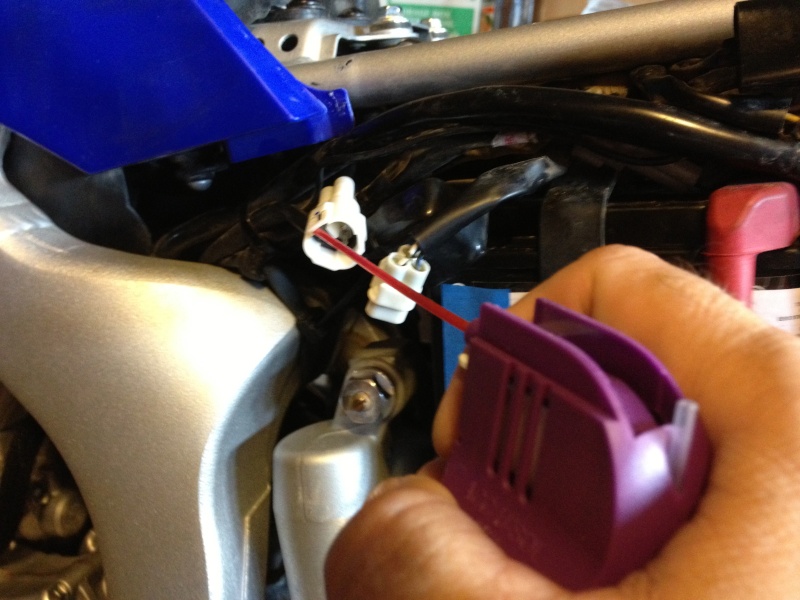
Now line up the WR connectors with the SpeedoDRD connectors and connect them together with the Speedo DRD in the circuit.
Turn on the ignition, you should see the circuit board on the SpeedoDRD momentarily flash. Spin the rear wheel of the WR and you should get a speed reading of 2-4 mph as before. Turn off the ignition. Reinstall the clip that holds the wire harness together.
You are done other than choosing your preference of where to mount the SpeedoDRD and programming. Reinstall your seat and left side cover. You may want to wait to fully mount the SpeedoDRD hidden away on your WR until after you have programmed in your correction factor and a few verification rides.
My WRR, with stock gearing, stock tires, and 7mm of rear tread remaining had a speedometer correction of -11.7%.
Programming video:
chabon
Subject: Re: Installing the SpeedoDRD from 12oclock Labs Sun Aug 18, 2013 5:01 pm
Nice write up. I always think to get pictures AFTER I do the work. Great device also. I was always doing corrections in my head, but now its just one less thing to think about!
WRideR
Subject: Re: Installing the SpeedoDRD from 12oclock Labs Wed Aug 28, 2013 3:59 pm
The SpeedDRD is available on Amazon for $70. plus shipping. you need model Y1 for a WR250R/X. Steve
Sponsored content
Subject: Re: Installing the SpeedoDRD from 12oclock Labs