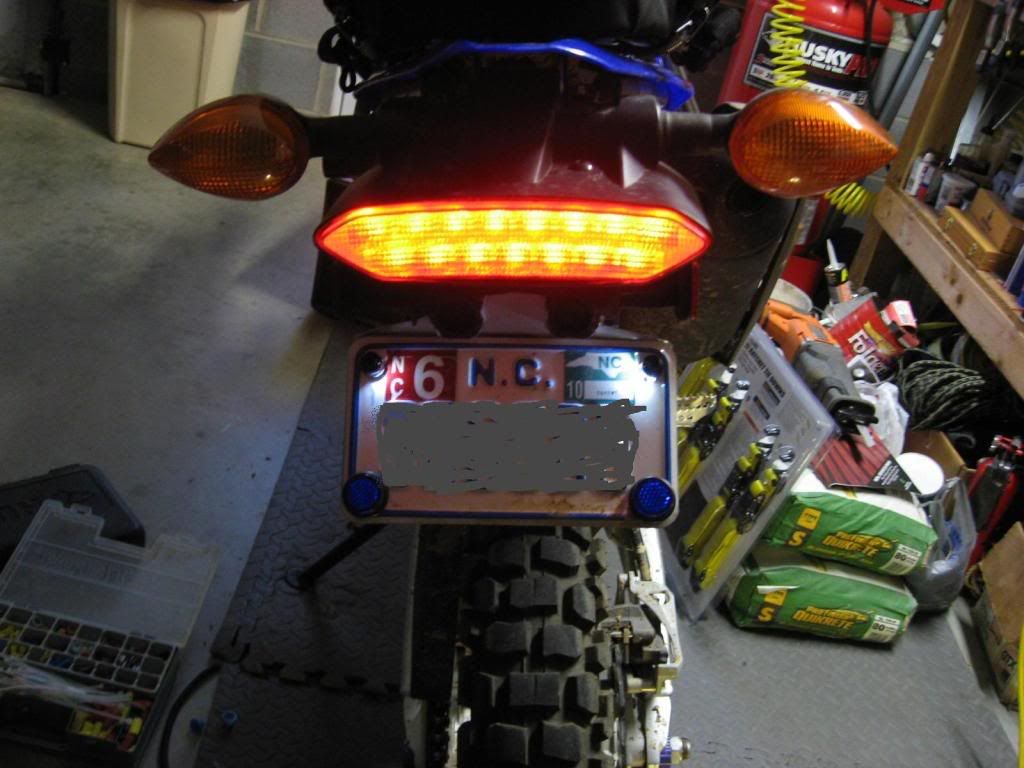
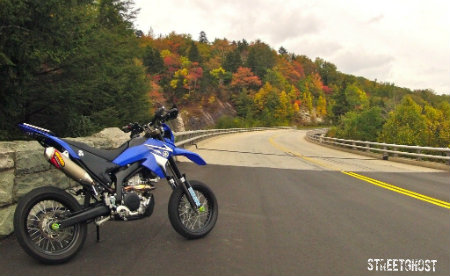
Well I was tired of looking at the low hanging tag on my R2 so I decided to do something about it. I didn't want to spend $80 - $100
for a replacement unit with a light just to relocate my tag. That's a lot of $$$ for something I can do. I had some scrap aluminum in the garage that would work nicely.
The tag light had already lost the clear cover on the underside.

Look on the underside of the plastic to see how it's mounted with a metal bracket with two bolts. I decided I would cut the plastic up to that point where the bend is below the tail light with my Dremel leaving those two mounting positions in tact for stability. Just rough cut it then go back with a small sanding barrel and clean it up a bit. The two arrows are pointing to the two rubber gromets I used on the tag bracket to hold down the vibration stresses on the tag mounting holes. There's also a piece of rubber I used that was under the light mount on the tag bracket. You'll see it on the mount.

Then all you need is a replacement light and a tag bracket to mount. A quick search on Fleabay resulted in these LED's for about $13 for both.

Make the bracket to fit. I had some angled aluminum from a previous project that is heavy enough to handle the rigors of riding.

The plate mounting holes are 1/2" and the grommets fit right in. As luck would have it, the lights slip snugly into the the grommets. I had to bend some of the angle out to make the tag viewable from behind. I had to use a hammer and my bench vise to take out the amount of bend which would properly display the plate. Test fit the bracket, file here and there, then mark and drill the mounting holes to line up with the two bracket bolts. I mounted the bracket to the bike...

The black plastic is not as bad as the above picture looks. Here's another one with a better angle. There's two bushings in the mounting holes in the plastic that makes this a real strong mounting option.

The wiring was pretty straight forward and there's plenty of slack on the bike wire to use. I used some flexible wire conduit for protection and liquid electrical tape to weather proof the connections.
And the finished product...

Herkypilot
