Did some mods to the
seat to make it lower and a little better for long road rides. Been meaning to do this for a while, so w/ this weekend's snow I finally had enough down time to tackle it. Shouldn't have waited, it went surprisingly quickly.
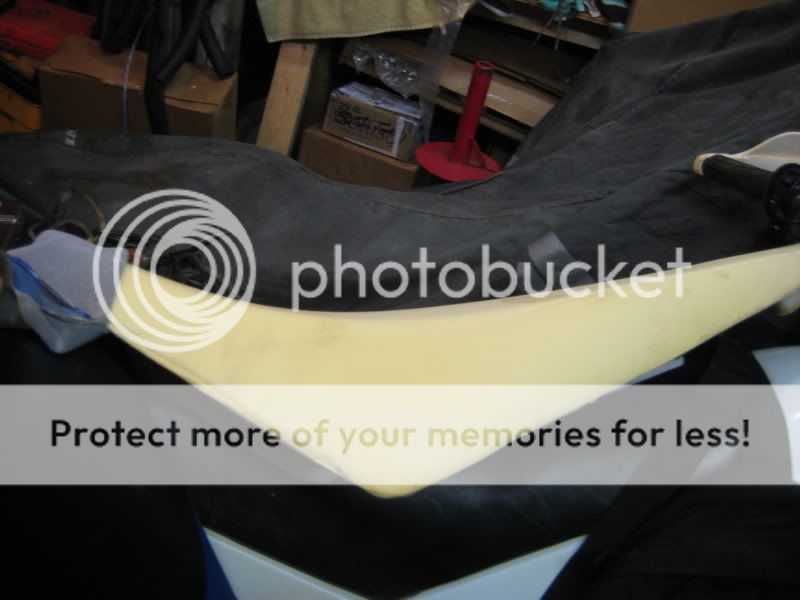
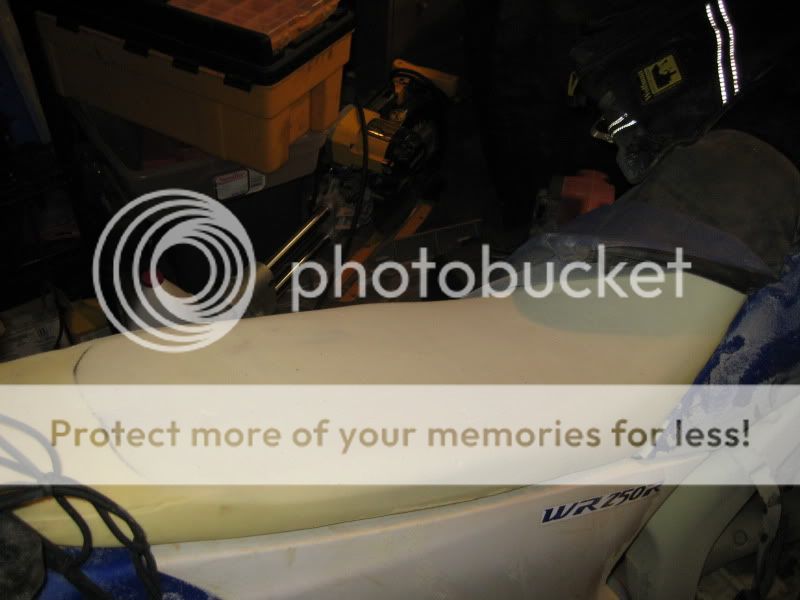
First step, removing the staples to take off the
seat cover. I started out trying needle-nose Vise grips and a small flat screwdriver, ended up just carefully prying them all out w/ the screwdriver.
You can see I left a few factory staples in the front, this was to ensure proper alignment when I replaced the
seat cover. Even with those few remaining staples, I could peel the cover completely off the top of the
seat to have full access for the next steps.
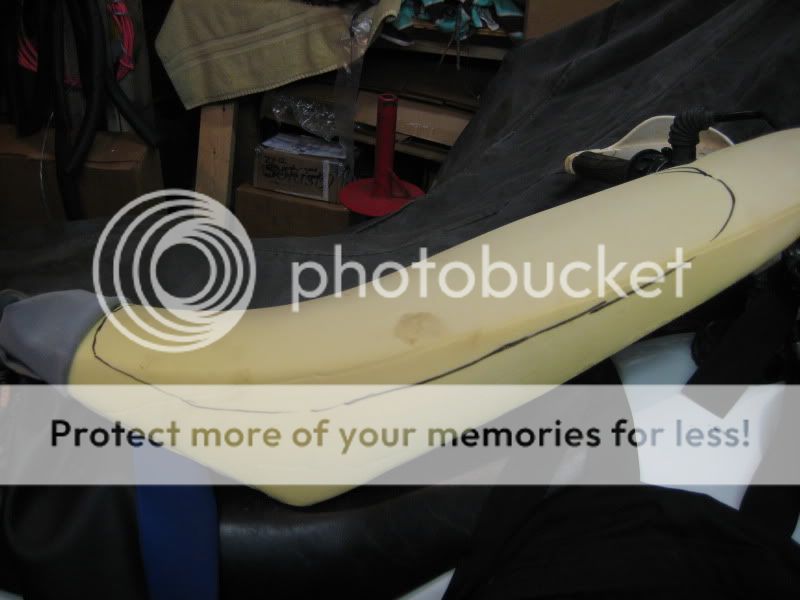
Marked out a rough pattern for the desired profile:
Sawzall time. Some use electric bread knives for this step. Being below freezing helped, made the foam more likely to be cut rather than deflect the blade. If it were summer, I'd suggest putting the
seat in the freezer...
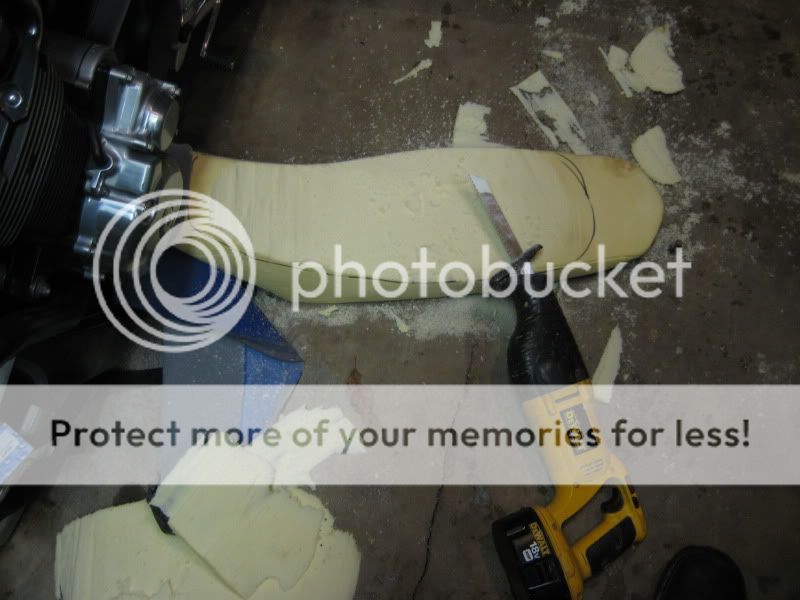
The sawzall/breadknife is great for reaching a rough profile, but it is just that - rough. Next step is a grinder to smooth things out a bit (kinda like working wood or doing auto body work - start with the right tool for roughing in and get successively finer). Again, I'm pretty sure that the cold temps made this easier.

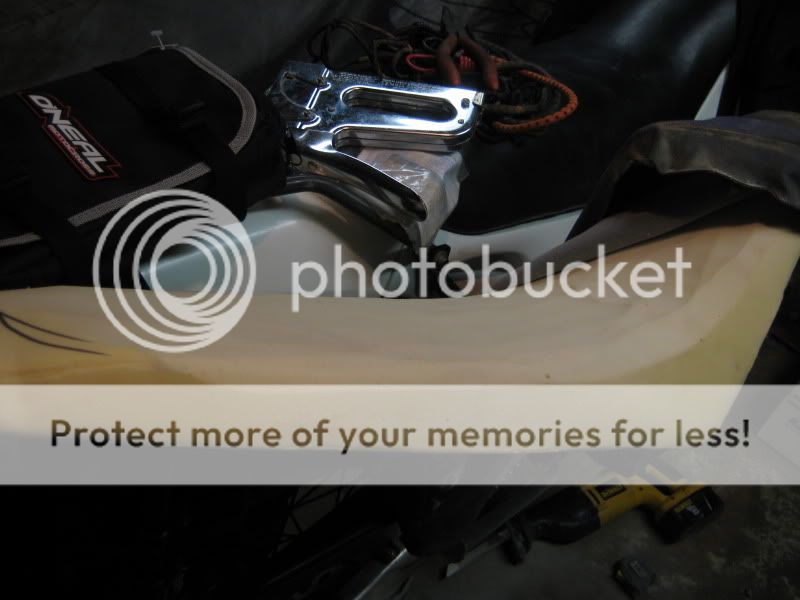
Dry-fitting, cut & grind some more (repeatedly). Baby steps man, baby steps.

Little more cutting, little more grinding:
Grinding got stuff "close", but not perfect. One last step - the belt sander. FWIW I tried a random orbit sander at various grit sandpaper as well, but it wasn't nearly as quick and precise as the belt sander (@ 80 grit, I believe).

Getting closer:

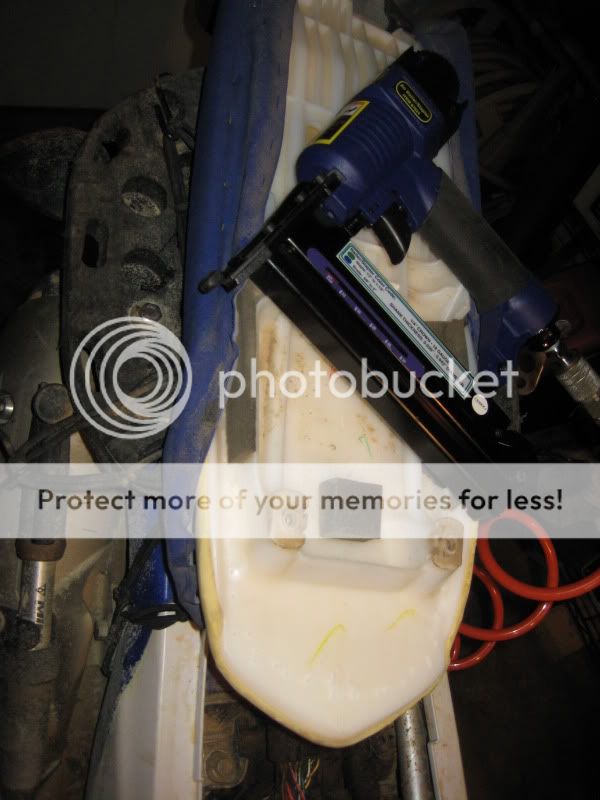
One final trial fit felt great - time to staple the cover back on. A standard construction-style staple gun couldn't penetrate the thick plastic of the
seat pan, so I snagged a pneumatic brad nailer/stapler from HF for $20. I do a lot of construction/trim work and always wanted an air stapler - besides stapling, this thing will also shoot the exact same 18-gauge brads (up to 2" long - impressive) as my Stanley-Bostich brad nailer.
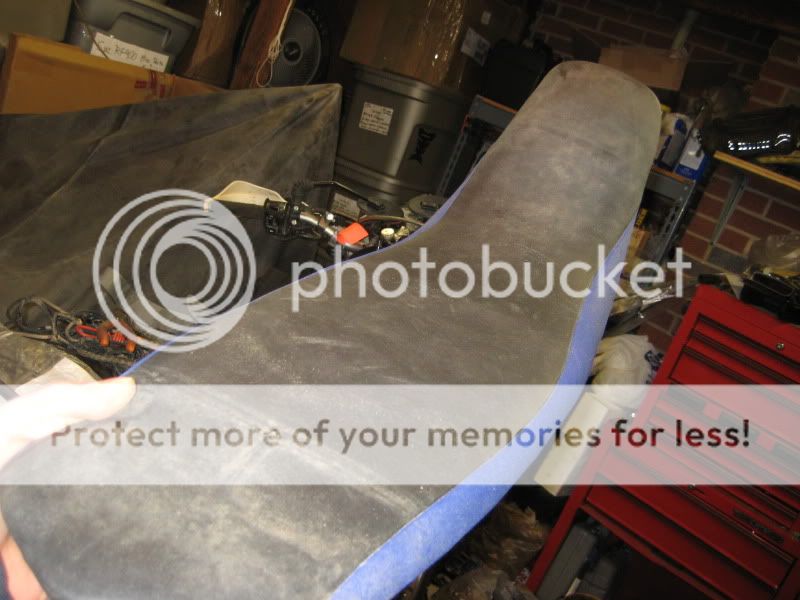
Like all the previous steps, it was important to take time and care when re-covering the
seat. Nothing too troubling about it if you carefully stretch it into place and take small bites as you move up the sides, but I can see how
seat covers get wrinkled if one gets into a hurry.
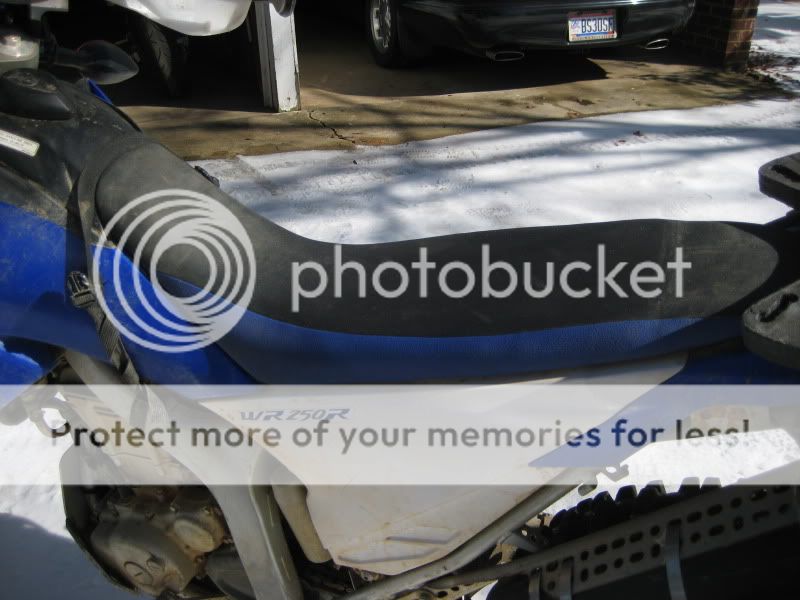
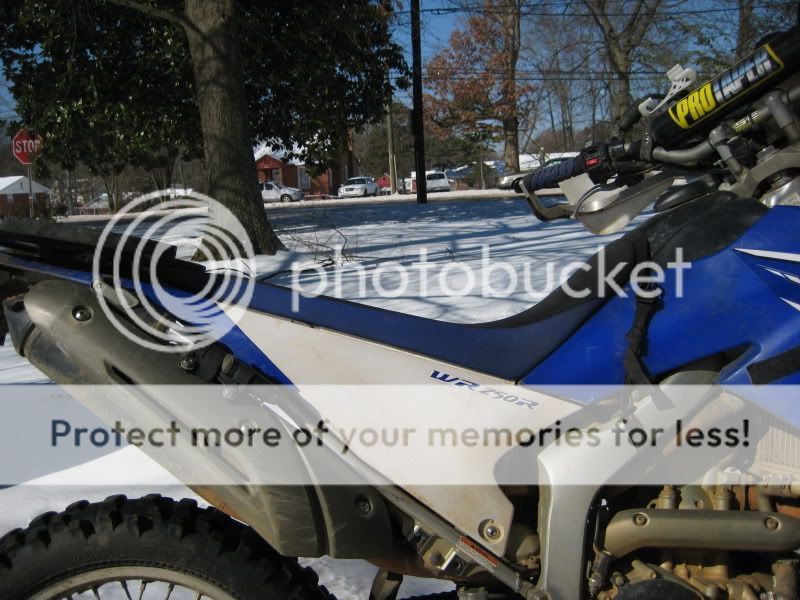
Finished product:
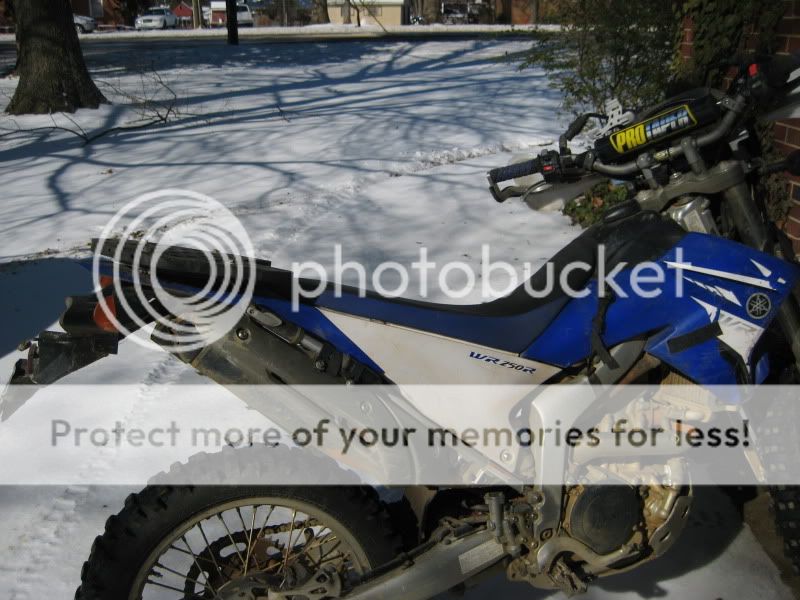
As we know, the WRR is a tall bike for a dual sport. And a VERY tall bike for a 250 dual sport. I did this mod to be able to flat-foot the bike without actually lowering the bike itself (and thereby losing ground clearance). This will be a huge advantage when riding rocky singletrack and similar nasty terrain.
Also, the stock
seat is kind of convex (bumped out) right where yer bum goes. I actually dished this area in a bit - can't tell from the pics but you can definitely feel it on the bike. This allows better, fuller, and wider support for the parts of YOU that actually touch the
seat - a good thing for long days.
"But how can it be more comfortable - you took away foam??" I learned this from an old-timer who made horse-saddles from scratch - it's not the MATERIAL, or especially the AMOUNT of material that makes a saddle comfy - it's the way it fits the customer's individual rear end (and the horse, as it were). This guy could make an all-day comfortable
seat out of oak & leather - so by following those principles it was a cinch with foam (and power tools!) Frankly, OEM
seat foam is so soft and spongy that a firmer, well-shaped cut is always worlds better anyway.
(the discoloration in the rear is just dirt from where my cargo net usually drapes)
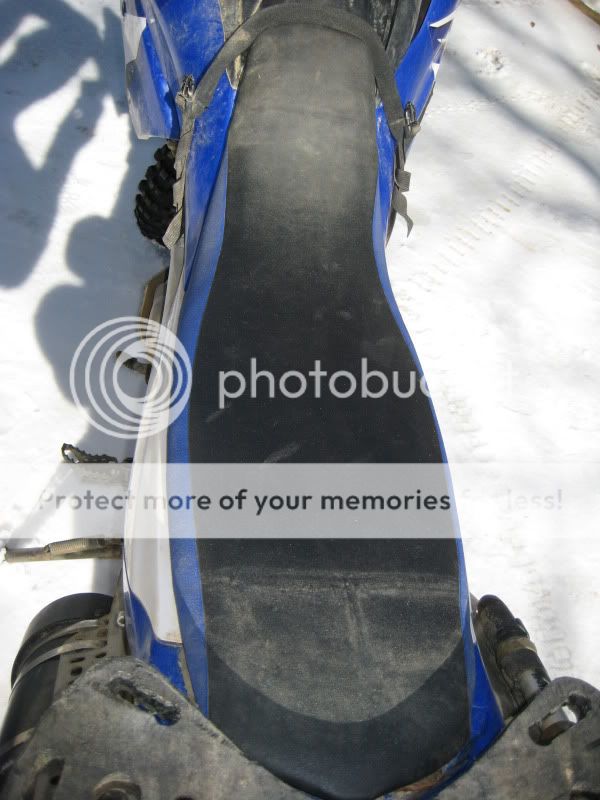


 Shaping is the goal, and again - removing the too-soft foam provides necessary firmness.


