Before

After
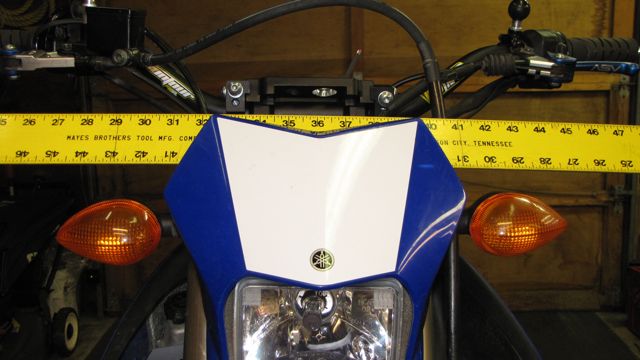
Right Signal

Left Signal
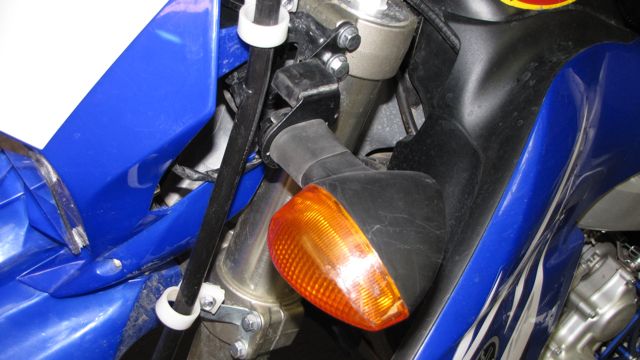
Remove the green bolts first to remove the headlight and fairing to gain access to the wiring harness, 8mm.


With these six bolts out, then the fairing and fender will drop down. I found the H4 socket was very tight on the bulb, otherwise I would have disconnected it to remove the minimal strain on those wires. I rested the back of the headlight bucket on the lower triple clamp and the front of the fender on the tire.

With the wiring harness exposed, I was able to release the wire tie so I could reuse it and that gave me access to the covered turn signal plugs.
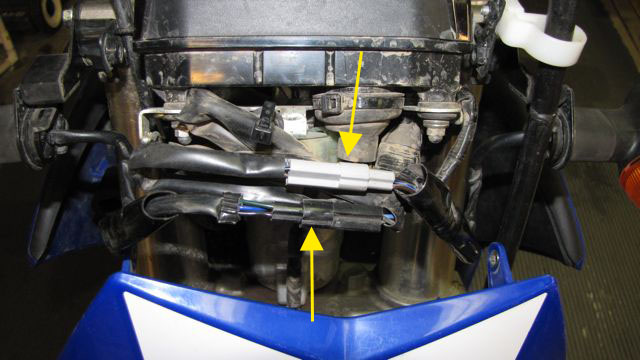
Once the wires are unplugged, unbolt the turn signal brackets with a 10mm socket from the triple clamp. When I pulled the bolts, I put them back in to place as they also held up other brackets on each side, so they wouldn't fall down.
If you were to just swap the signals from side to side, you will end up with this look
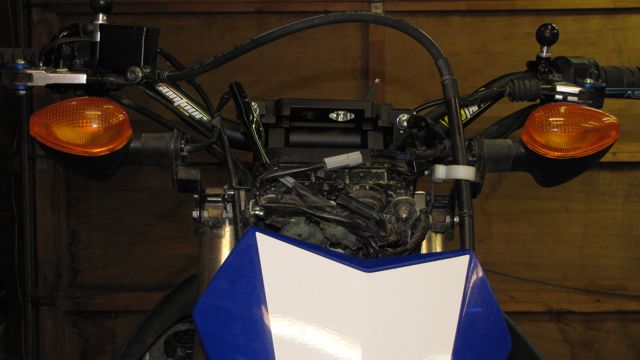
Yea, they are pointing way up in the air, not good. This is why you need to do the following things.
The rubber part of the signals (yellow) are pushed through the bracket and held in place by a black plastic piece (green).

You need to lift up the two rubber pieces that hold on to the plastic piece
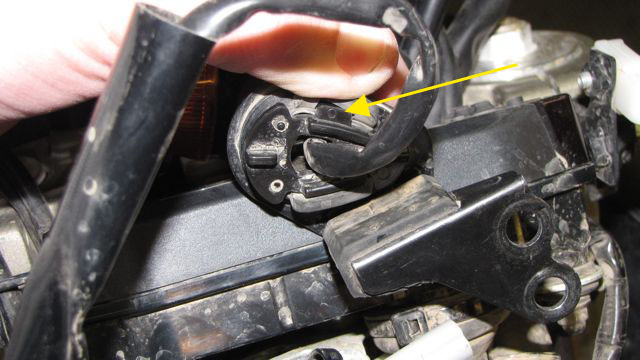
Once you pull the plastic away, you can pull the wire and plastic piece through the mount (sorry for the blurry photo)

Bracket free of the signal

Here is the right bracket mounted on the right side of the bike (stock position)

This is the left turn signal bracket mounted to the right side of the bike; quite a bit closer to the center line of the bike.

Make sure you mount the signals right side up. There should be no screw showing on the top

This is the bottom of the signal, keep this pointing down.

Here is the right signal mounted on the left signal bracket, with the rubber pushed through the bracket, but the plastic piece isn't locked in to place.

Right signal mounted in the bracket, ready to bolt on.
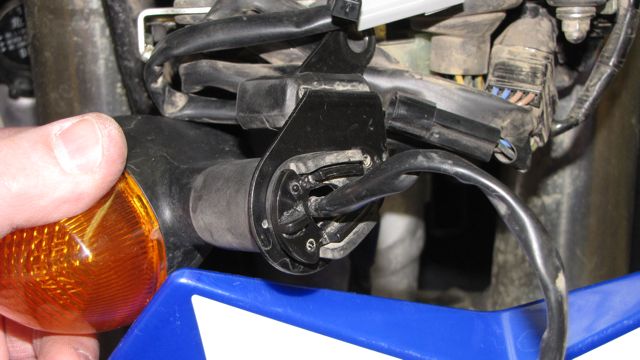
Right signal mounted up to the triple clamp again.

Right and left signals are all mounted up, in their tucked in position. Make sure you plug the connectors back in (grey to grey, black to black) and pull the black plastic cover over them. Push the wire tie back together and bolt the fender and fairing back on.

Once it is all bolted back together, turn on the key to make sure your lights light up correctly.

So, it looks like each signal is sucked in about 1.5" on each side. Even if you aren't planning on getting the IMS 4.8 gallon tank, this could help keep your signals out of harms way in a tip over better than the stock position.
I hope this all makes sense and helps folks out.
John
