| | | My WR250R Build. |  |
|
+20WRXer LordEndo mudmojo Coop mordicai mcdoudlehopper IndigoWolf No~One motokid nu_b SheWolf YZEtc Jäger MotoKirby combo TBird1 0007onWR WRXR cryptomundo 47une 24 posters | |
| Author | Message |
|---|
mcdoudlehopper

| | Subject: Re: My WR250R Build. Thu Feb 09, 2012 7:55 pm | |
| I was reading your build thread and your bike looks awsome!! thanks for all the pics. I was wondering, in the picture of your tool caddy, I see 3 CO2 cartridges and was wondering what they were for? Cheers, Kirk | |
| | | | 47une

| | Subject: Re: My WR250R Build. Fri Feb 10, 2012 3:25 am | |
| They are for tyre inflation, they are inserted into my pump for quick inflation after a flat. | |
| | | | 47une
| | Subject: Re: My WR250R Build. Sun Mar 18, 2012 3:07 am | |
| | |
| | | | 47une
| | Subject: Re: My WR250R Build. Sun Mar 18, 2012 3:09 am | |
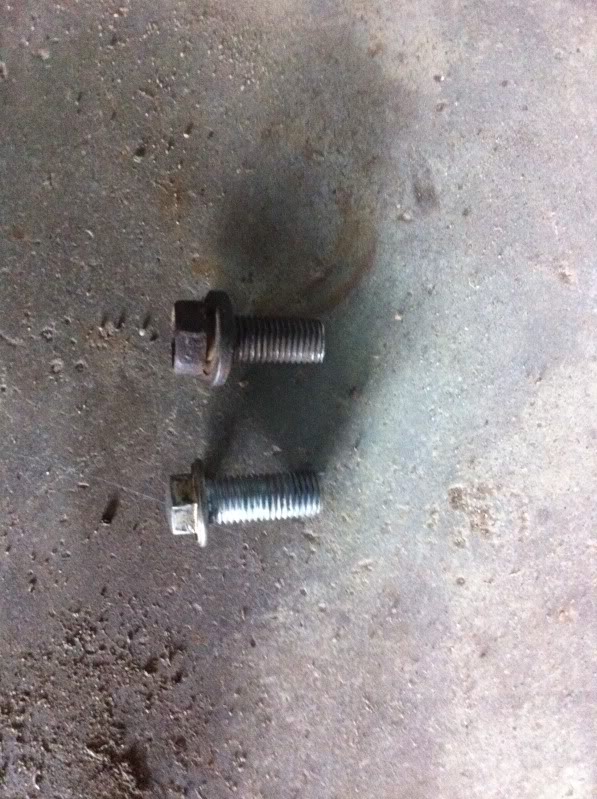
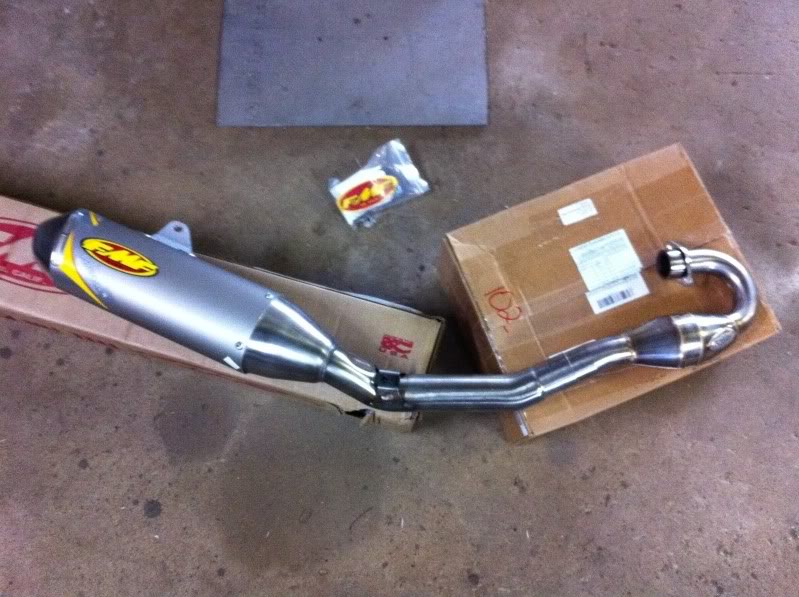
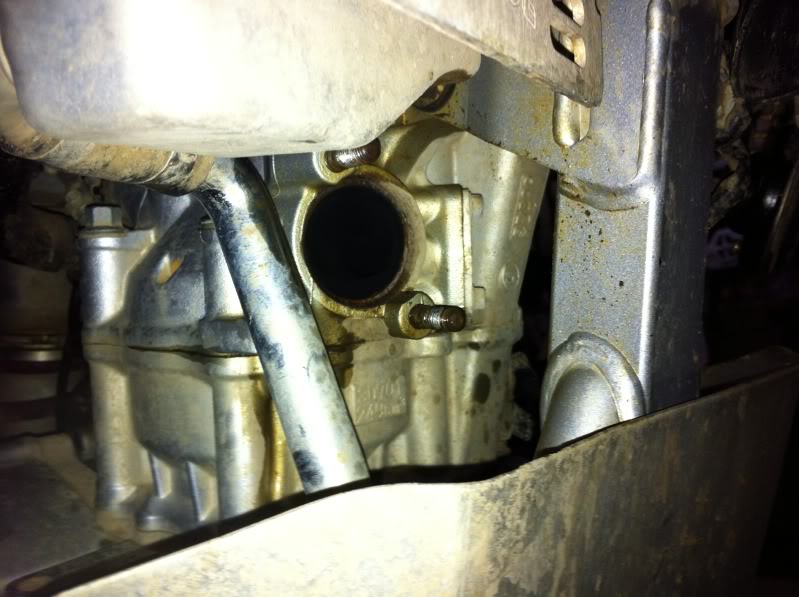
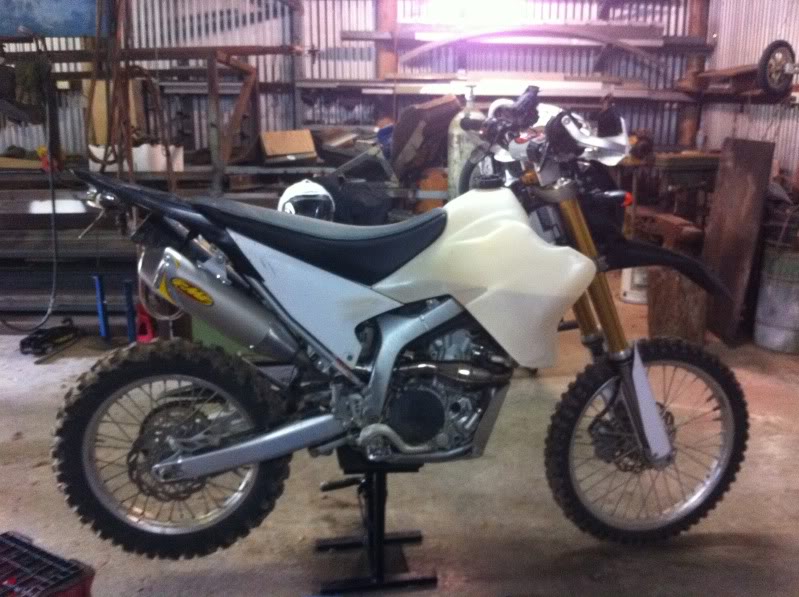
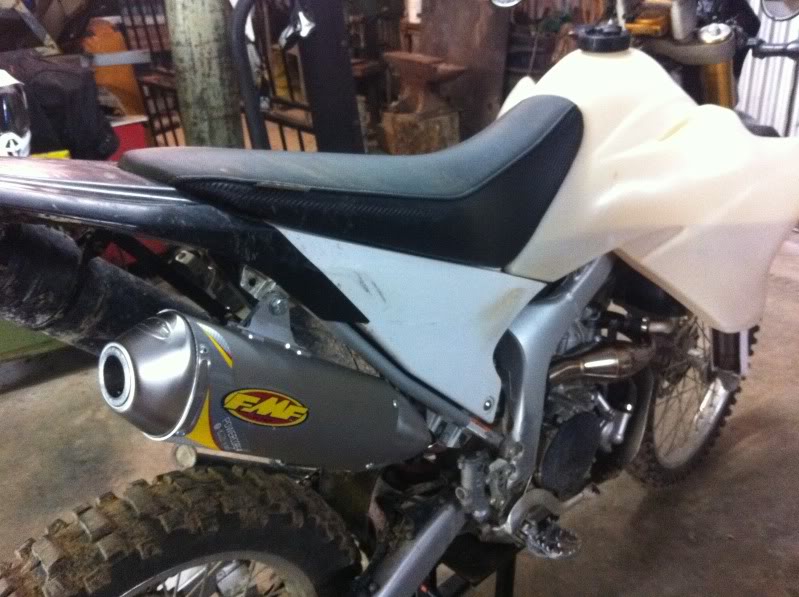
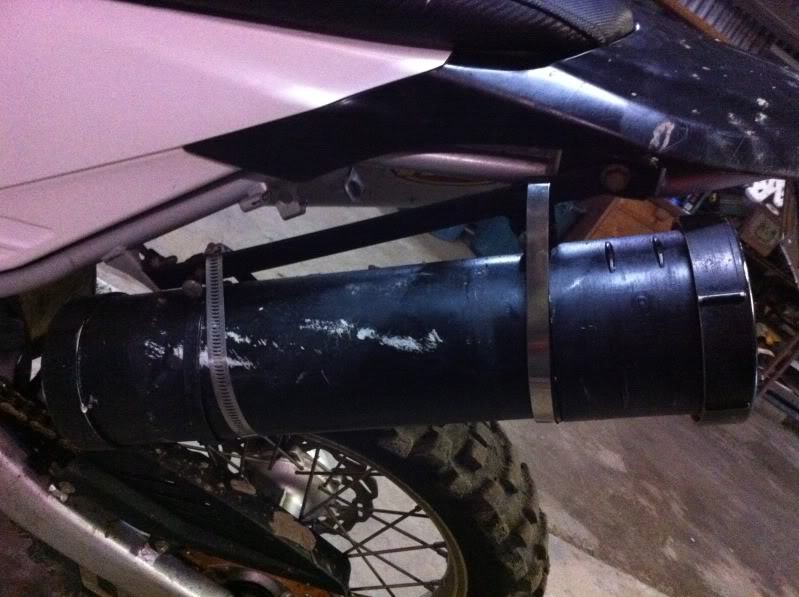
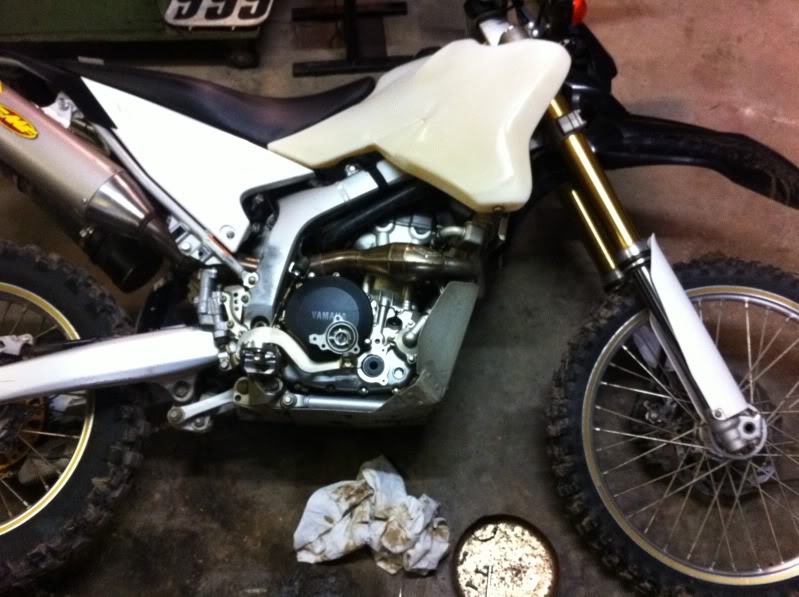
| Indicator broke after some hard riding, so replaced it with a new one: 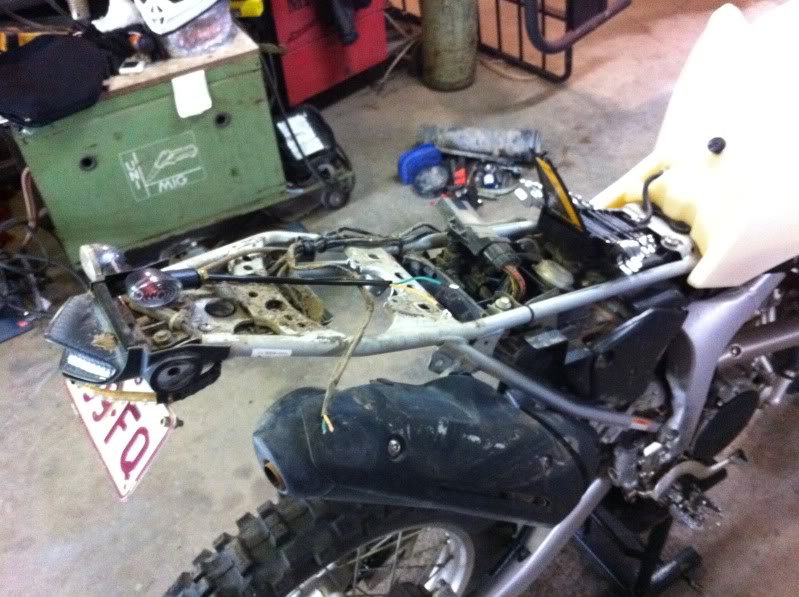  On that note, I also never got around to doing the head light guard and a mate's roost cracked my headlight too!! Anyway, got myself an air hawk for some of those longer trips:  Bought a staintune exhaust: 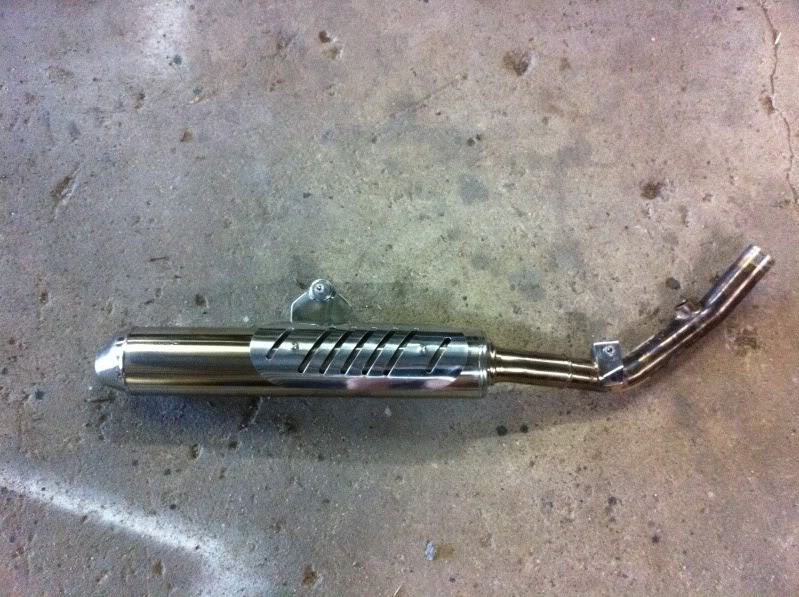 Stock V Stainy  Fitted the stainy up, O2 sensor in, found an awesome hose clamp and also a tiny bit of gasket goo, just to make sure it sealed properly:  Hmmmm........ well that doesn't work out too good does it!!  While I did the exhaust, I did the flapper, removed all the AIS, the EXUP stuff and all lines etc: 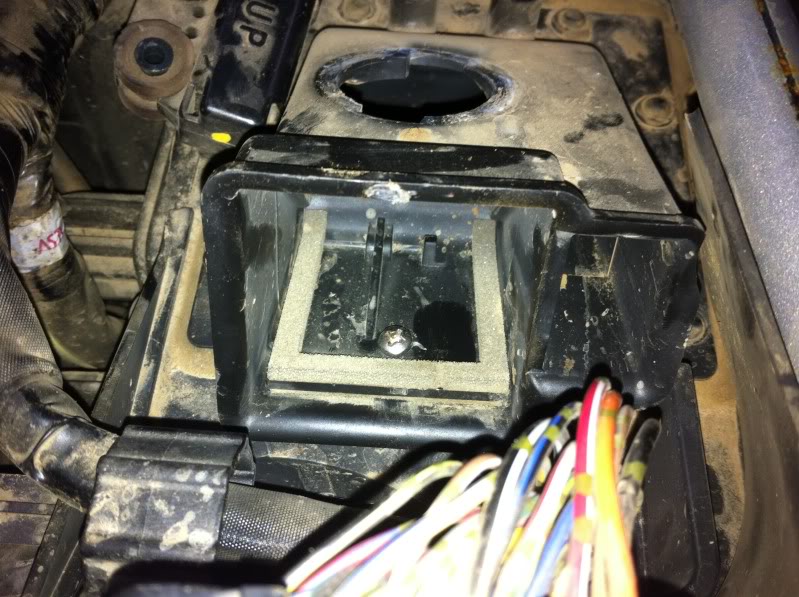 Fair bit of junk gone! 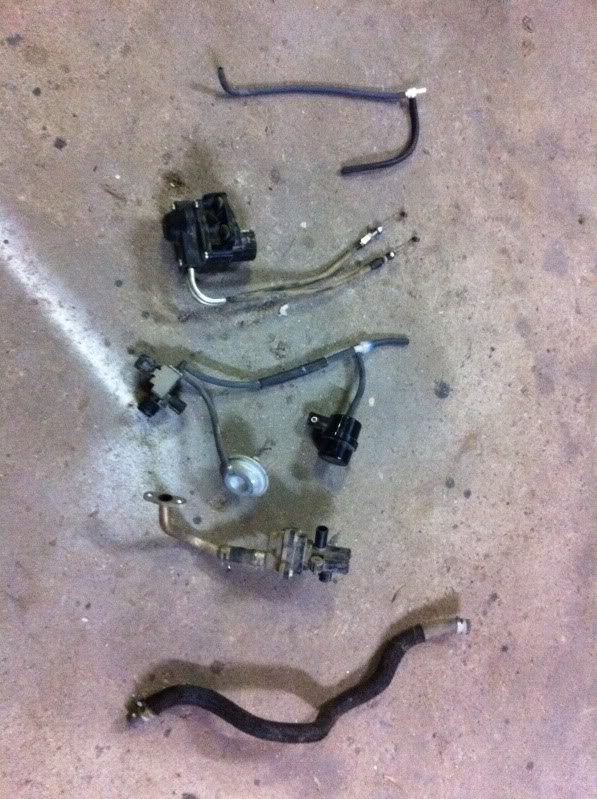 Found a great bung for the airbox side of the AIS:  Made up a plate for the AIS entry:   I also modified my front tank bolts because it was rather difficult to locate them when putting the tank back on:  Did a quick solution to the exhaust positioning problem:  My friend Charlie was overlooking my work:  Closer look, just a carpet python:   Here is the resistor I used, because I had already run the bike without the EXUP plugged in, it had thrown the code and had the light on so I had to plug the EXUP back in, then disconnect and put the resistor in place, No more light!!  Also gave the air filter a clean because I wanted everything to be tip top for my first ride with all the mods:  I also got some white side covers and white fork guards, the beginning to the bike being totally changed to white when I do the fairing: 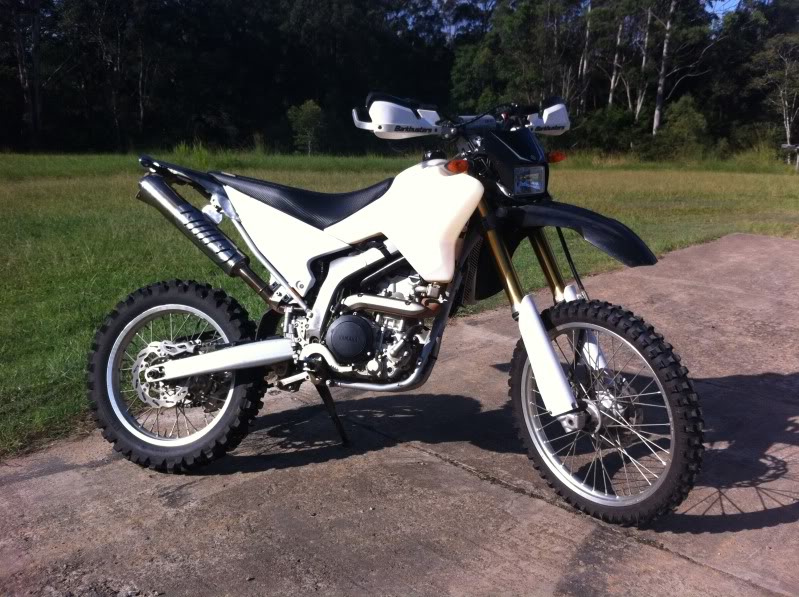  So here is a quick clip of the new exhaust:  | |
| | | | 47une
| | Subject: Re: My WR250R Build. Sun Mar 18, 2012 3:18 am | |
| | |
| | | | mordicai
| | Subject: Re: My WR250R Build. Sun Mar 18, 2012 12:50 pm | |
| Well a fun read this morning. Your having a good time with it. Could have fooled me on page one when you said" Keeping the bike pretty well stock while it is still under warranty mate." Look forward to the next shop adventure! How's your airhawk working out. You like it? I have the Seat Concepts and like it much more than stock but also needed more. I put a long haired sheep skin on it, which works great for me. Kind of like sitting on your dog. | |
| | | | 47une
| | Subject: Re: My WR250R Build. Mon Mar 19, 2012 5:27 am | |
| - mordicai wrote:
- Well a fun read this morning. Your having a good time with it. Could have fooled me on page one when you said" Keeping the bike pretty well stock while it is still under warranty mate." Look forward to the next shop adventure! How's your airhawk working out. You like it? I have the Seat Concepts and like it much more than stock but also needed more. I put a long haired sheep skin on it, which works great for me. Kind of like sitting on your dog.
Yeah mate, loving the bike. It is too damn hard to keep anything stock!! I always modify my cars and bikes. Next workshop adventure will be mounting my UHF and placement of Push To Talk button. Then keeping going on my bash plate. I haven't actually ridden with the air hawk on this bike. I have had one before when I had a DR650 and Vstrom. I LOVED it then, so I am sure this will be the same on those longer rides. | |
| | | | mordicai
| | Subject: Re: My WR250R Build. Mon Mar 19, 2012 10:04 am | |
| Uhf ? 70 cm? You a HAM ? Been thinking about mounting a 2 meter rig on this bike. KJ6UWP | |
| | | | 47une
| | Subject: Re: My WR250R Build. Tue Mar 20, 2012 9:09 pm | |
| It is just one of the small 5W hand held units. I am setting it up with a throat mic and a push to talk button on the handlebars.
One of thse guys: http://www.uniden.com.au/australia/p_uh078SXnb_index.asp | |
| | | | mordicai
| | Subject: http://www.universal-radio.com/catalog/ht/0777.html Tue Mar 20, 2012 9:43 pm | |
| - 47une wrote:
- It is just one of the small 5W hand held units. I am setting it up with a throat mic and a push to talk button on the handlebars.
One of thse guys: http://www.uniden.com.au/australia/p_uh078SXnb_index.asp | |
| | | | 47une
| | Subject: Re: My WR250R Build. Wed Mar 21, 2012 1:54 am | |
| WOW! That one looks pretty fancy with heaps of features! My mate and I just got units that were waterproof and durable just to have some good quality, resonably long range bike to bike coms. | |
| | | | 47une
| | | | | 47une
| | Subject: Re: My WR250R Build. Fri Jul 20, 2012 5:37 am | |
| | |
| | | | Coop

| | Subject: Re: My WR250R Build. Fri Jul 20, 2012 8:30 am | |
| Nice work.
I had an FMF PC4 on my bike and it was way too loud for my tastes. Good luck with that. | |
| | | | motokid
Moderator

| | Subject: Re: My WR250R Build. Fri Jul 20, 2012 10:01 am | |
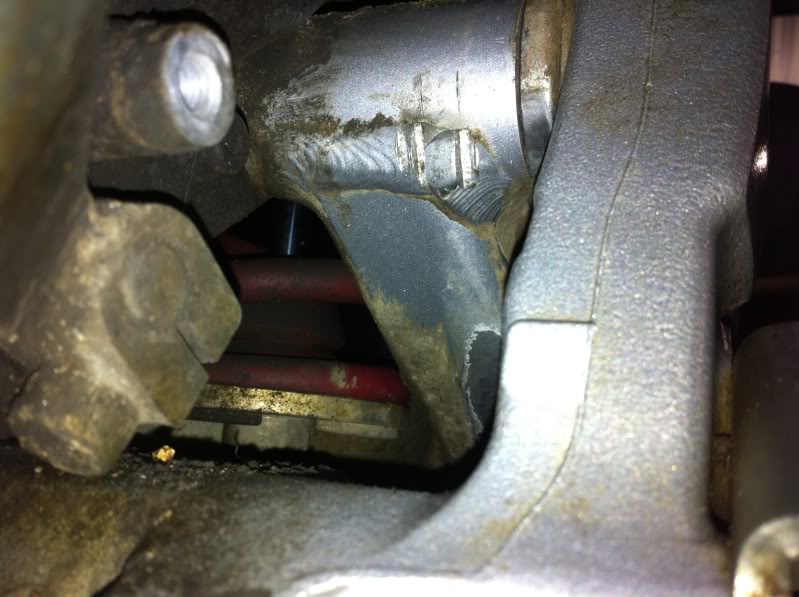
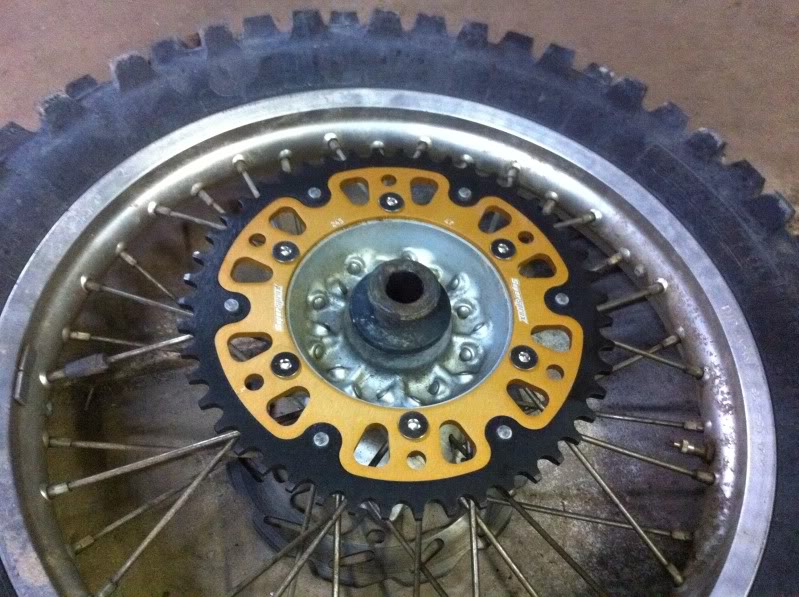
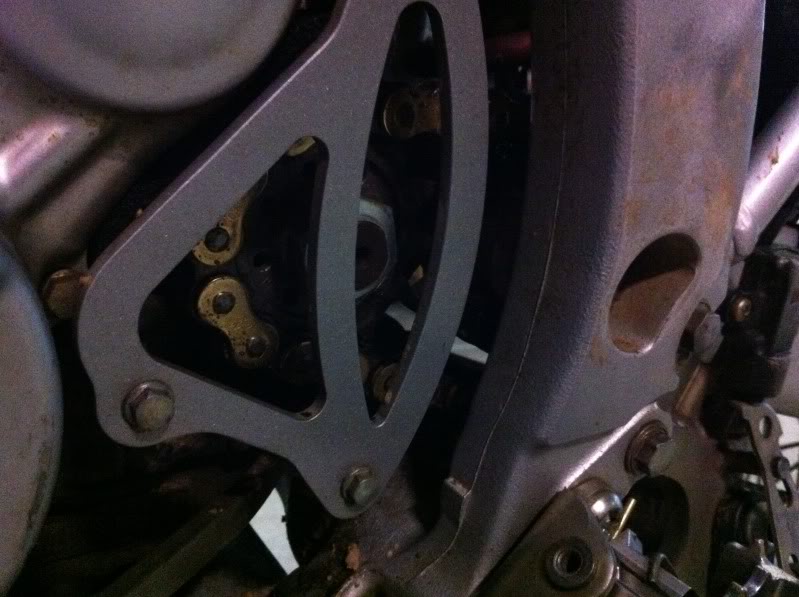
| How many miles/km's were on that chain slider? Looks like you really caught it just in time. How many teeth on the new rear sprocket? Looks sexy. 
_________________
2008 WR250X
Gearing: 13t - 48t
Power Commander 5 / PC-V
Airbox Door Removed - Flapper glued - AIS removed
FmF Q4
Bridgestone Battlax BT-003rs
| |
| | | | 47une
| | Subject: Re: My WR250R Build. Fri Jul 20, 2012 6:11 pm | |
| Coop: Yeah the thing is pretty damn loud!! But it gives me the best performance, so that is what I was looking for.
Motokid: The bike has 13000km so it hasn't done too bad considering the chain condition and running a 12T front sprocket for so long. I knew it was bound to happen and checked it regularly for a period after fitting the 12T front, but got lazy after a while and forgot about it. So yeah, caught it just in time for sure.
I am now running 13/47 with a DID 520VT2 chain. | |
| | | | mudmojo
| | Subject: Re: My WR250R Build. Mon Aug 20, 2012 3:18 am | |
| - 47une wrote:
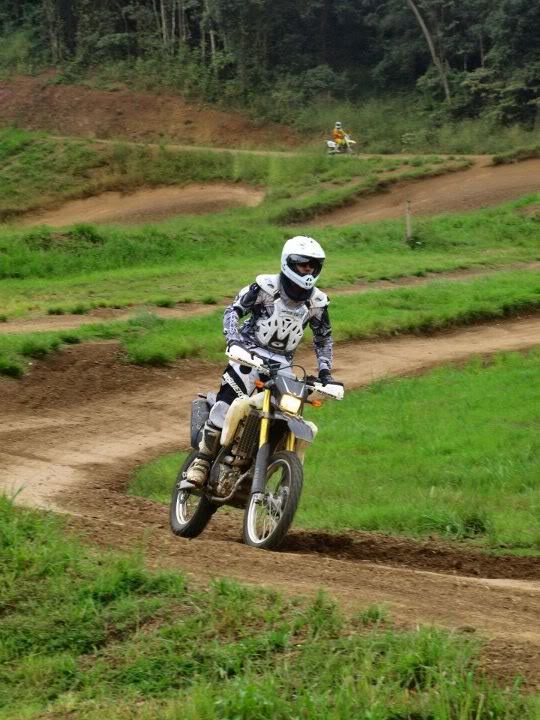
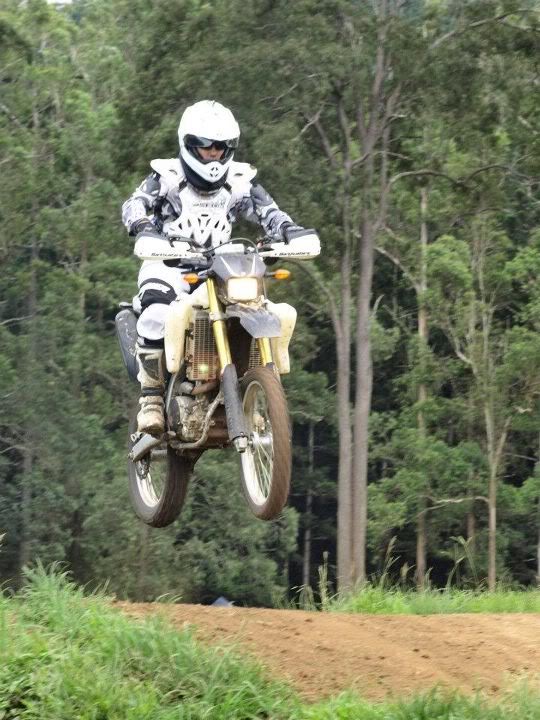
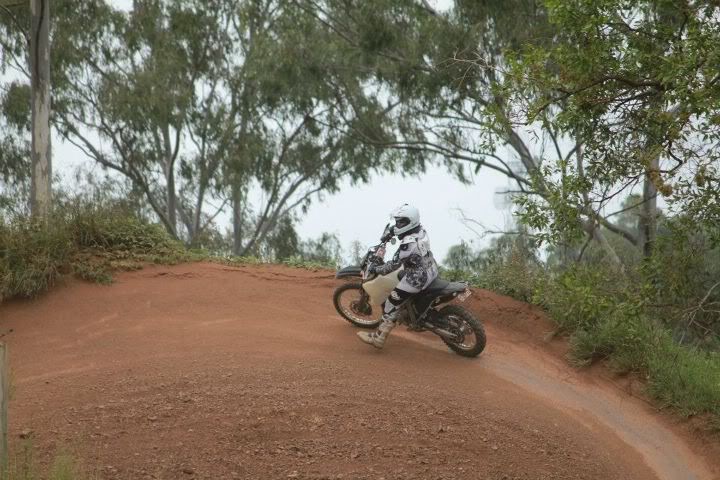
- G'day mate. Yeah, it's my property, about 45 acres worth. I have just finished making the track and I ride the track every single day. I feel a bit strange if I have to miss a day of riding it....
You are quite the lucky man to have a setup like that in your own backyard!  | |
| | | | LordEndo

| | Subject: Re: My WR250R Build. Wed Oct 31, 2012 9:04 pm | |
| Good call on the height of your skid plate. I had a branch knock out the solid tube between the flex hoses on my WR - got it fixed with no issue and the tube wasn't even dented.....kind of makes me wonder if one of the clamps was missing from the stealership.......
Looks great in black! | |
| | | | WRXer
| | Subject: Re: My WR250R Build. Thu Nov 01, 2012 11:01 pm | |
| Is there a place to order Yamaha parts online from OZ? | |
| | | | millert85
| | Subject: Re: My WR250R Build. Fri Nov 02, 2012 1:35 am | |
| you can email me... happy to post stuff | |
| | | | Krispy

| | Subject: Re: My WR250R Build. Mon Nov 05, 2012 7:49 pm | |
| where was that motor cross park you went too? | |
| | | | 47une
| | Subject: Re: My WR250R Build. Tue Nov 06, 2012 5:18 am | |
| Been a long time since I have updated here, so here goes with all the stuff over the last few months: Started the big changes with going all white plastics:  KTM front guard:   Some gold rim tape for a bit of bling:  Some new folding levers, much shorter, really quite good:   Lack of adjustment on the brake master cyclinder though:  New front guard fitted: 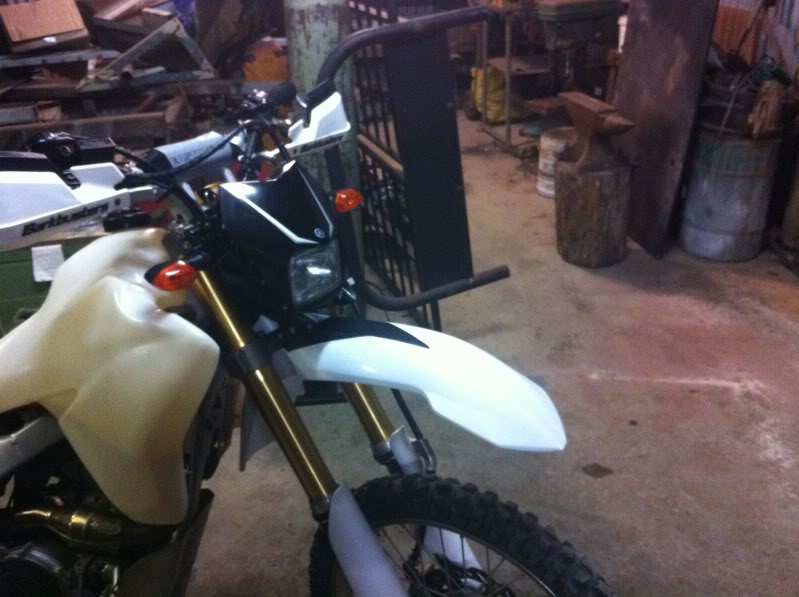  New levers:   Low guard.........nah:   Setup of the new tail with foam tape where factory put it:  All new white plastics (Except headlight, not needed for future fairing)  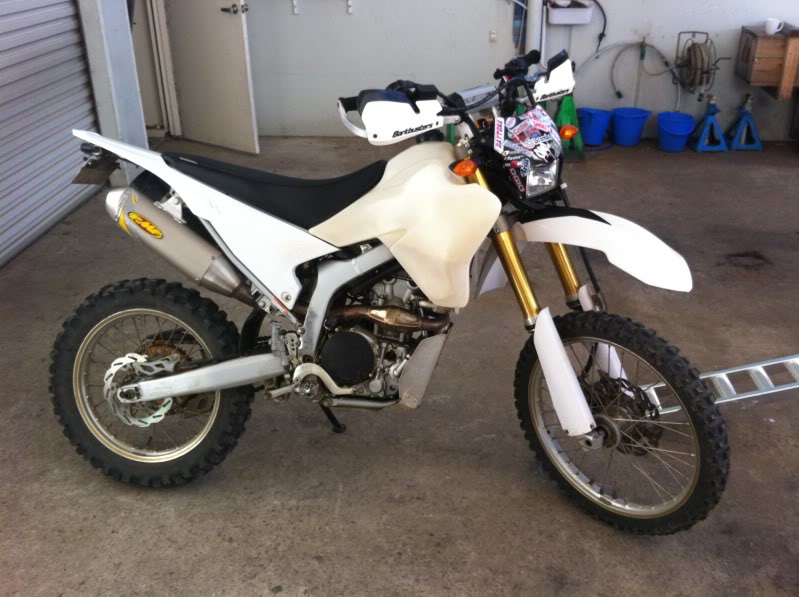 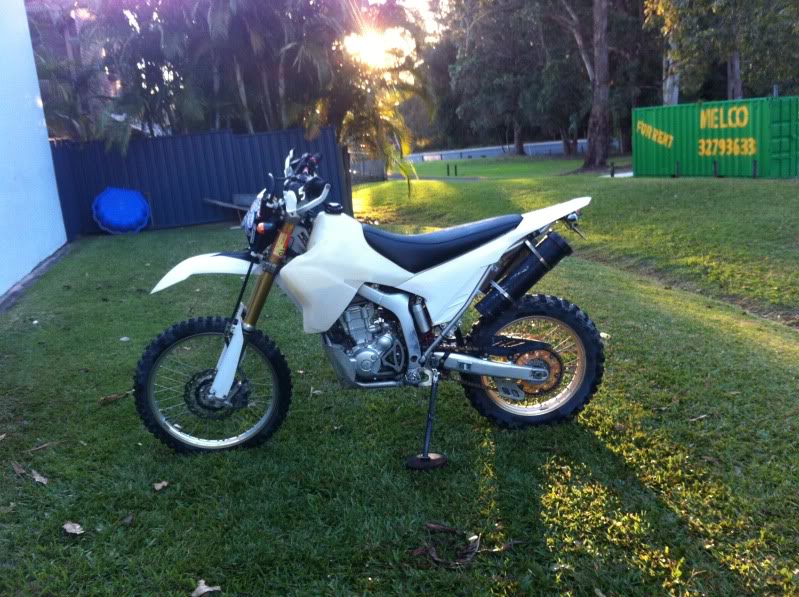   So then continued on with my rally bash plate making:     Fitted a rear rim lock as, due to lack of care and attention, let the rear go so flat I ripped the valve stem!!  Took a bit of balancing!!  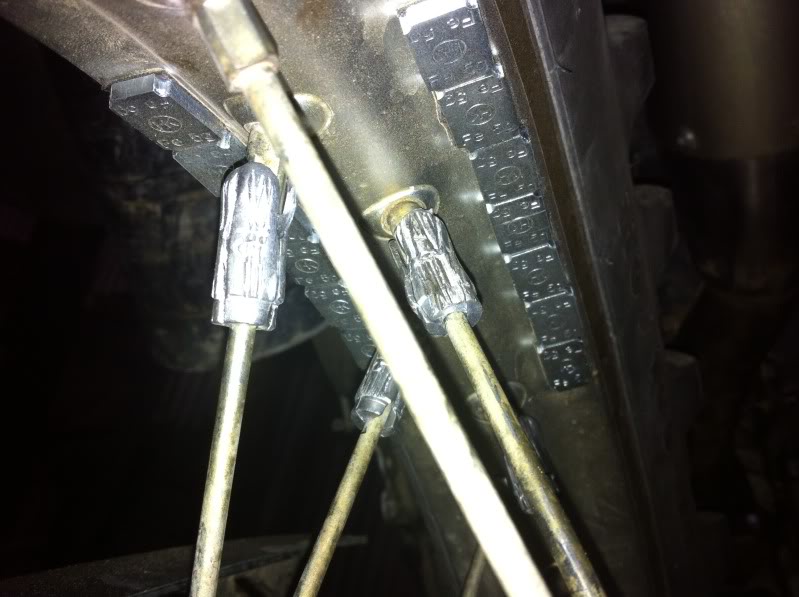 Heading off for an overnighter:  New front braided brake line and new brake fluid front and rear:    Bash plate all welded up (THANKS DRJOE!!!!!!) My welder is not set up for alloy unfortunately!  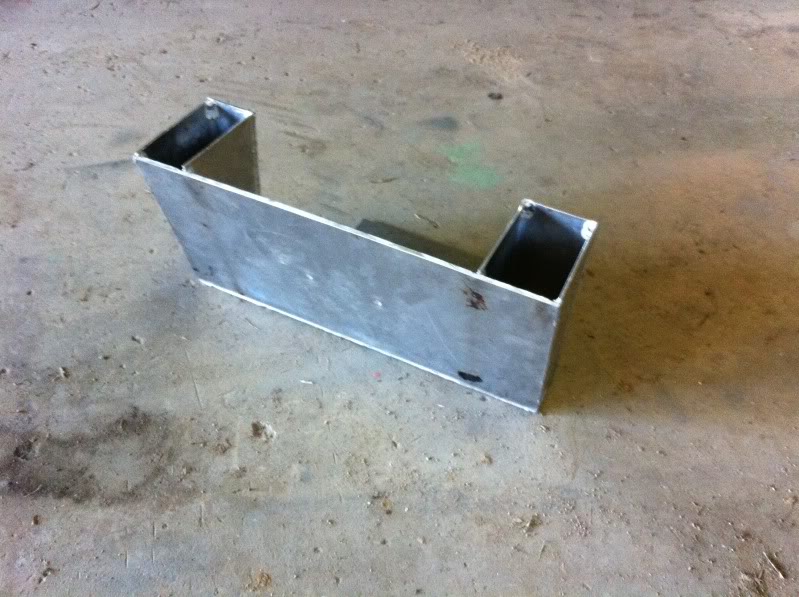 Making the lids:    Fitted: 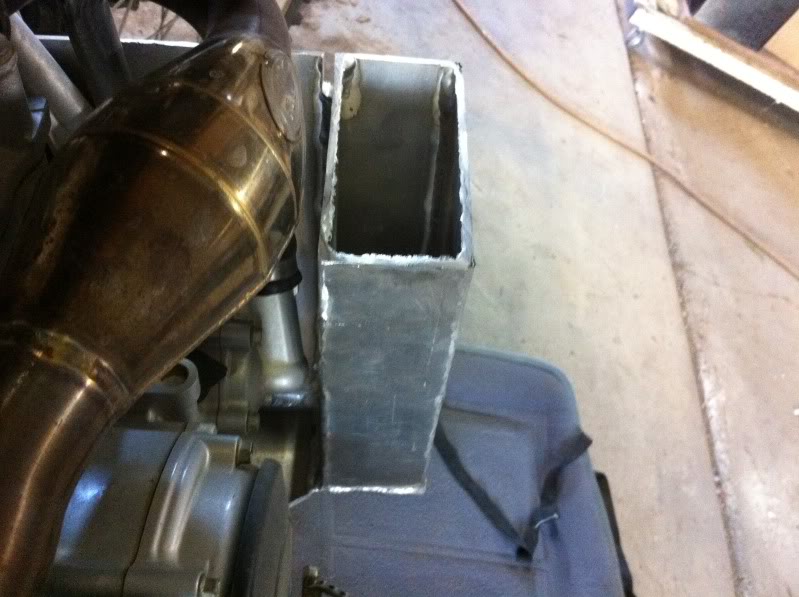    Beginning to sand and polish everything:  Latches for bash plate mounting: 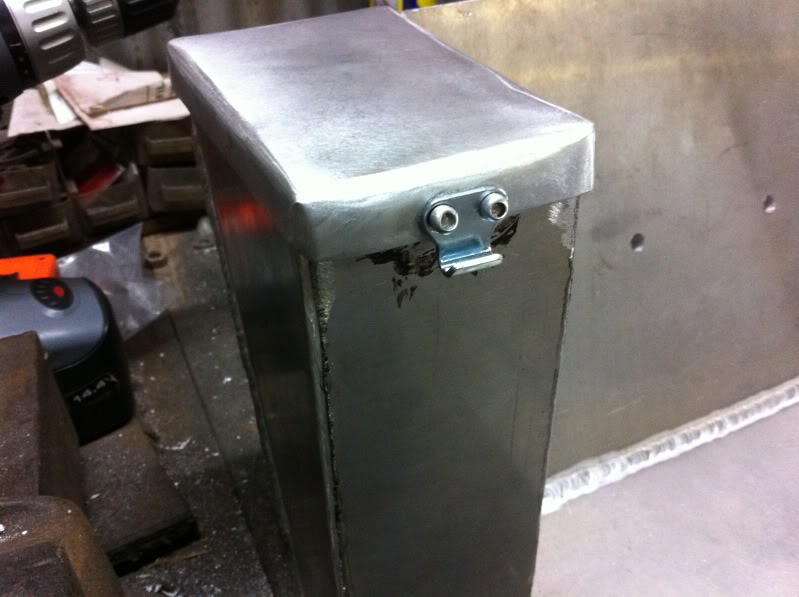 Cleaning down all welds:  Inside:  Sealed with silicone just in case:   My buffing setup, cheap, but very very effective!!    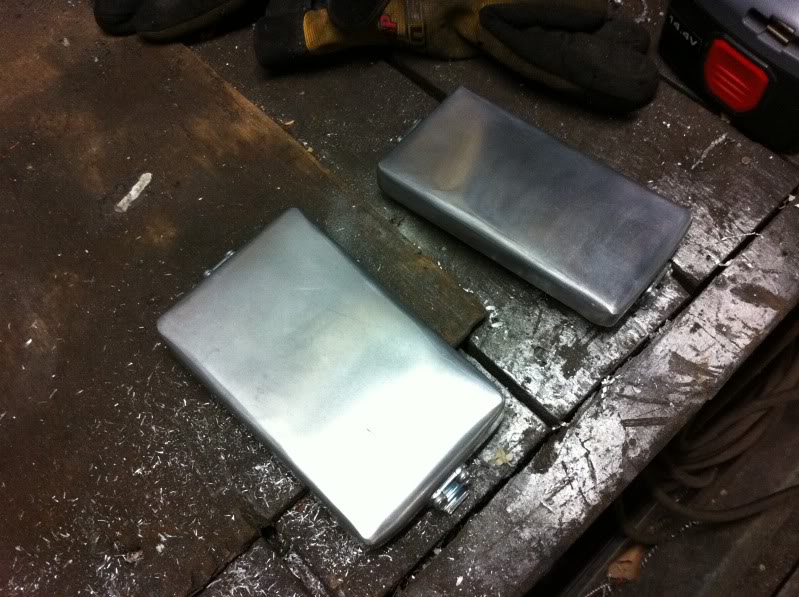   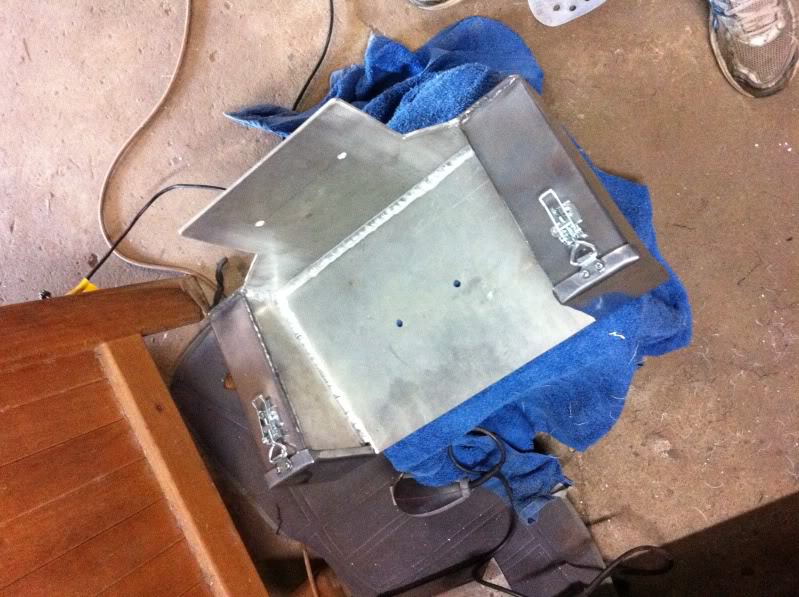 ITS A MONSTER!!!!! 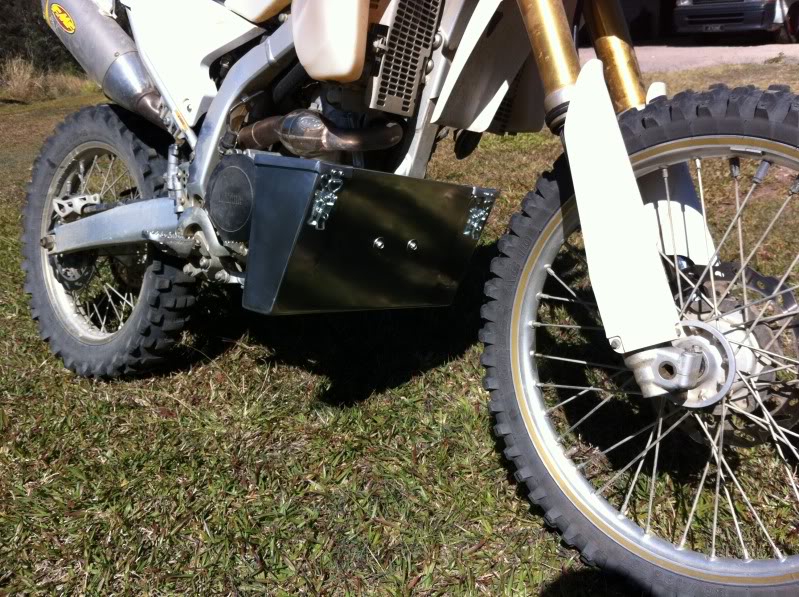 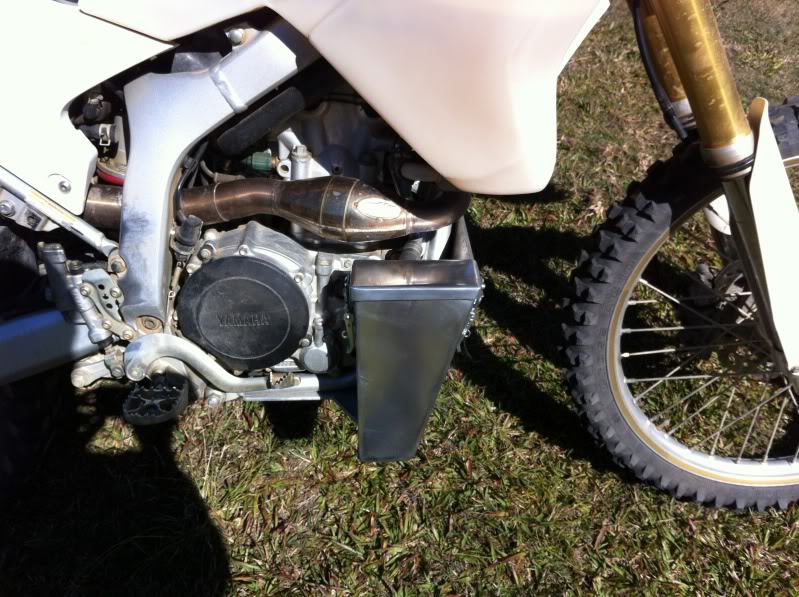     Nope, that is going to rattle around WAY too much!!  Winner:  Now onto the bloody pesty leaking fork seals!!        This was such and easy and enjoyable job, I would NEVER pay anyone to do it ever!!  | |
| | | | 47une
| | Subject: Re: My WR250R Build. Tue Nov 06, 2012 5:43 am | |
| So it was now time to get onto the serious job of doing a full fairing and nav tower, not a minor job to undertake by any means! Sourced some decent headlights:  Fit like a bloody charm! Also some indicators fitted too: 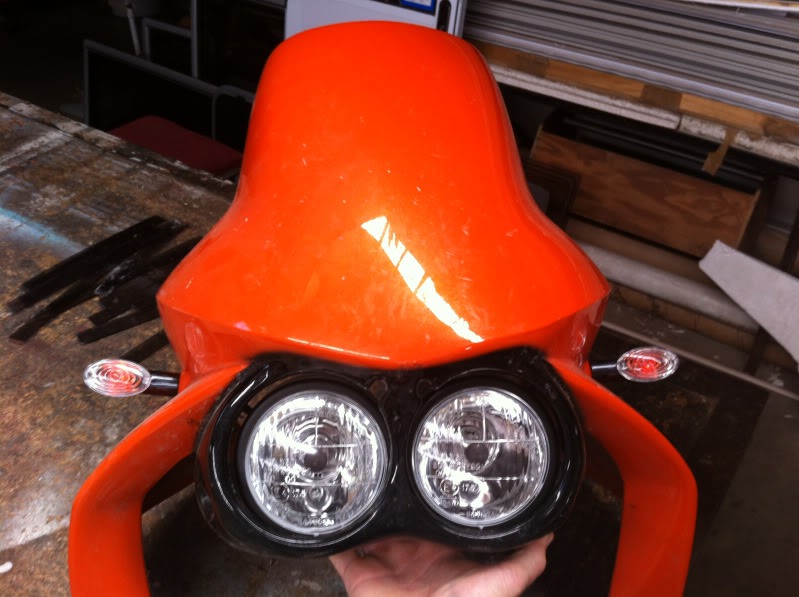 Cad drawings........computer modelling......CNC machines..... Nope!!! Some old steel, set square, tape measure and pencil and paper mate!! It's the Aussie way!!  Head gear all removed:  Removing the ignition barrel: 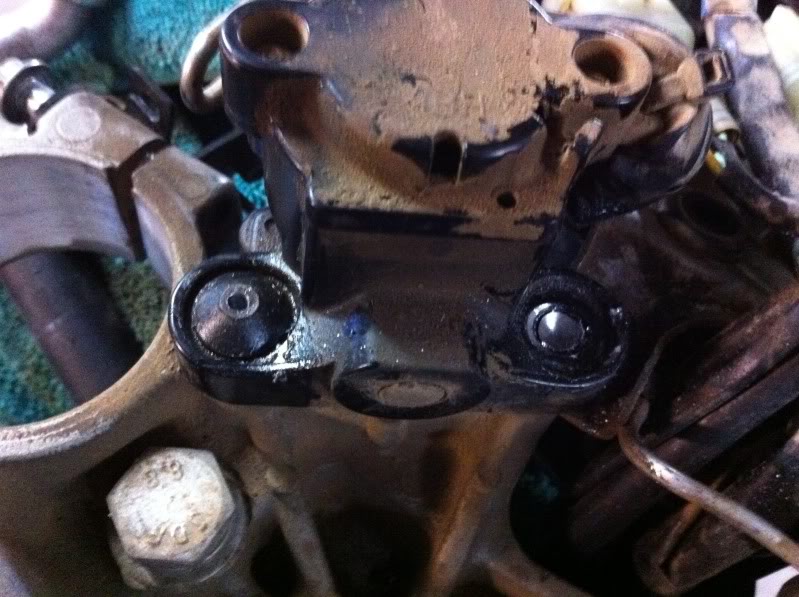   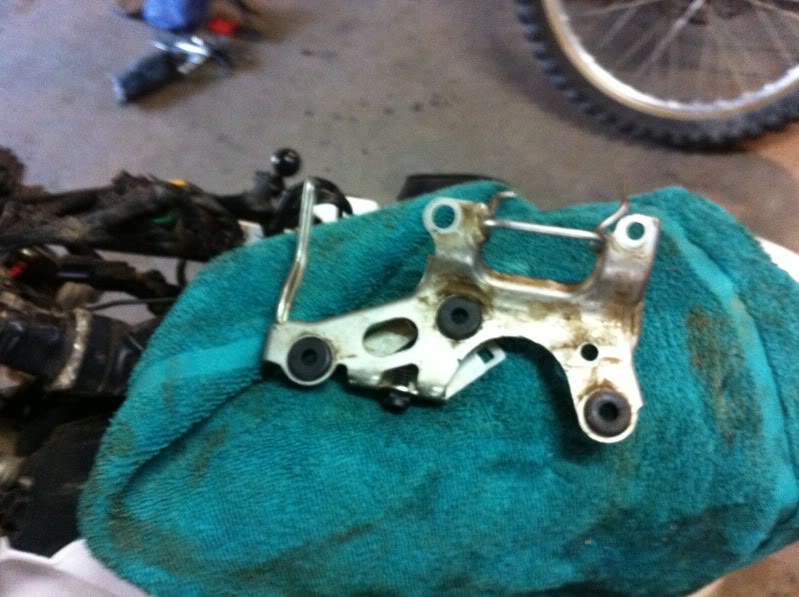 Now for Nav tower mounting:   Yup, real mans stuff!!      The scariest part of the whole job!!! PLEASE BE IN THE RIGHT SPOT!!!       Bugger, not enough length on the outward prongs, start again!!  Sealing up to make sure no dust or water works its way into the headstem: 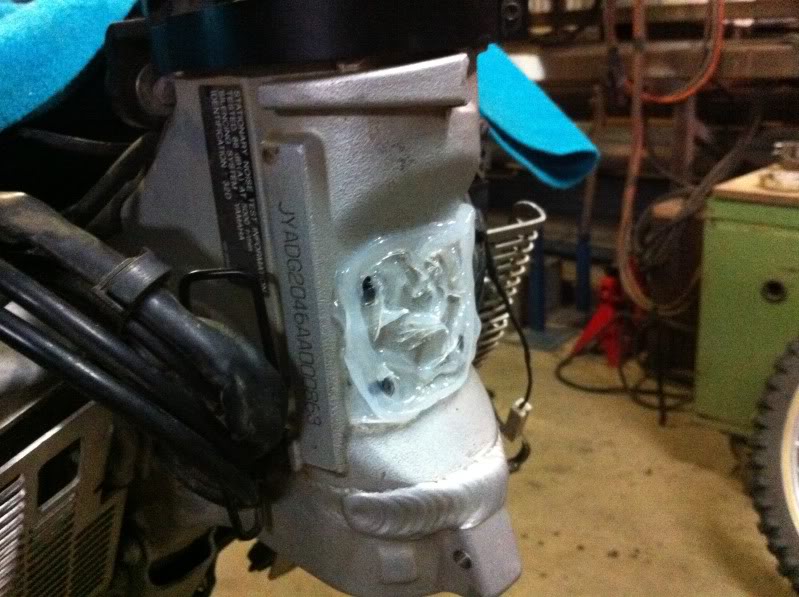 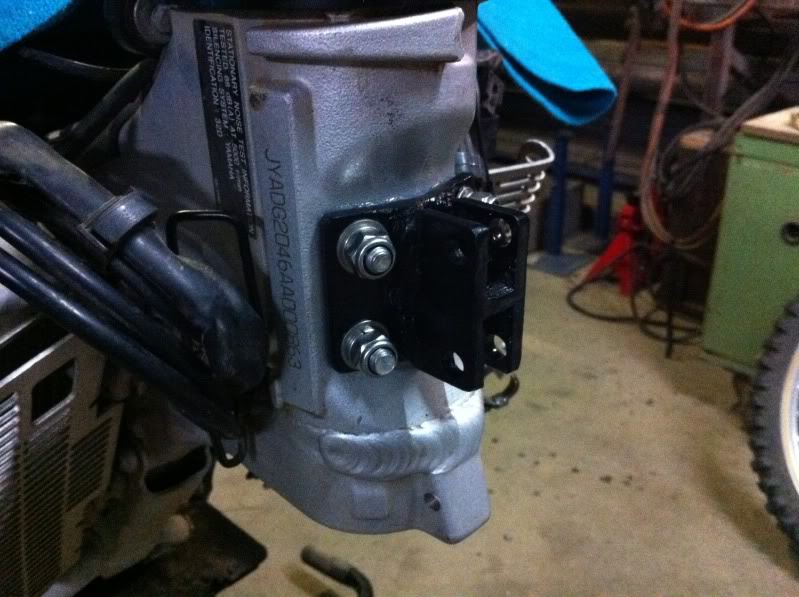 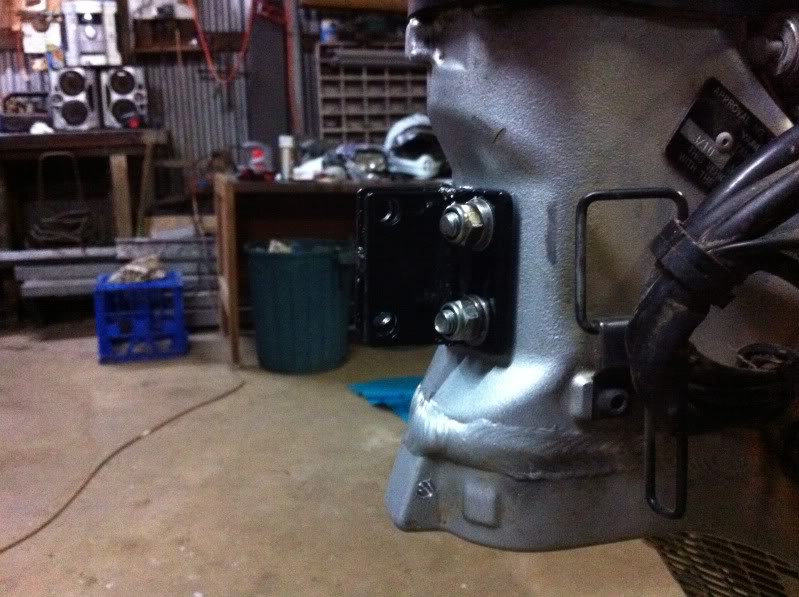 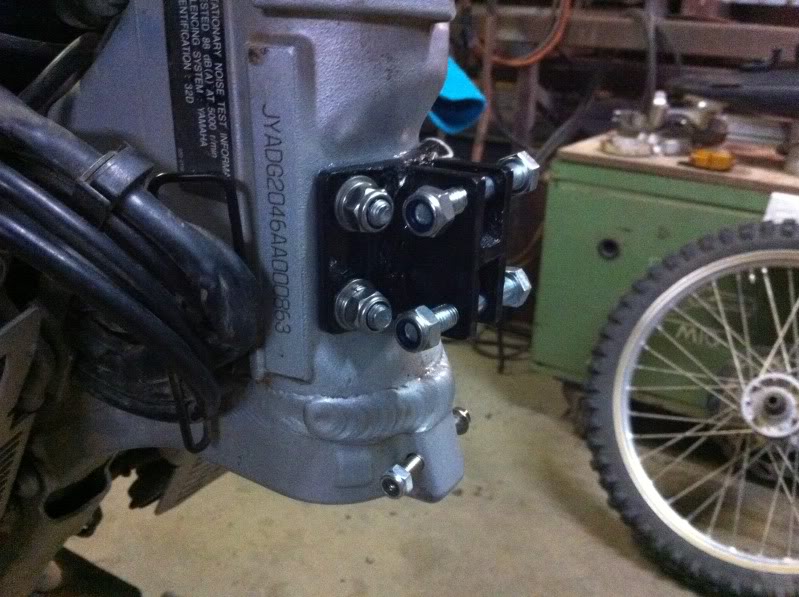  Thought I should replace the plug while I had the bike apart too, lucky I did check it!!  So now with the Nav tower mount on, the bike can go back together:  Started making the side fairing mounts:  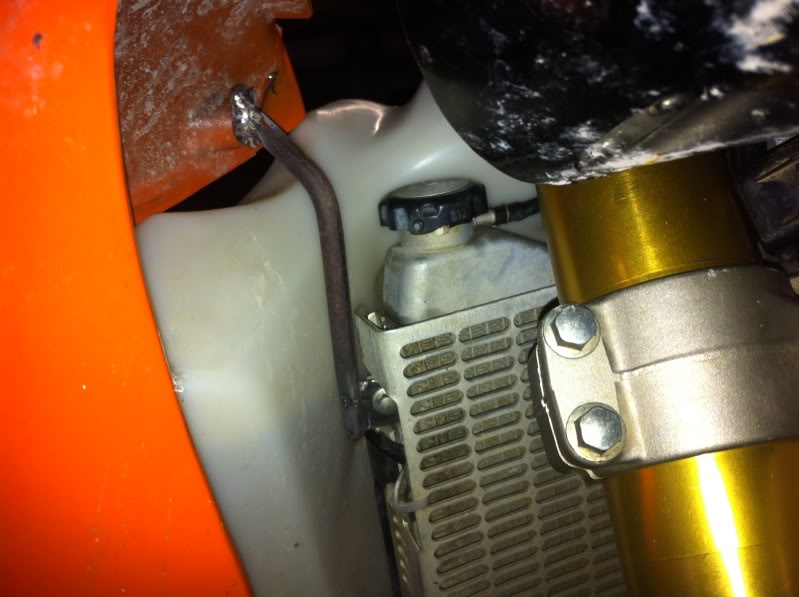 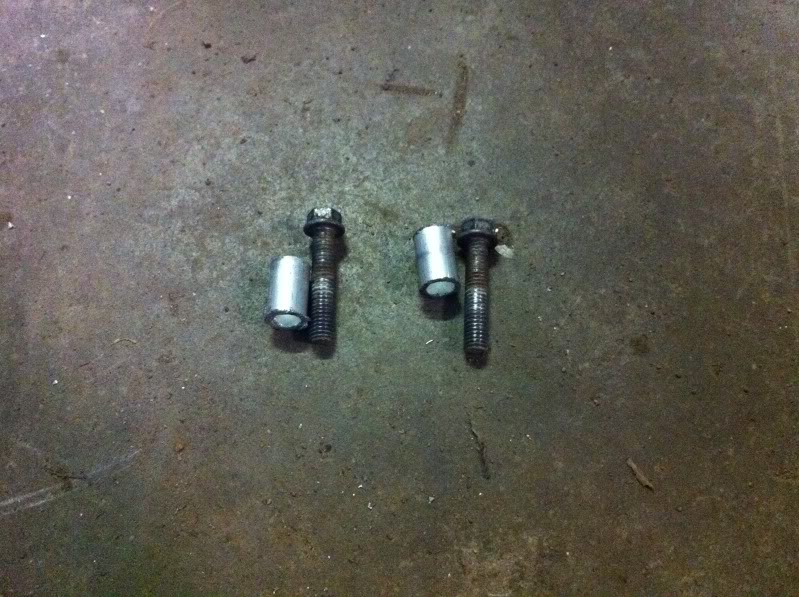   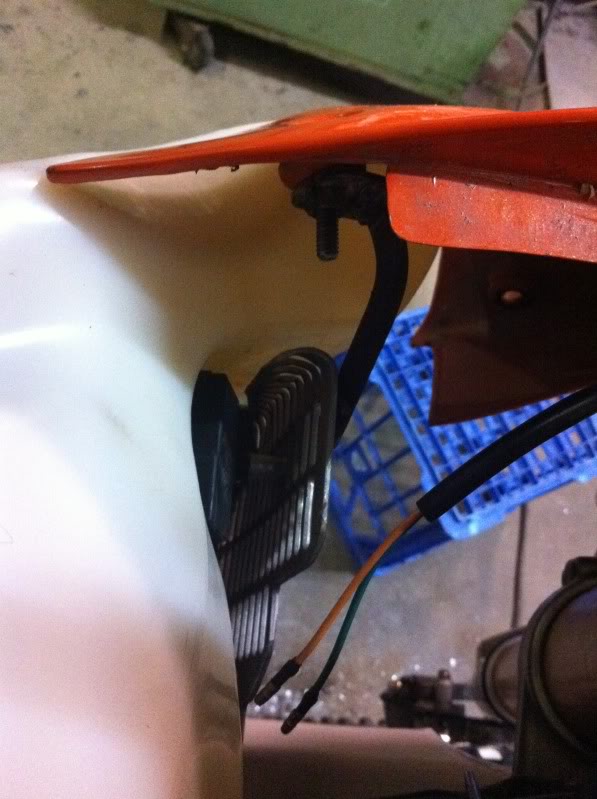     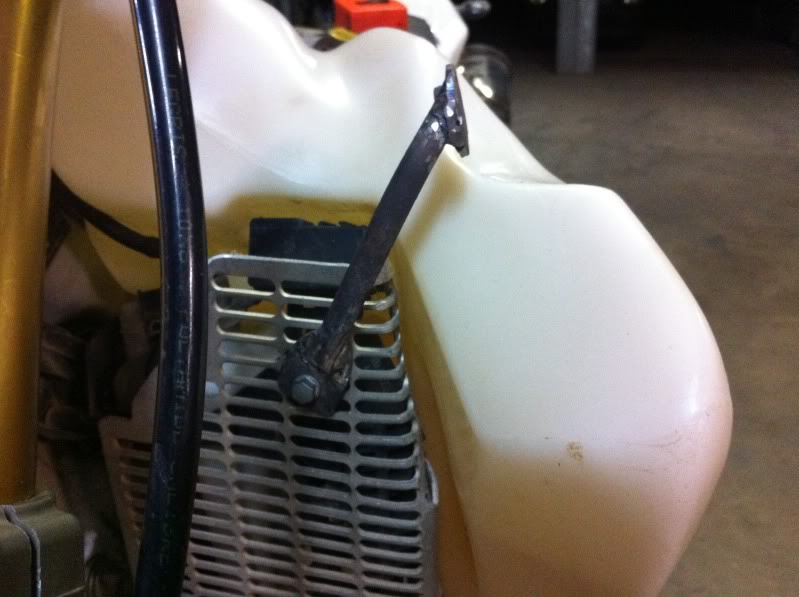 Got a suitable sticker made up for the bash plate:     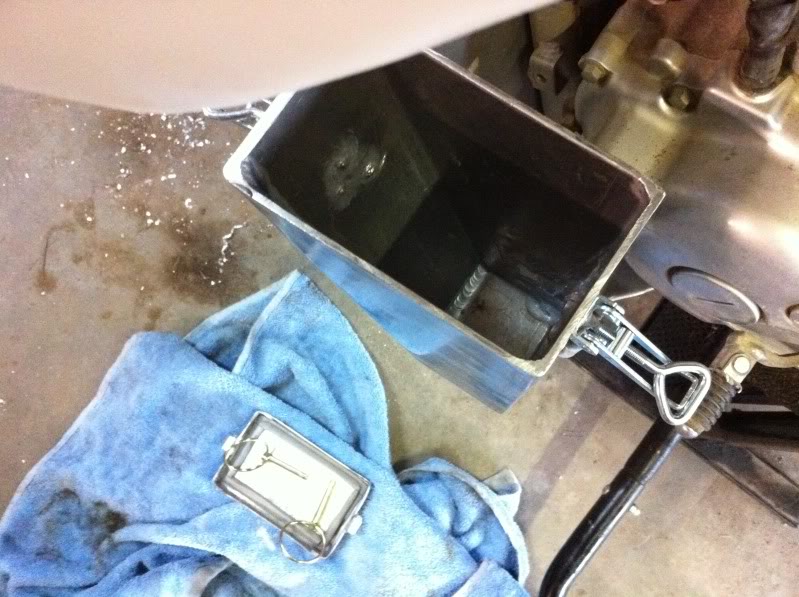 Quite easily fit this in just one side of the bash plate:  Ok, so it was now onto the Nav Tower plates:     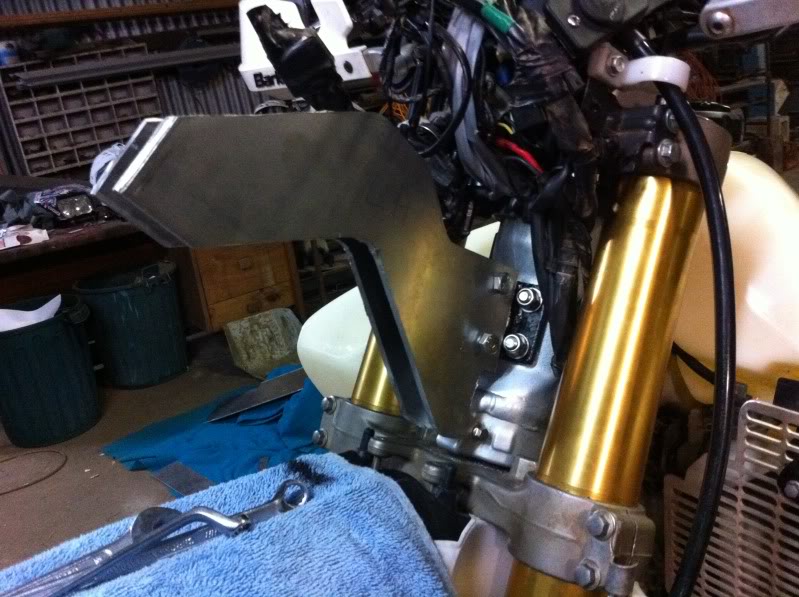 Light mounting:  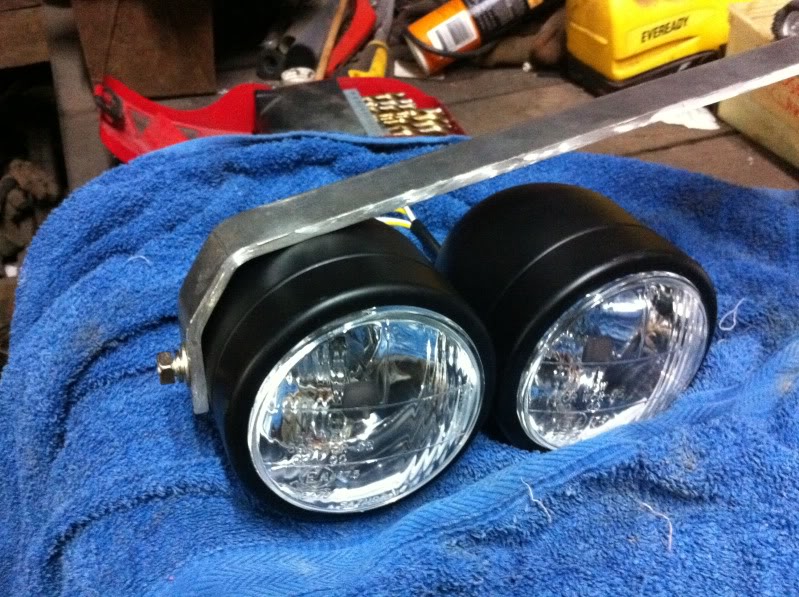   Getting there!!  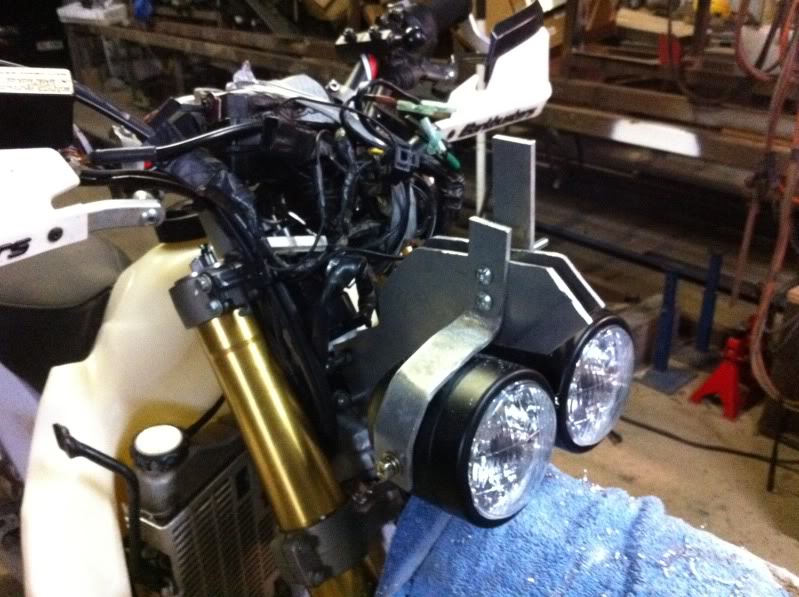 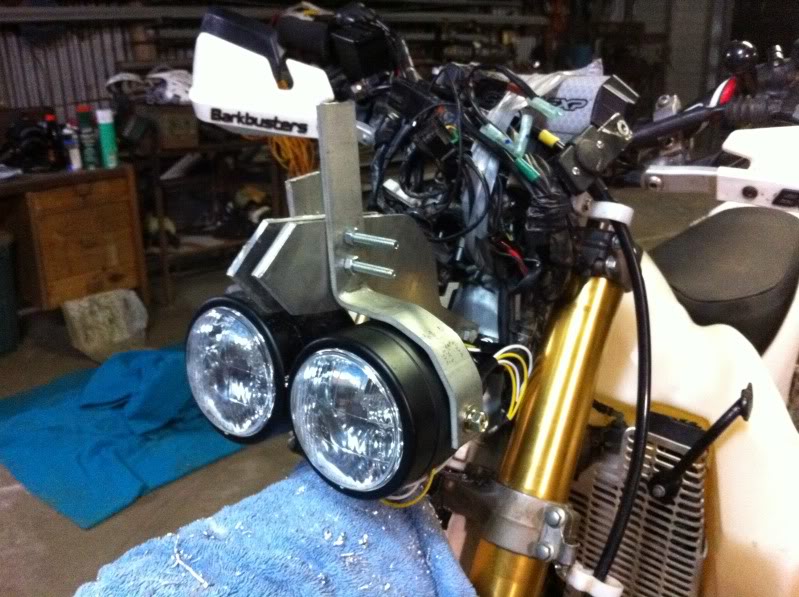     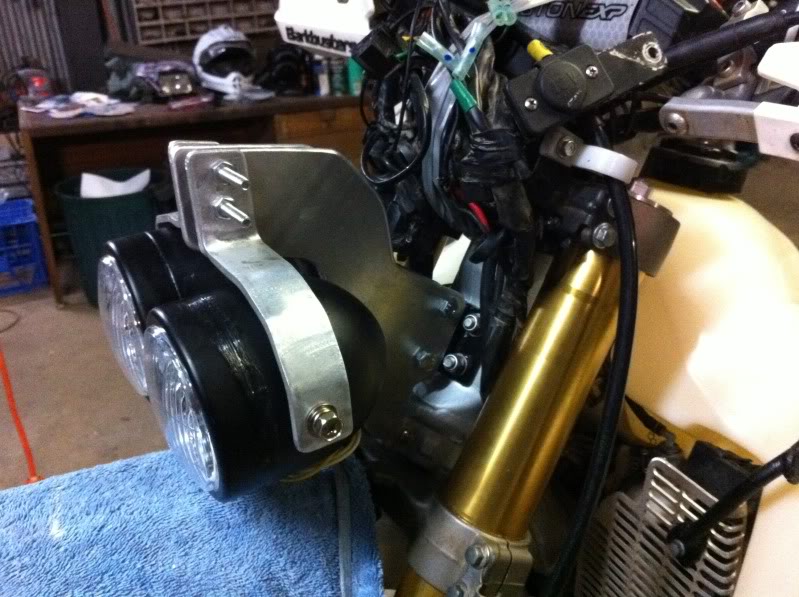 Front mountings for the fairing: 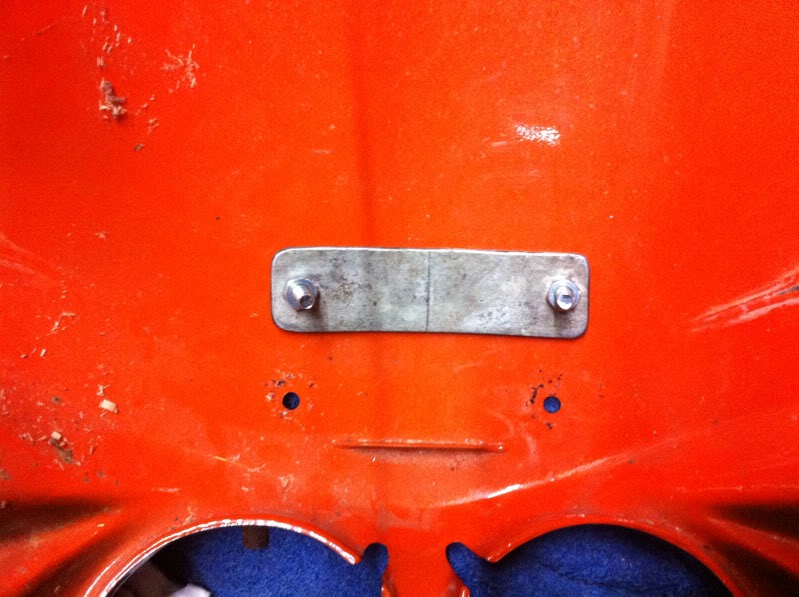   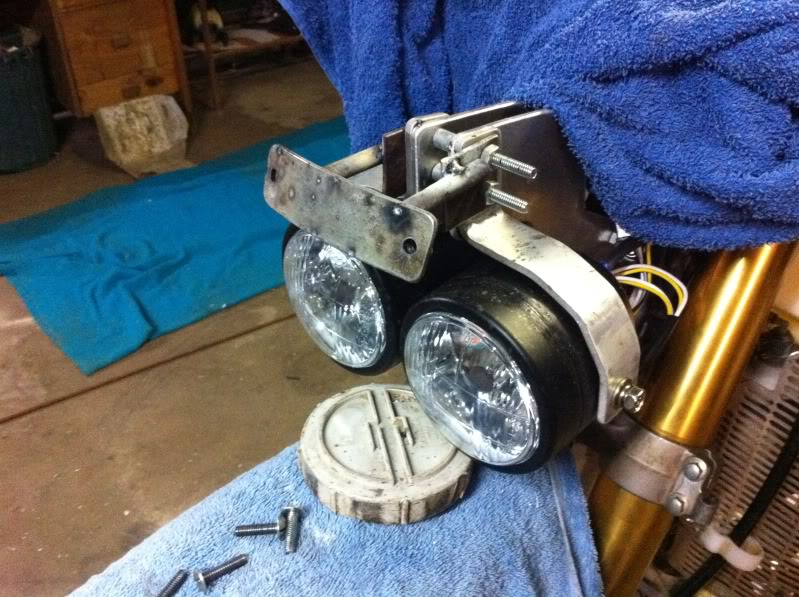 Trimming the fairing to suit the lines of the bike/fuel tank: 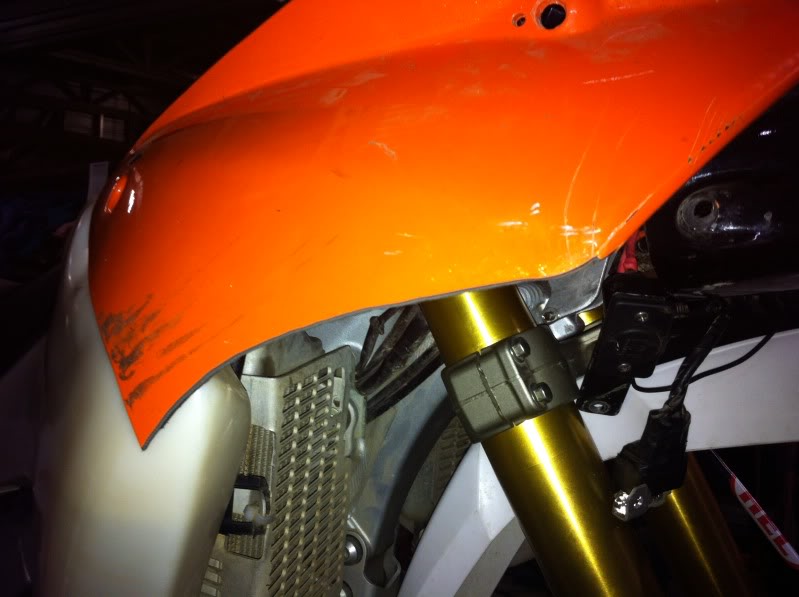 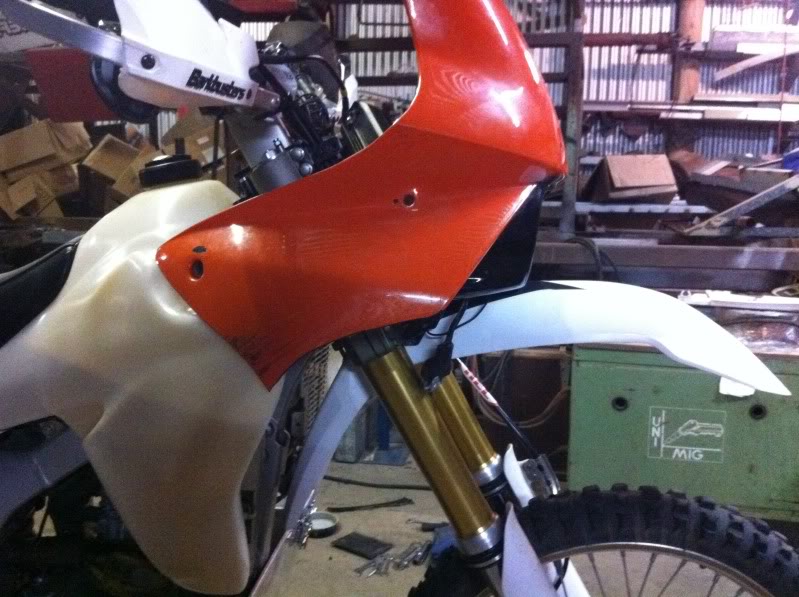    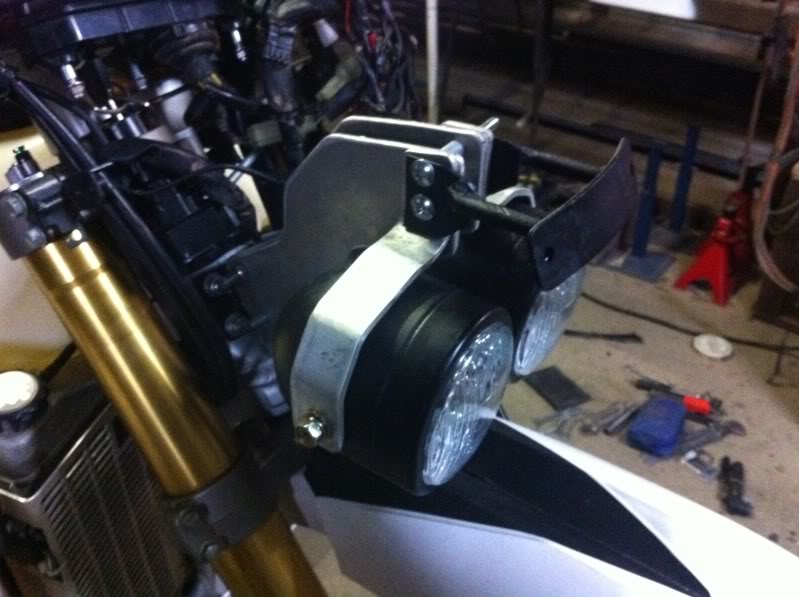  Relocating the OEM instrument panel:  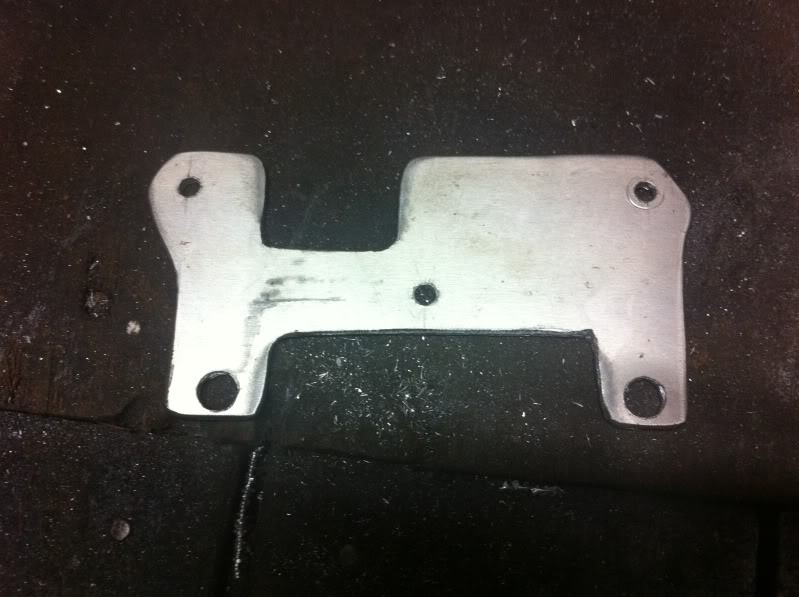   GPS mount/Roadbook mount:     Wiring and heated grip switch mounting:  12V outlet mounting:   Painting fairing:       So, the fairing is mounted from four simple screw head bolts, so it is easy to take on and off. I own a van, so it has to come off each time for transport. It's maiden voyage! 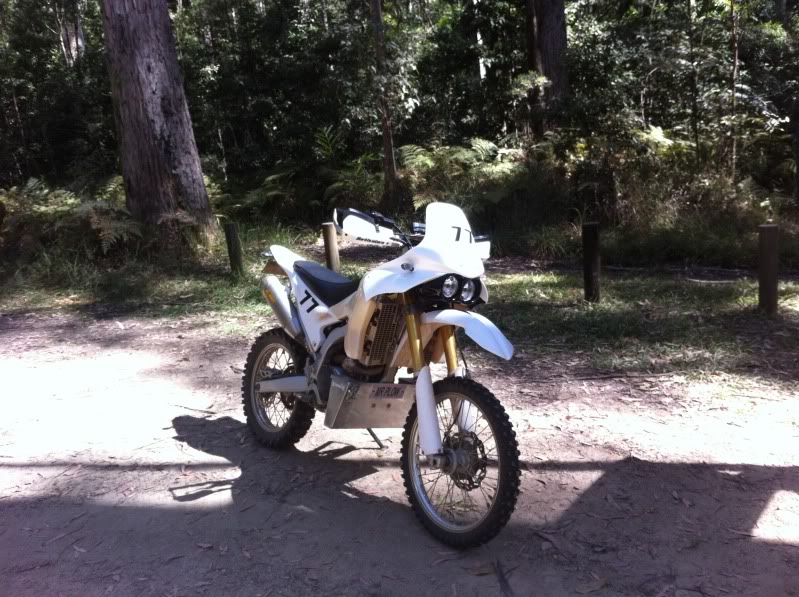 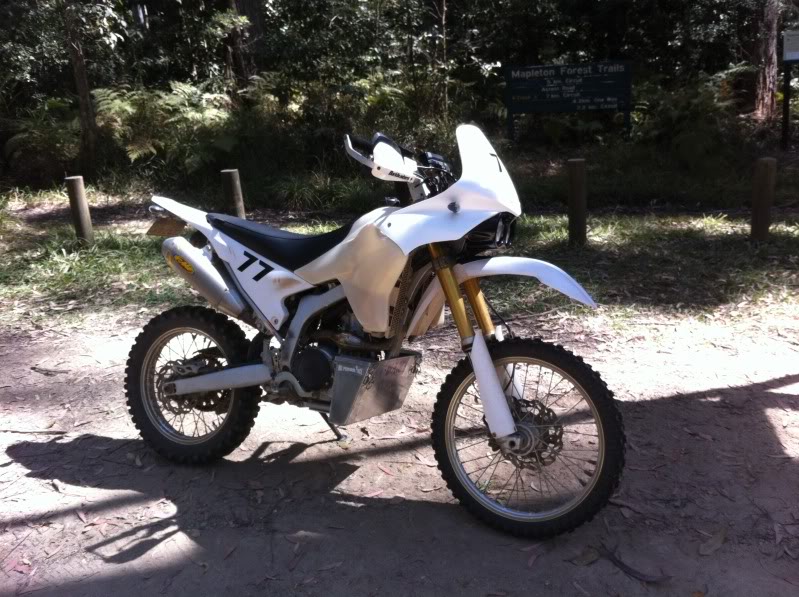   Then it was time for a bit of stickering up to make it look the part:      Then it was off for 3000+ kilometres to test it all out. Performed flawlessley. Man I LOVE this bike!!!!      | |
| | | | Egorkin
| | Subject: Re: My WR250R Build. Fri Apr 05, 2013 8:37 am | |
| "Here is the resistor I used, because I had already run the bike without the EXUP plugged in, it had thrown the code and had the light on so I had to plug the EXUP back in, then disconnect and put the resistor in place, No more light!!"
Hi, guys! Recently I changed my stoсk pipe for LeoVince X3. That on the dashboard check engine lamp didn't burn, I installed the same resistor, in the same sockets, as shown in your photo. I used the resistor of 7,5 k/Om, capacity of 0,25 wt. But at me as before, the orange control lamp burns. I disconnected the minus ( - ) plug from the accumulator, but it didn't help me.
Help, what it is necessary to make? Perhaps, it is necessary to enter into the diag mode and somehow to erase this error No. 17 from memory? | |
| | | | gatorfan

| | Subject: Re: My WR250R Build. Fri Apr 05, 2013 4:08 pm | |
| Dude, I think your ready for an IED with that bash plate!
Very impressive. | |
| | | | Sponsored content
| | Subject: Re: My WR250R Build. | |
| |
| | | | | | My WR250R Build. | |
|
Similar topics | |
|
| | Permissions in this forum: | You cannot reply to topics in this forum
| |
| |
| |