Subject: Re: My WR250R Build. Thu Apr 28, 2011 5:17 am
Look what arrived in the mail today:
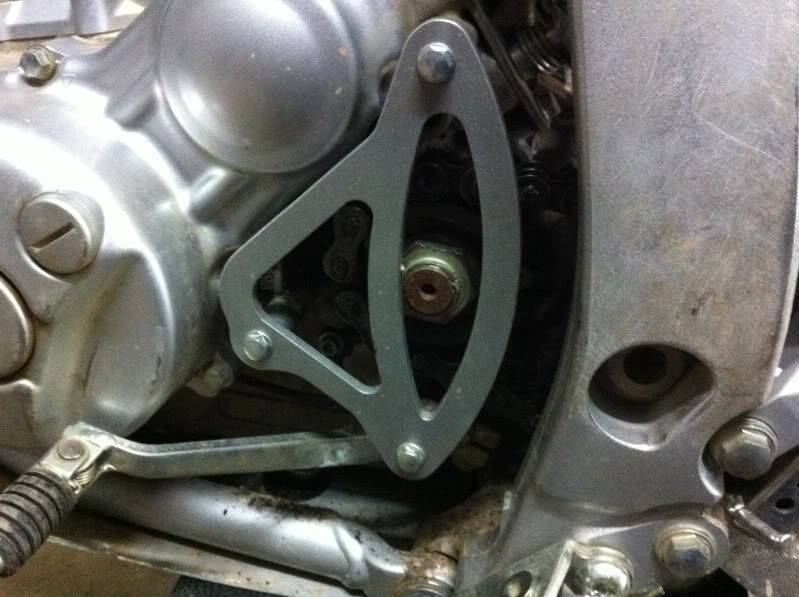
My case saver! All the way from the big US of A!!
mmmmm Jolly Rogers, we don't get them down here!
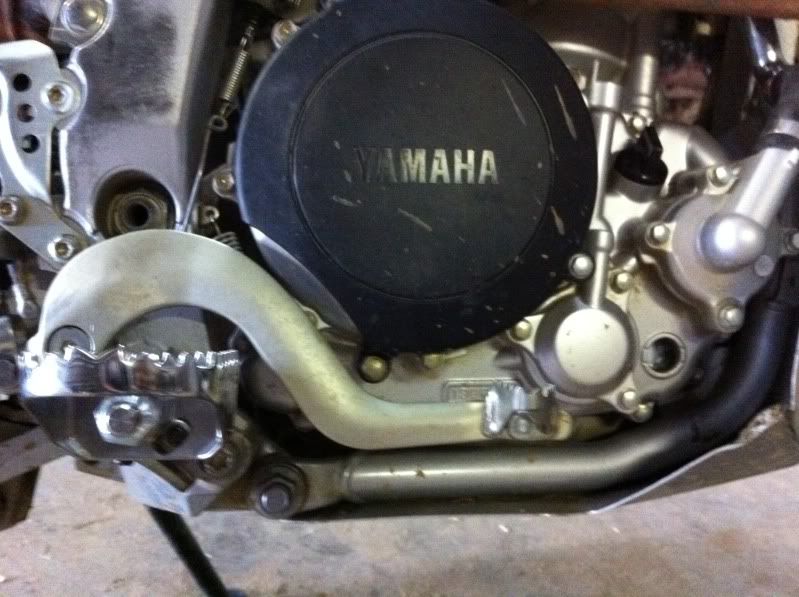
Out with the old:
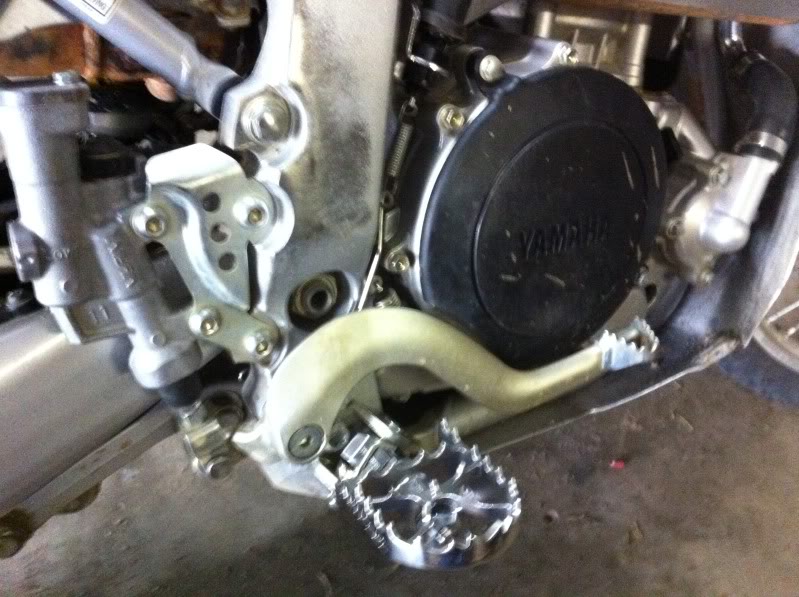
In with the new:
Such good quality and so damn quick and easy to fit. After funny noises from the chain the other week, this will give me piece of mind if it ever does decide to let go. Looks sweet too!
After last weeks trail ride, this will be a welcome addition as the stock cover was literally full of mud and grit etc.
SheWolf Alpha Rider
Subject: Re: My WR250R Build. Thu Apr 28, 2011 10:22 am
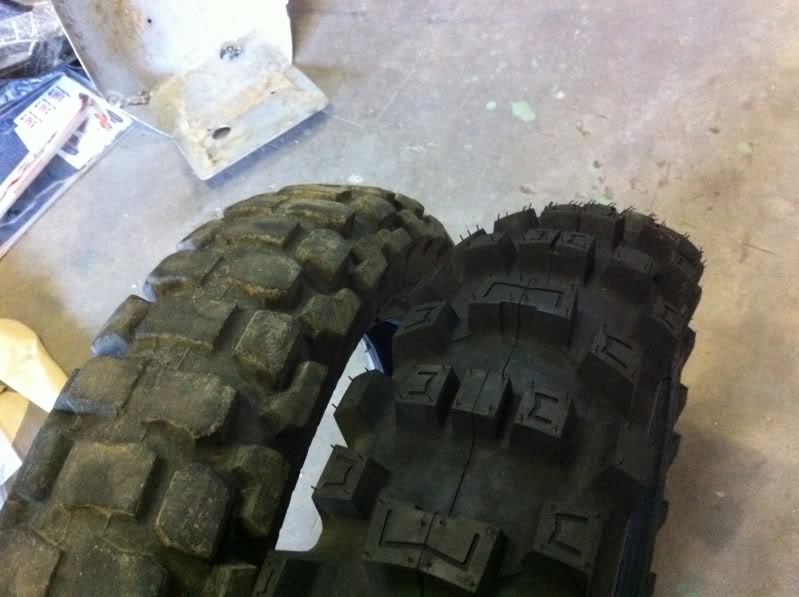
You need better tires if you're gonna go mud-slingin'!
_________________ A wolf's voice echoed down the mountain 'Share the bounty of the hunt with your brothers and sisters, and forever be strong and free.'
Yeah, being the tight wad I am though, I am going to wear down the stock ones.
47une
Subject: Re: My WR250R Build. Fri Apr 29, 2011 4:10 am
So today's job was a tool tube. I wanted somewhere permanent to carry my tools until I made my rallye bash plate. So a quick and simple tool tube was on the cards.
I had some PVC pipe and got a few fittings (finally one of my projects actually costs me money!!)
Fabricated a mounting bracket for the pipe:
I then made some "Straps" by bending some metal in the shape of the pipe on my anvil and welded them in place. Trying to get it to match as close to the exhaust on the other side as possible.
All this needs to fit in this little pipe:
Somehow I JUST made it all fit and all was good:
47une
Subject: Re: My WR250R Build. Fri Jun 17, 2011 6:09 am
Big box arrived ALLLL the way from the US of A.
All looks good
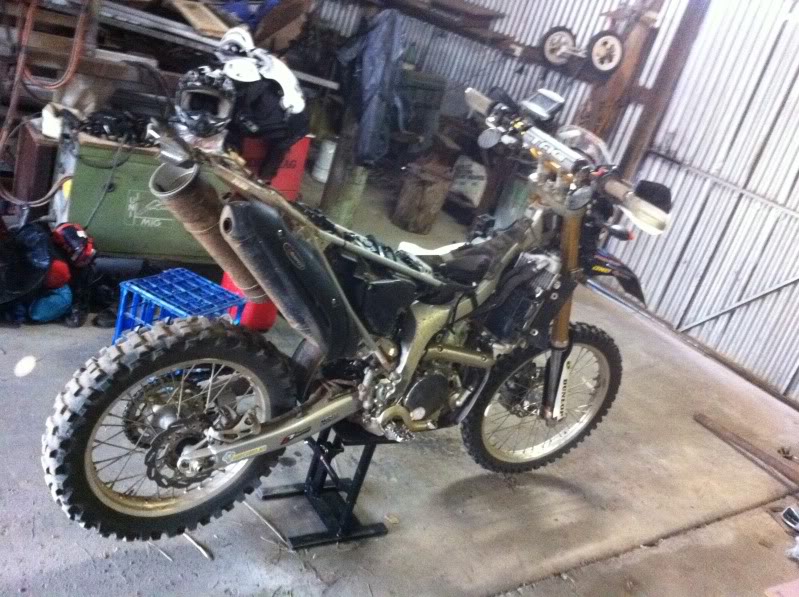
Starting to pull the bike down
All apart and ready for the fuel pump swap etc. (Bike is taken apart more than needed because I was fitting other stuff at the same time, more on that stuff later.)
Mucking around with mine and my mates new tank
Swapping stuff over:
Fitting the splash line and re-mounting the fuel light sensor:
The line I "T"ed into, I hope it was the right one!
All fitted up:
I had to drill out the rear tank mounting holes a bit and also elongate the seat bolt holes. No problems though and now will be easy to take everything on and off.
Also added some stickers as you can see to try to offset the white tank a bit.
47une
Subject: Re: My WR250R Build. Fri Jun 17, 2011 6:21 am
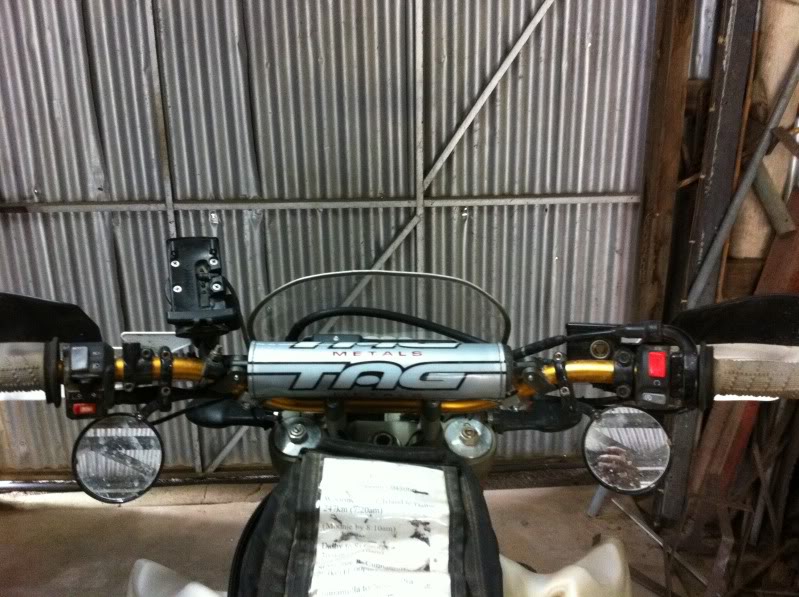
I also did a lot of new things in the "Cockpit". New handlebars - Tag Metal X5 in a YZ double high bend.
Tag Metal grips with grip donuts:
Under the grips are the heated grip elements:
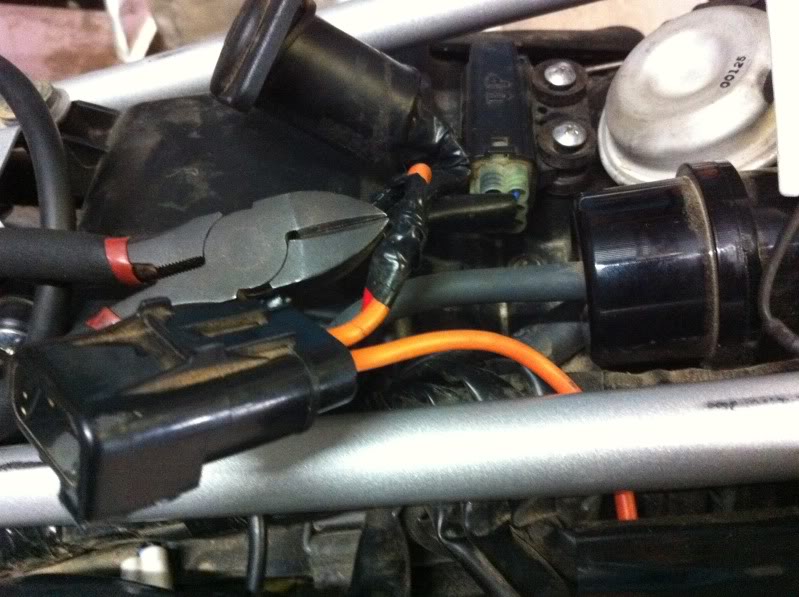
The wiring goes from the battery through a fuse, then one 12V outlet under the seat, then wires run to the front of the bike:
Up the front I have a 12v outlet for the GPS and also the wiring etc for the heated grips with the Hi Lo switch which is all run off a relay.
The resistor for the grips gets super hot and started melting the electrical tape so I moved it down to the bottom triple clamp to act as a heat sink:
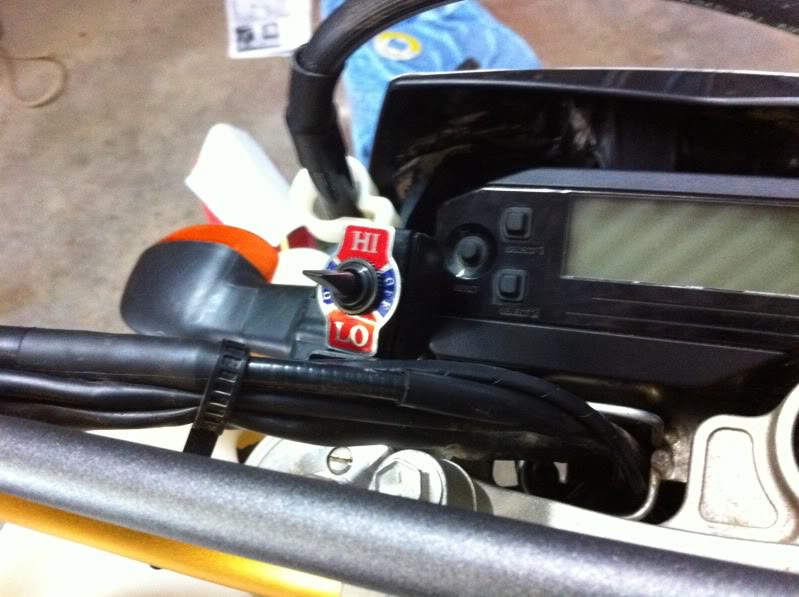
This is where the switch for the heated grips is sitting for the time being.
I ran a wire for my hour meter / Tacho only to find out I only got the hour meter one..... I have the tacho one coming so its all good cause the wire is already there ready to go now.
I also added these adjustable bar risers. Not the best idea, but I tested them and they are super solid. I have them up 30mm.
So here is the completed cockpit with under bar mirrors and GPS all mounted up.
47une
Subject: Re: My WR250R Build. Fri Jun 17, 2011 6:27 am
Fitted a 12 tooth front sprockets to help liven things up just a tad:
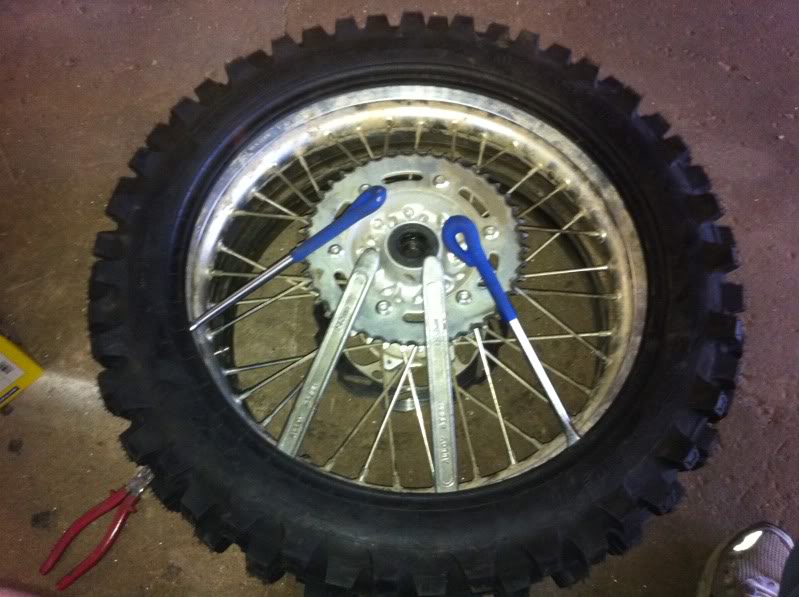
I also fitted some Michy AC10s front and rear with Michy 4mm ultra heavy duty tubes:
It is bloody hard getting the nipple out of the rim with 4mm tubes! I need one of those wire jigger things
The weapons of the trade:
I also balanced them up. Some stick on weights and a spoke weight for the rear:
and the front too:
47une
Subject: Re: My WR250R Build. Fri Jun 17, 2011 6:28 am
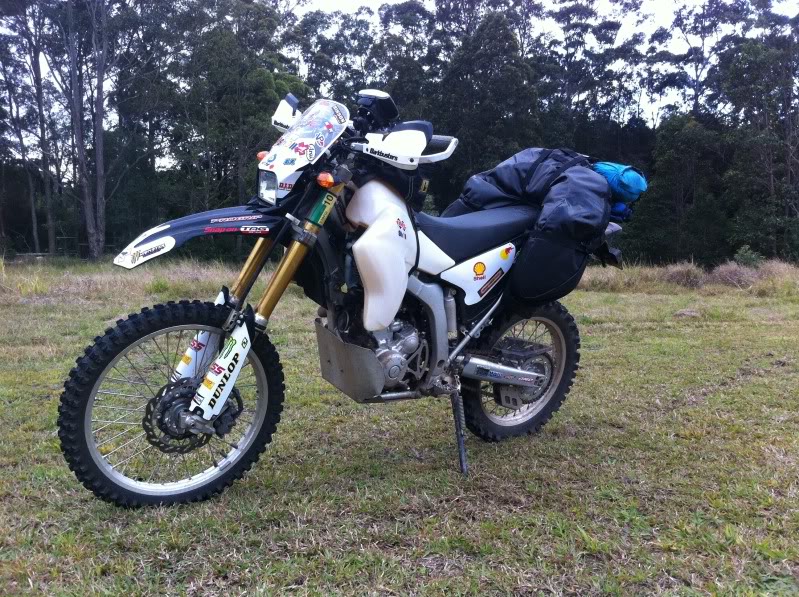
I will take it for a spin tomorrow or Sunday and check and adjust everything then give it a good wash and take some good overall piccies for you all.
nu_b
Subject: Re: My WR250R Build. Fri Jun 17, 2011 7:07 am
lookin' good!
47une
Subject: Re: My WR250R Build. Wed Jul 06, 2011 8:37 am
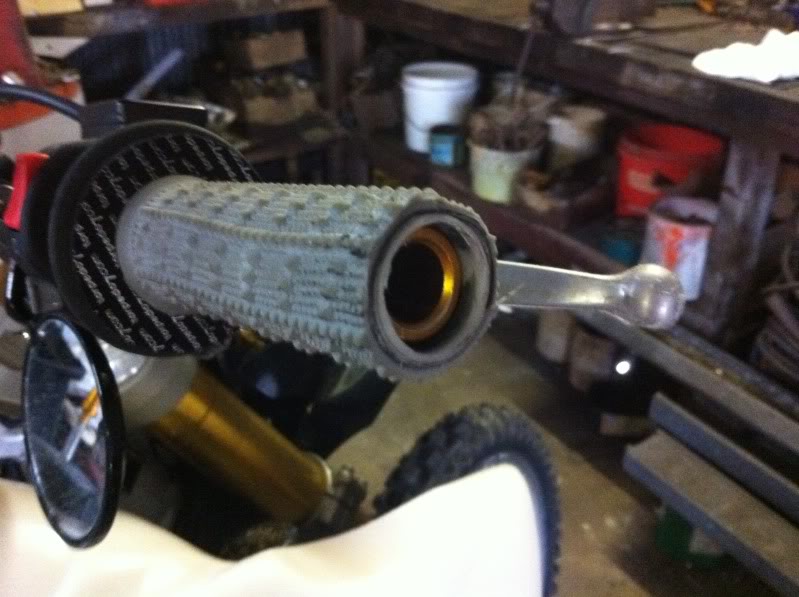
Ok, well I got some time to play with the bike today. Gave it a good clean and check over, lube etc and also fitted my new barkbusters.
First cut the ends off the grips. On the throttle side I got the Dremil out and bored out the tube hole.
All fitted up:
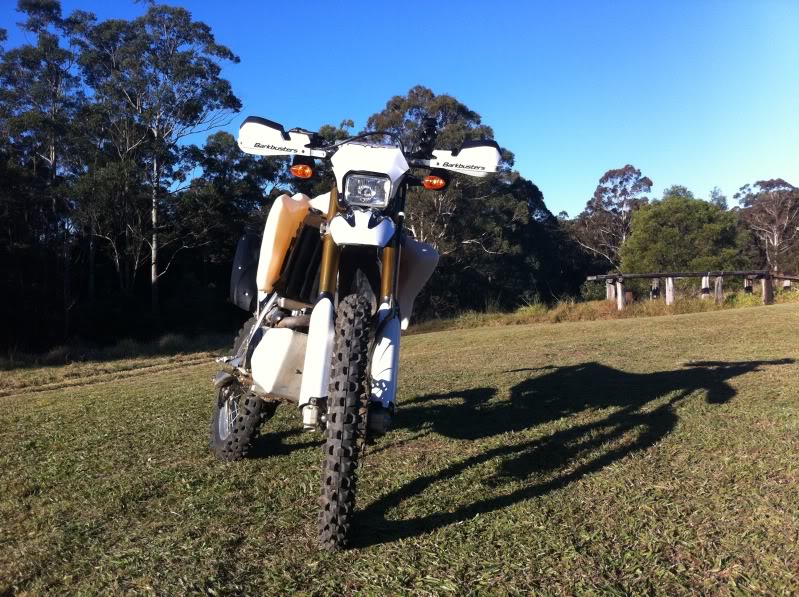
The bike in its current state, definitely a work in progress:
47une
Subject: Re: My WR250R Build. Wed Jul 06, 2011 8:47 am
Just uploaded a vid of me pretending I know how to do a mono too......I call it: Monofail
47une
Subject: Re: My WR250R Build. Thu Jul 07, 2011 7:59 am
Well I just made another vid pointing out my inability to ride:
motokid Moderator
Subject: Re: My WR250R Build. Thu Jul 07, 2011 8:26 am
47une wrote:
Well I just made another vid pointing out my inability to ride:
What an awesome area to ride in. Is that something you can ride often? Every day? Close to home? Your property????
I would pay money to have an area like that to ride in.
Subject: Re: My WR250R Build. Thu Jul 07, 2011 9:12 am
G'day mate. Yeah, it's my property, about 45 acres worth. I have just finished making the track and I ride the track every single day. I feel a bit strange if I have to miss a day of riding it....
motokid Moderator
Subject: Re: My WR250R Build. Thu Jul 07, 2011 9:39 am
Subject: Re: My WR250R Build. Tue Jul 12, 2011 1:39 am
Looking good! I heart the track, what are those mirrors you got? I can't remember the name I really need to get a set of those and replace my mickey mouse mirrors.
47une
Subject: Re: My WR250R Build. Tue Jul 12, 2011 3:55 am
They are just some cheap e-bay bar end mirrors that I have take a section out of. Check out the post about them in this build thread.
motokid Moderator
Subject: Re: My WR250R Build. Tue Jul 12, 2011 5:44 am
I have stock handlebars, and these are the mirrors I got.
Subject: Re: My WR250R Build. Wed Jul 13, 2011 4:54 am
Yup, that is the ones!
47une
Subject: Re: My WR250R Build. Sun Aug 28, 2011 6:03 am
Update time.
I mounted the switch for the heated grips and fitted an hour metre / tacho. Both on custom made aluminium brackets:
I also added a Acerbis locking fuel cap, more on that soon.
47une
Subject: Re: My WR250R Build. Sun Aug 28, 2011 6:07 am
I got some Pivot Pegs for it. It was cheaper to order them from the US even though they are made not far from where I live.... go figure!!
Then I refitted the 13T front sprocket because I wasn't happy with how high it was revving on the highway.
While I was doing this, I could smell fuel. I found it was coming from one of the bungs on the new tank. I took the new Acerbis cap off the tank and a "Woosh" of air came out, so the vent wasn't working well enough to let air out, so the tank built up a lot of pressure which made the bung leak. So I syphoned the tank out, layed the bike over and added more thread tape to the bung and it hasn't leaked since.
47une
Subject: Re: My WR250R Build. Sun Aug 28, 2011 6:10 am
Next things on the job list where to lower the brake pedal some more after the pivot pegs, so I got a smaller locking nut to add to the brake setup, resulting in this:
Turns out it was too low and I had to adjust it up a bit, but at least it is not too high anymore.
47une
Subject: Re: My WR250R Build. Sun Aug 28, 2011 6:13 am
Ok, so next was supposed to be heading off on an overnighter with a mate on his WRR. It was going to be more open faster dirt roads, so wanted to make up a bit of a screen to see if it helps out at all.
Old grinder shield +
Some old velcro sticky dots I had laying around = Free windscreen!! :clap
I wanted to spice the bike up too, so added some stickers. Then loaded it up with my new Giant Loop Coyote!
47une
Subject: Re: My WR250R Build. Sun Aug 28, 2011 6:20 am
So anyway, our ride got totally rained out, so we postponed it. What else to do then but work on the bike!!
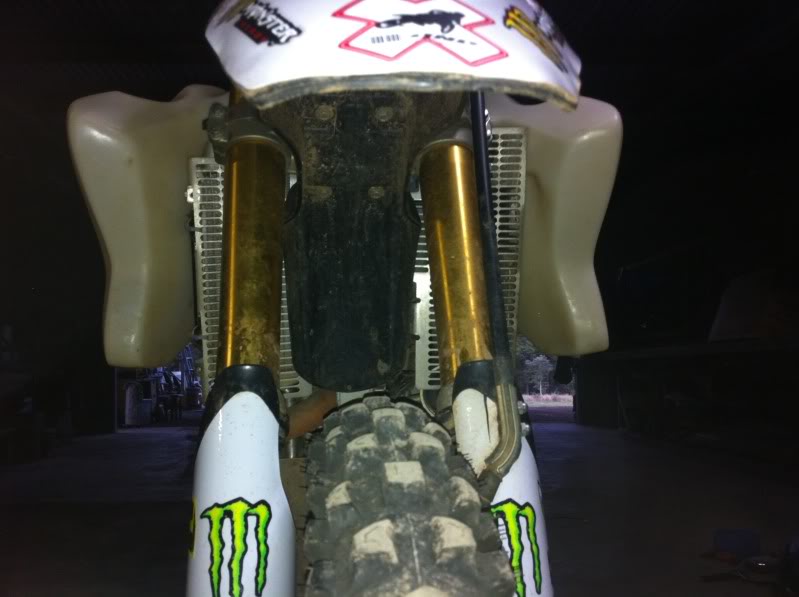
Time for radiator guard and something to fill the void on the other side where the plastic cover used to be. So I set out to find someone with some old bent up radiator guards that I could hack up and play with to make fit.
Scored these for $30 - from a KX 450 from memory. Devil brand.
What it looked like
Took a bit of cutting, bending and drilling to get it where I wanted it
I decided to keep the back plastic fan cover and this also helped to hold the guard in place too, I just had to hack it up a bit
The final product ready for fitting
All done
Now for the other side. Again, took some bending etc, but it was actually pretty simple.
So both sides all done. Very pleased with the way it turned out and super happy with the price!!
47une
Subject: Re: My WR250R Build. Tue Aug 30, 2011 5:11 am
Really getting things ticked off my to do list lately!!
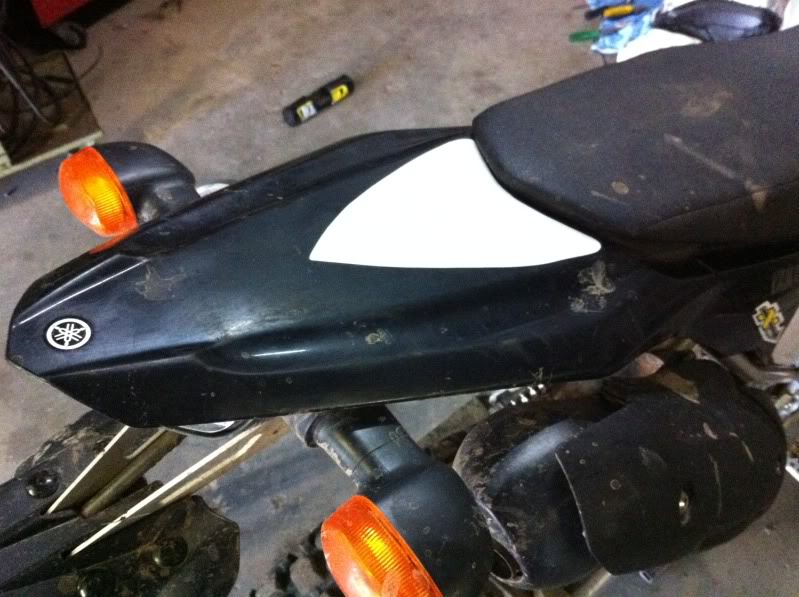
I made my own tail tidy. Pulled off the original tail:
I had many different plans and ideas in my head about how to do it, but things change as you actually pull things apart and see where things have to go and need to run etc.
Began cardboard mock up:
Once all was good, traced onto aluminium and cut out, started drilling the holes etc.
Bending and cutting more etc:
Checking for placement:
Now on to the lighting. I used some LED windscreen sprayers that I got from E-bay for like $2.00:
I routed the wiring and hot glued it in place and then covered it all in hot glue, hopefully this will keep it from being damaged.
What the light tabs look like from the top:
And from underneath:
All mounted up now:
Profile:
Looks good!
How to hook all the wiring back up and see if these bad boys will actually light up:
SUCCESS!! I love fabricating one off parts for my bikes and cars, you get such a sense of achievement from making it yourself and knowing that you just saved yourself big dollars paying for a boring off the shelf item that everyone else has.


 I have the tacho one coming so its all good cause the wire is already there ready to go now.