| | | My WR250R Build. |  |
|
+20WRXer LordEndo mudmojo Coop mordicai mcdoudlehopper IndigoWolf No~One motokid nu_b SheWolf YZEtc Jäger MotoKirby combo TBird1 0007onWR WRXR cryptomundo 47une 24 posters | |
| Author | Message |
|---|
47une

| | Subject: Re: My WR250R Build. Sun Sep 04, 2011 1:33 am | |
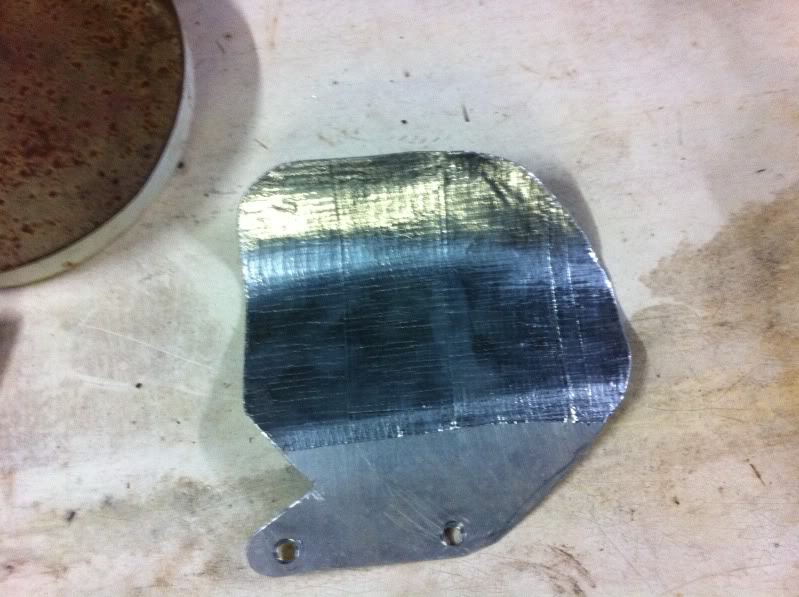
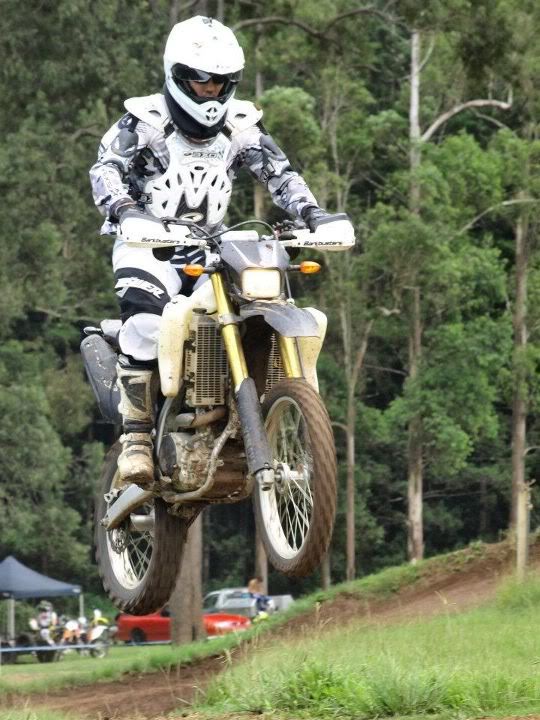
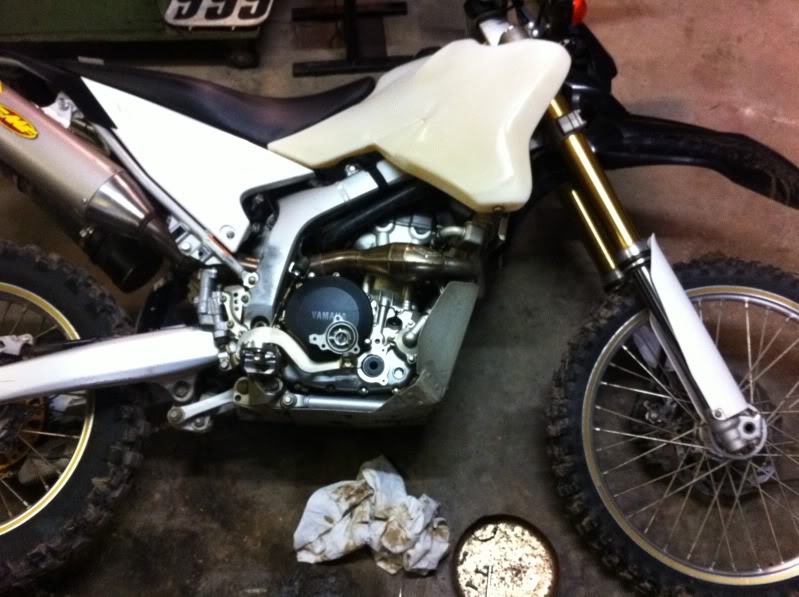
| So, I pulled apart this:  Then I taped on this:   Starts getting pretty serious from here, lotsa work ahead. For anyone who subscribes or at least reads this, I am having some thinking time on headlights now, I want some good spot lights but also want some good quality LED broad beam. Here are the lights I am looking at now: http://www.ebay.com.au/itm/230623518764?ssPageName=STRK:MEWAX:IT&_trksid=p3984.m1438.l2649#ht_500wt_922 http://www.ebay.com.au/itm/20W-12V-1600LM-CREE-LED-Light-Rally-Ranger-4x4-Dirt-ATV-/180711891390?pt=Motors_Car_Truck_Parts_Accessories&hash=item2a1344a1be#ht_21718wt_1139 Thoughts?? | |
| | | | IndigoWolf

| | Subject: Re: My WR250R Build. Sun Sep 04, 2011 9:05 am | |
| Sweet! ... and the challenge begins again. LED lights? these guys have all kinds of types. check out the videos. Vision X | |
| | | | 47une
| | Subject: Re: My WR250R Build. Wed Sep 07, 2011 6:45 am | |
| | |
| | | | 47une
| | Subject: Re: My WR250R Build. Mon Sep 19, 2011 6:08 am | |
| | |
| | | | 47une
| | Subject: Re: My WR250R Build. Thu Nov 03, 2011 4:29 am | |
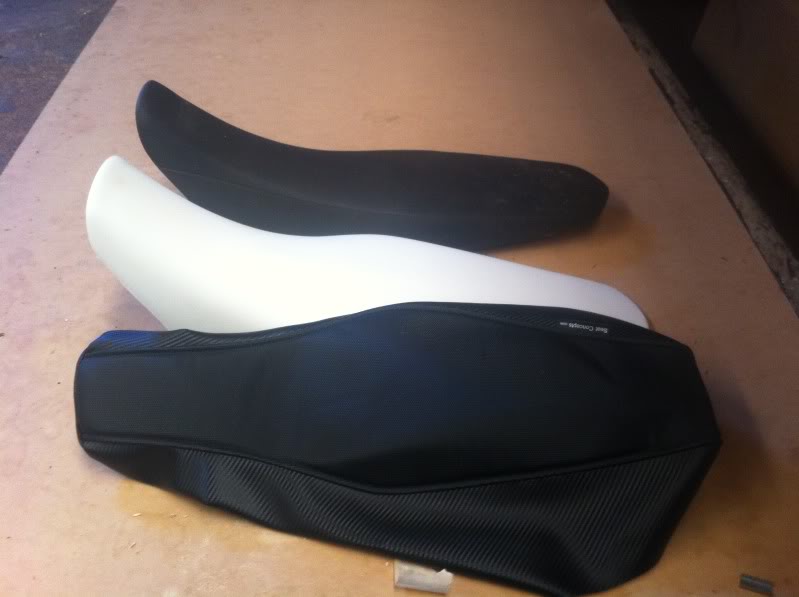
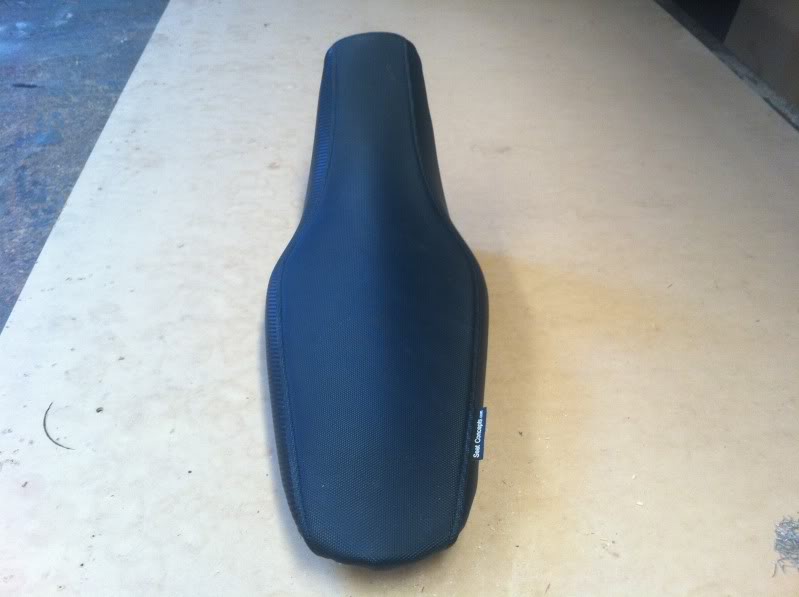
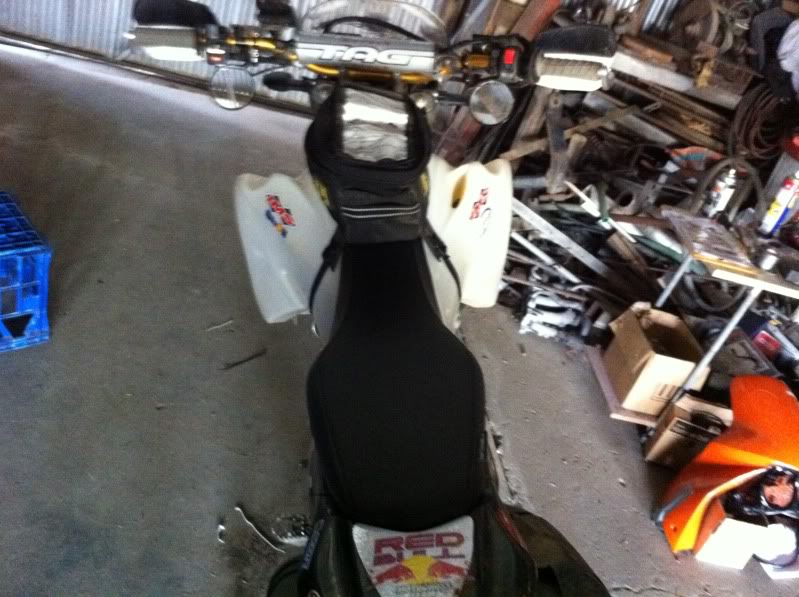
| Ok, so latest happening with the bike: Seat Concepts seat - do not like. Made no real difference to comfort over a number of days! Bummed out, will have to get an air hawk as well! Right hand fork seal started leaking, tried a SealMate a number of times with no success, so it is now booked in to get a full suspension re-work!! Gold valves, heavier springs front and rear, full service, new oils etc and of course the new fork seals. I wasn't happy with the number plate light setup. So I removed the lights and trimmed off everything from the tail tidy:  I broke an indicator on a ride too, so I just replaced them with these crazy cheap indicators, just needed to use washers to mount them in the standard position:  Again, some crazy cheap LED strips. I mounted one on the under side of the tail light cover with modified P clips:  Here it is all mounted: 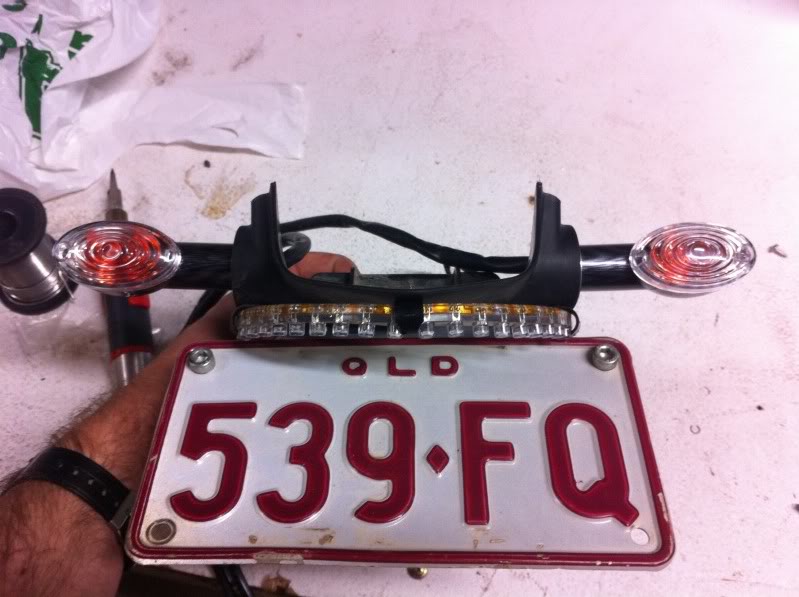 Here it is on the bike: 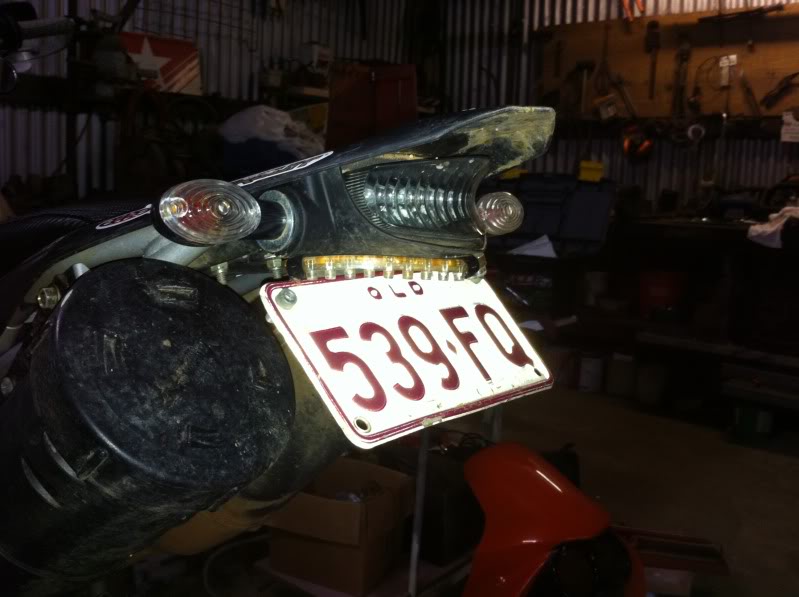   | |
| | | | 47une
| | Subject: Re: My WR250R Build. Fri Jan 27, 2012 9:20 pm | |
| Got a few pretty big updates, been lazy with this. Might do it tonight.
Also got the bash plate and fairing to start too! | |
| | | | 47une
| | Subject: Re: My WR250R Build. Sat Jan 28, 2012 7:01 am | |
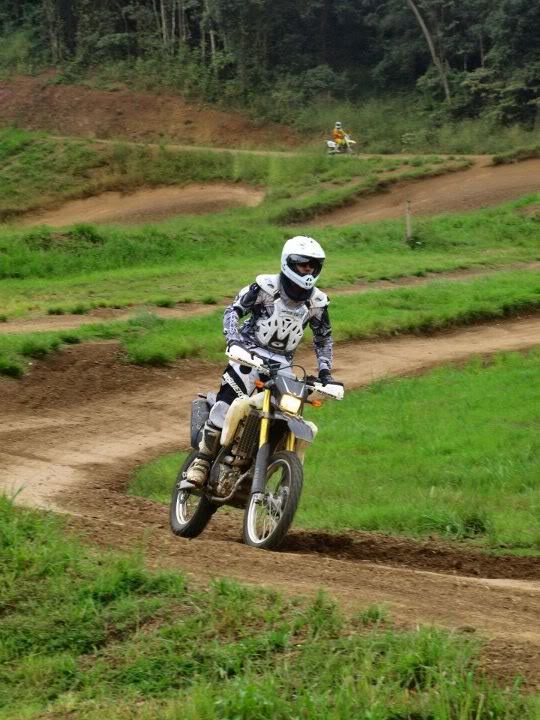
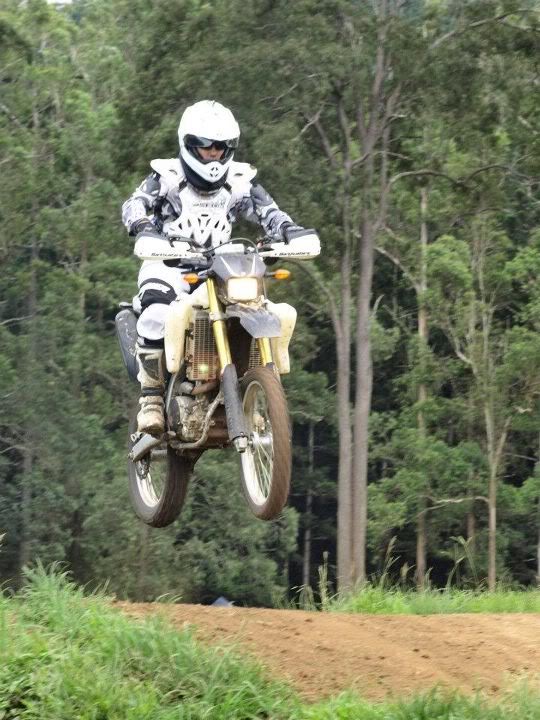
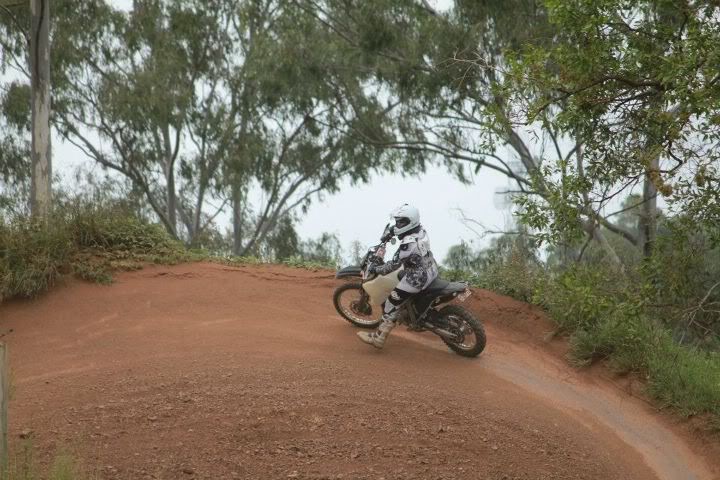
| Ok, so we were well overdue for an update. I took it for a ride with my WRR owning mate, had a blast!    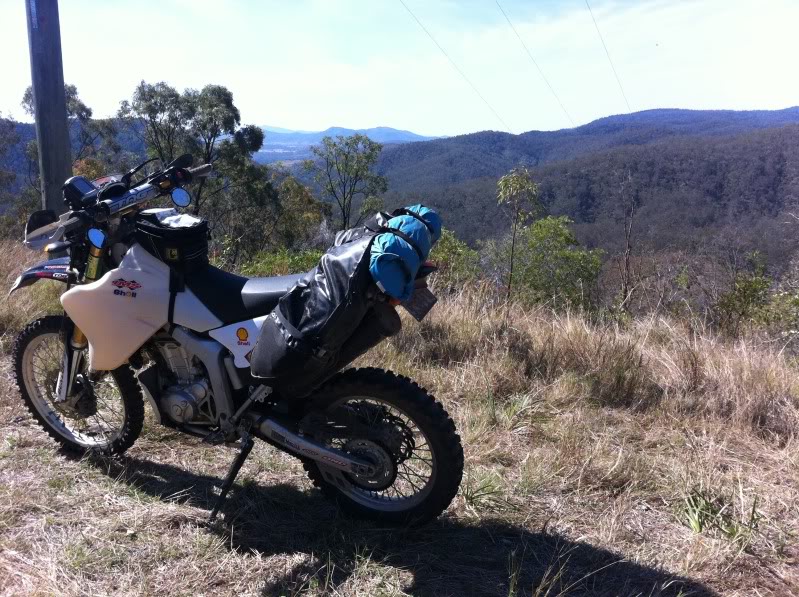 On the ride home along the highway, I ran out of fuel.......with at least four litres left in the tank!! Was not happy. Had to ride for about 1km then the bike would die, I would pull over, lean the bike right over on its side to get fuel into the fuel pump valley and ride again, had to do this at least 20 times before I got home!!! So pulled off the tank and did a thorough check over.   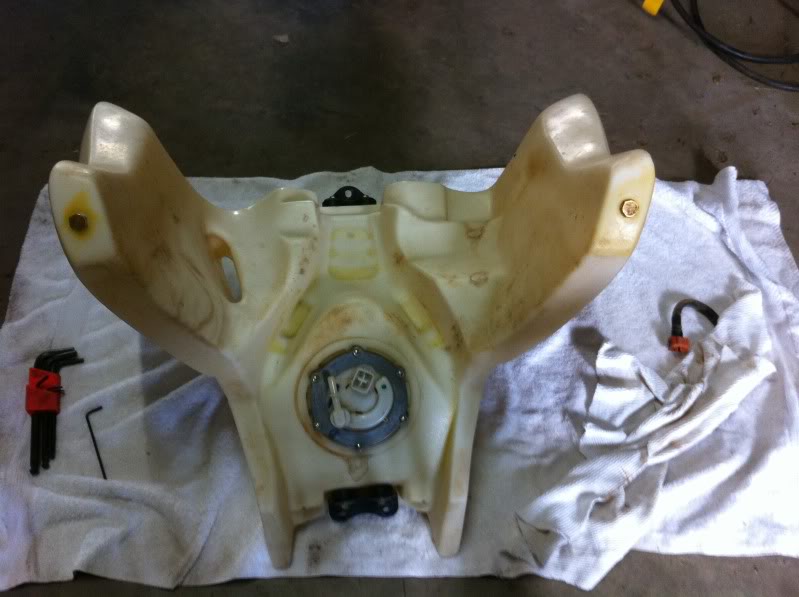    Everything was where it should be, checked the piping for the vacuum pump and all was well there. I tried blow/sucking on the line to make the vacuum pump work and it kinda did, but it would not work when connected to the bike....... So e-mailed IMS about it and the leaking bungs in the wings which I had to fix like four times. They said they would see what they could do about it. Got some goodies in the mail, but took me a long time to even look at them, let alone fit them. 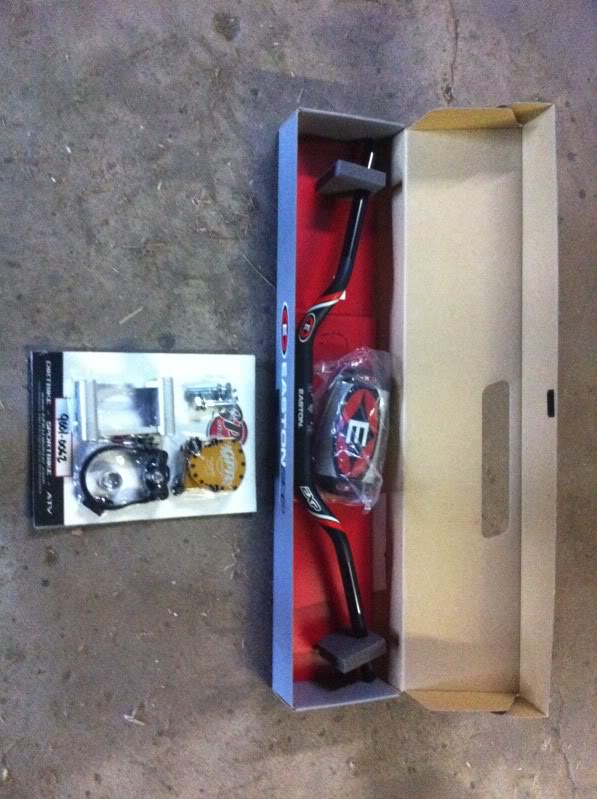 I then got a full suspension work over. New heavier fork springs, fork oil, fork seals and gold valves. Full service and heavier rear spring too. Bike is now amazing to ride!! So plush, yet so stiff......?? Took it on a sweet ride to test it out. Some big jumps on erosion mounds really tested it out!  | |
| | | | 47une
| | Subject: Re: My WR250R Build. Sat Jan 28, 2012 7:08 am | |
| It was then time to tackle the new cockpit setup with steering dampener! What it looked like:  A few minutes later:  I think I may be onto something here....... 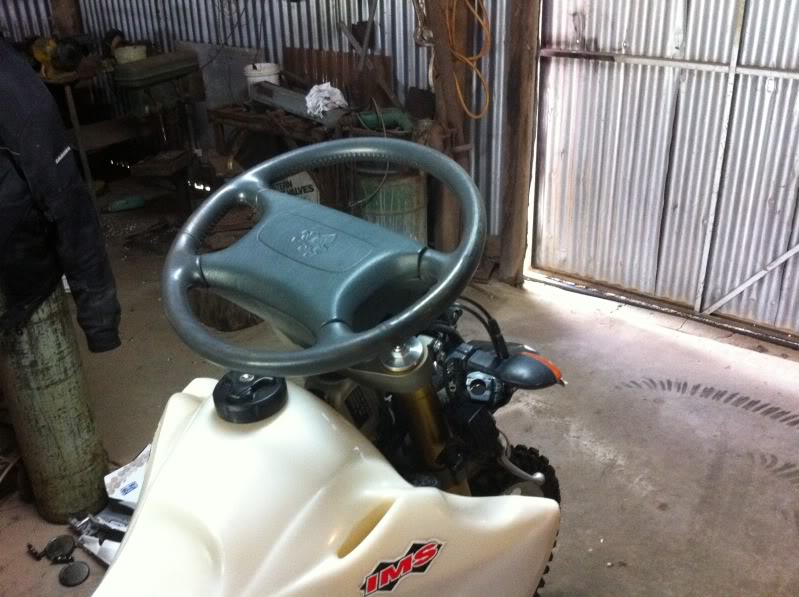 So time to start refitting everything and setting up the steering dampener.  New bars shortened a tad:  The bars I am using:  Coming together! 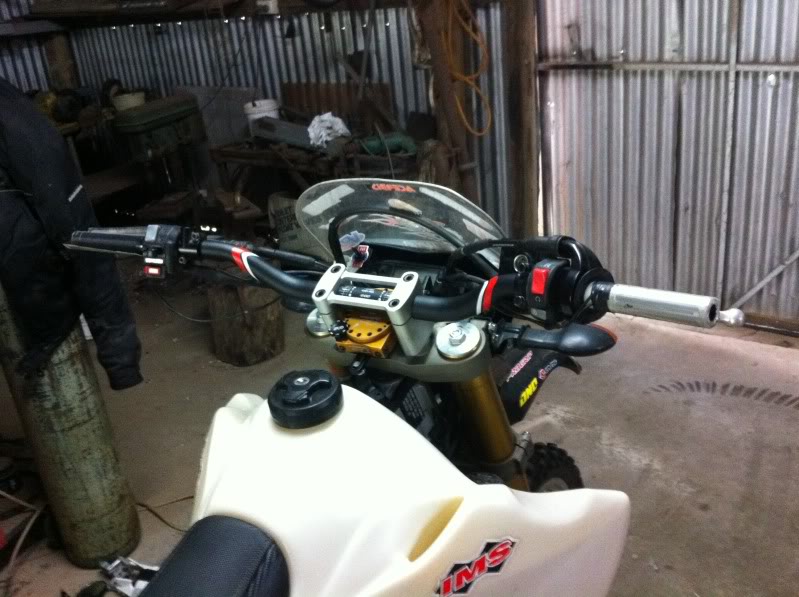 I then had to wait for my new grips and new bark buster mounts to suit the fat bars. It was just before Christmas and another project got in the way, this was two nights before Christmas.....  Phew! Done with a day to spare: 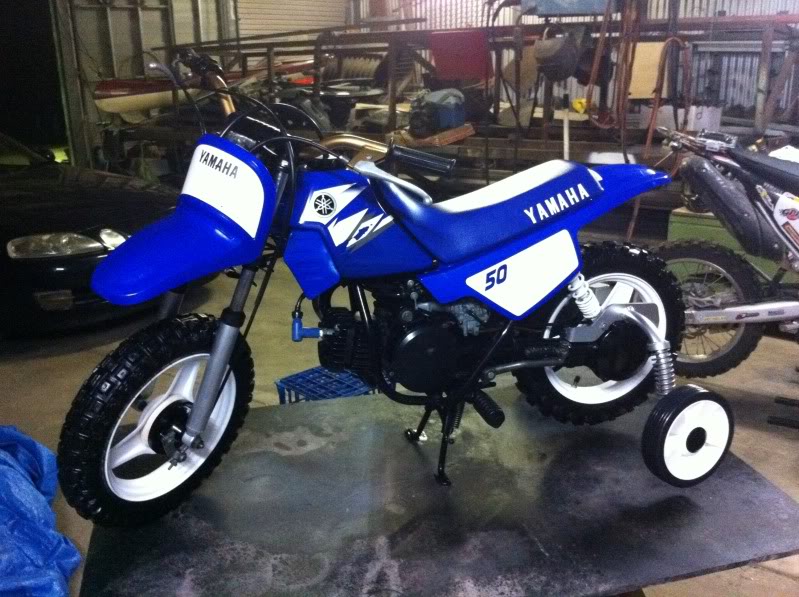 Made for happy kids on Christmas day! 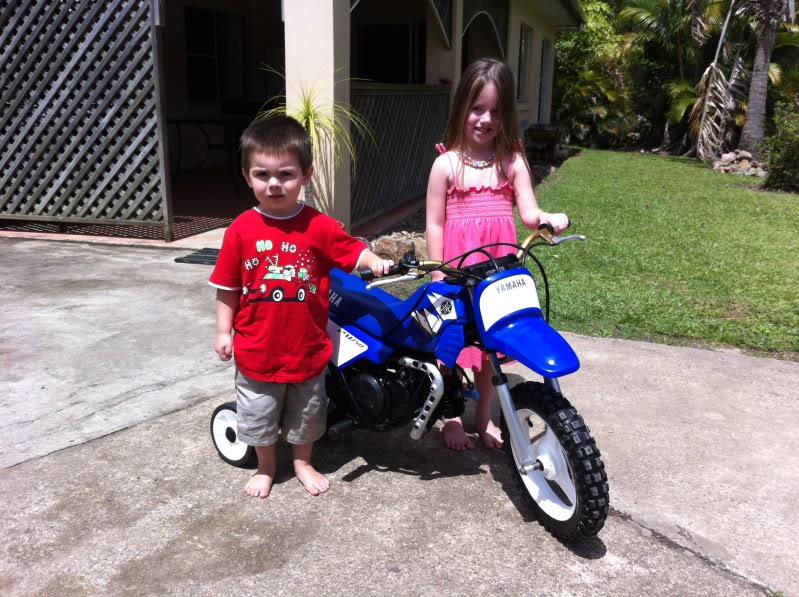 The little adventure bike!!  Anyway, back to the real project at hand, the bark buster mounts arrived with the grips: 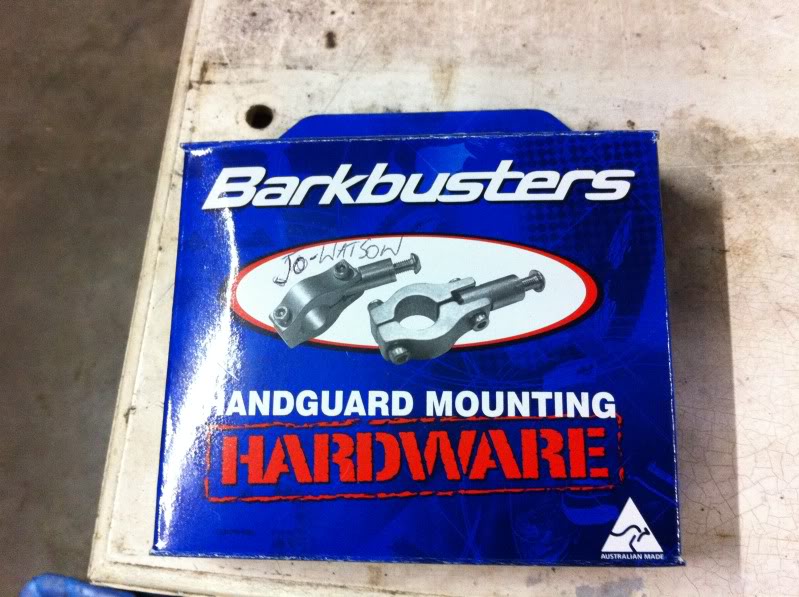   And it all came together!!  Mirror mounts needed some work to fit the fat bars:  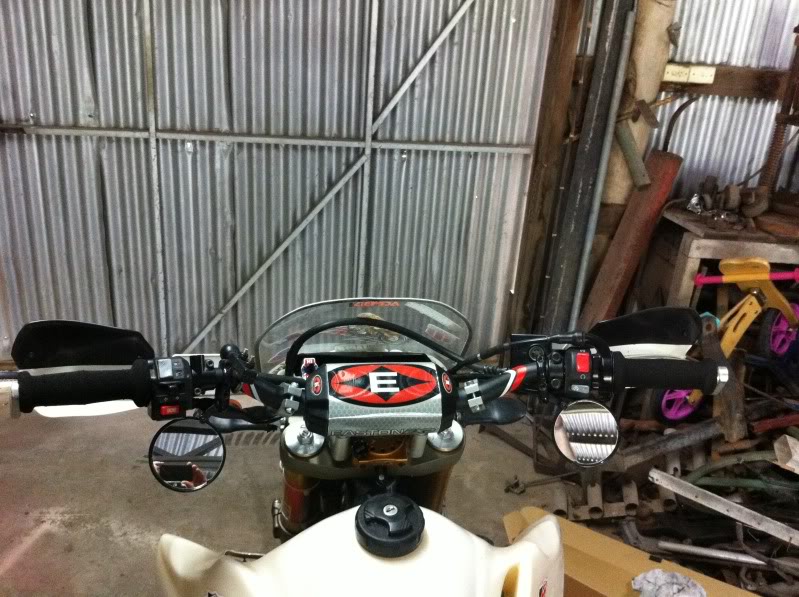 Then added some rise: 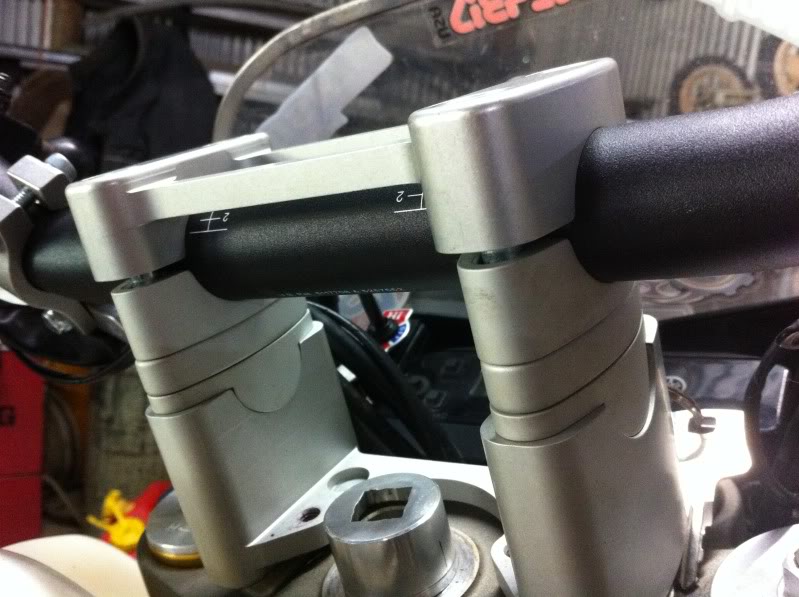 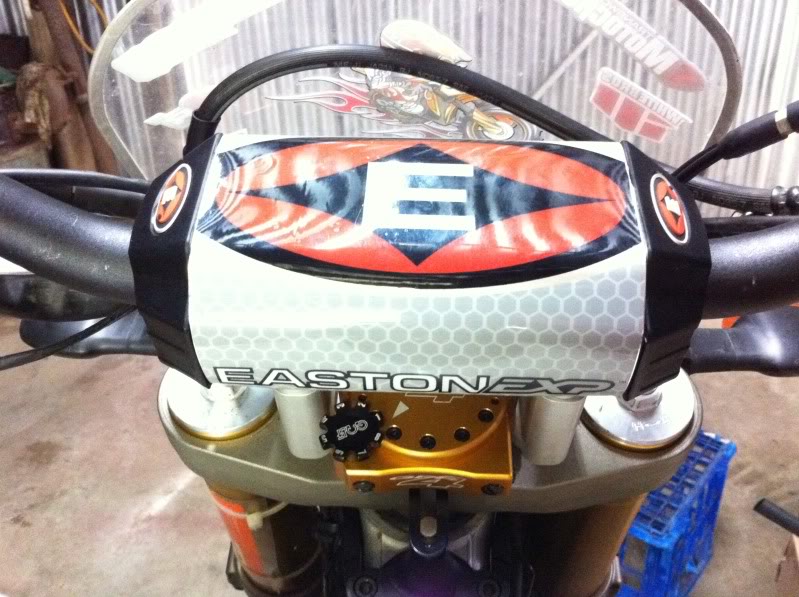   | |
| | | | 47une
| | Subject: Re: My WR250R Build. Sat Jan 28, 2012 7:15 am | |
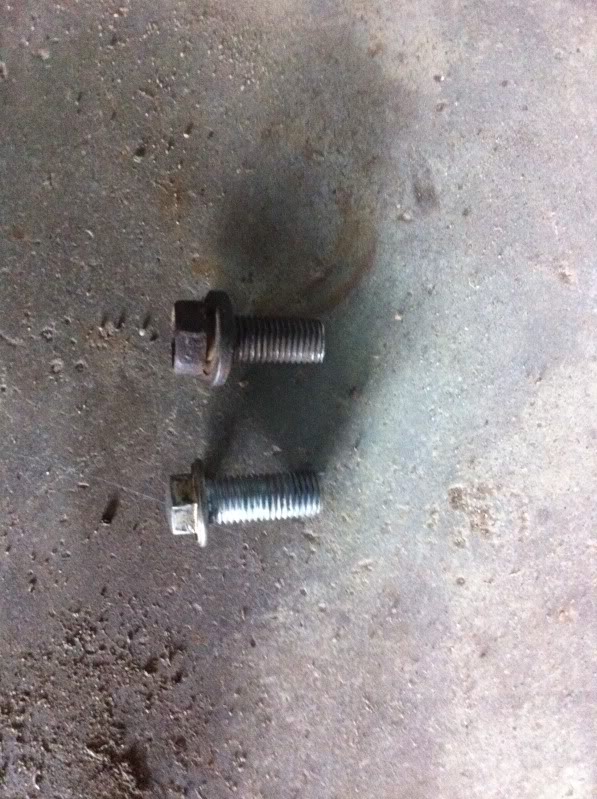
| So the wife says when I get home one day "There was a big box at the post office for you". I had no idea what it was. Turns out IMS sent me a replacement tank with all the updates! So it was off with the old: 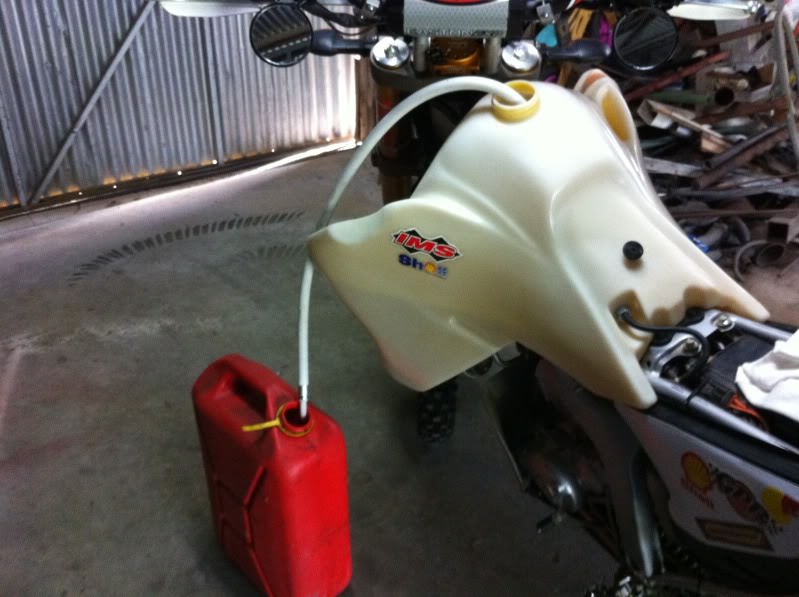  Updated bung holes:  Updated fuel valley for the fuel pump:   The new one was noticeably "browner" but hopefully the sun with fade that out a bit like the old one. So with the new steering dampener, you cannot simply remove the front tank bolt, so I set about finding away to remove the tank easily. I had to shorted the two front tank mount bolts so they could to removed and refitted easily: 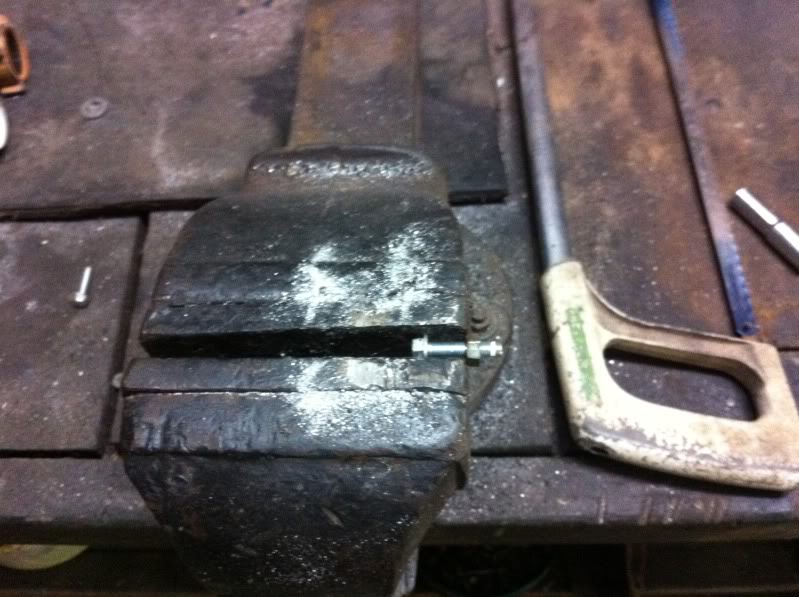  I elongated the holes a tad more on the rear mount too, just to make things easier: 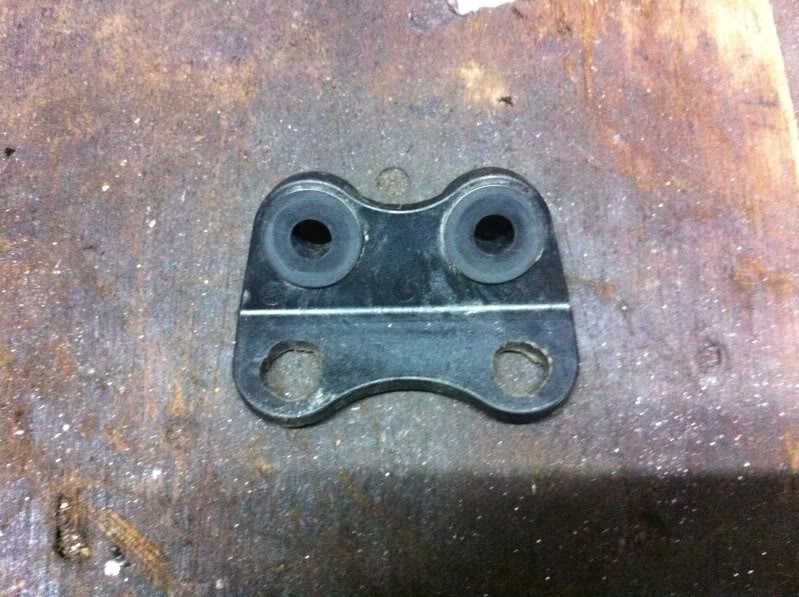 The new tank actually fit a lot easier than the old one. The left hand "radiator" guard now touched the tank though, so it needed a quick little modifcation:   I could also now refit the one way vent to the gas cap without worrying the tank would expand enough to push the bottom bungs out like the old tank: 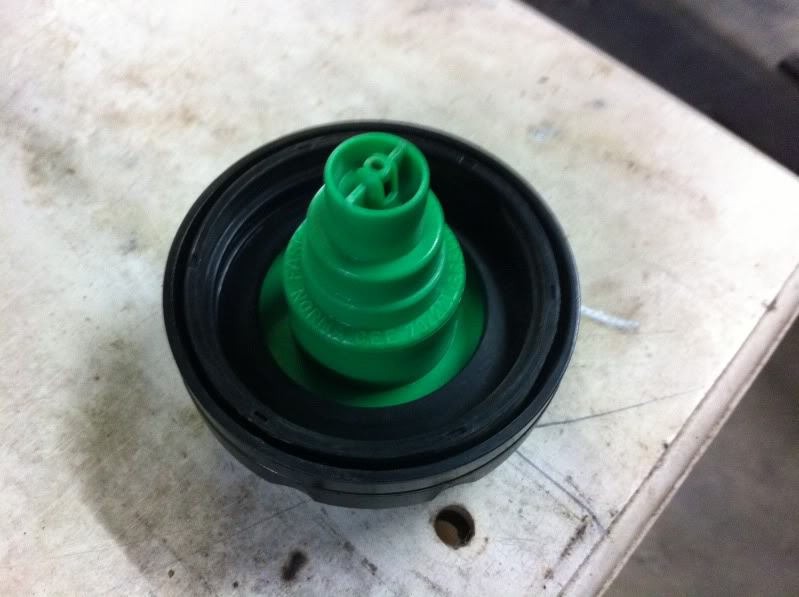 | |
| | | | 47une
| | | | | mcdoudlehopper

| | Subject: Re: My WR250R Build. Thu Feb 09, 2012 7:55 pm | |
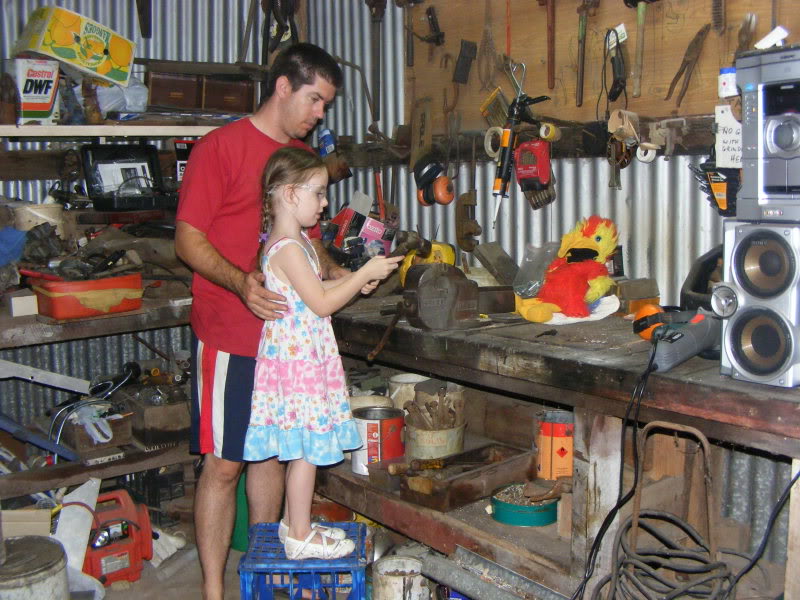
| I was reading your build thread and your bike looks awsome!! thanks for all the pics. I was wondering, in the picture of your tool caddy, I see 3 CO2 cartridges and was wondering what they were for? Cheers, Kirk | |
| | | | 47une
| | Subject: Re: My WR250R Build. Fri Feb 10, 2012 3:25 am | |
| They are for tyre inflation, they are inserted into my pump for quick inflation after a flat. | |
| | | | 47une
| | Subject: Re: My WR250R Build. Sun Mar 18, 2012 3:07 am | |
| | |
| | | | 47une
| | Subject: Re: My WR250R Build. Sun Mar 18, 2012 3:09 am | |
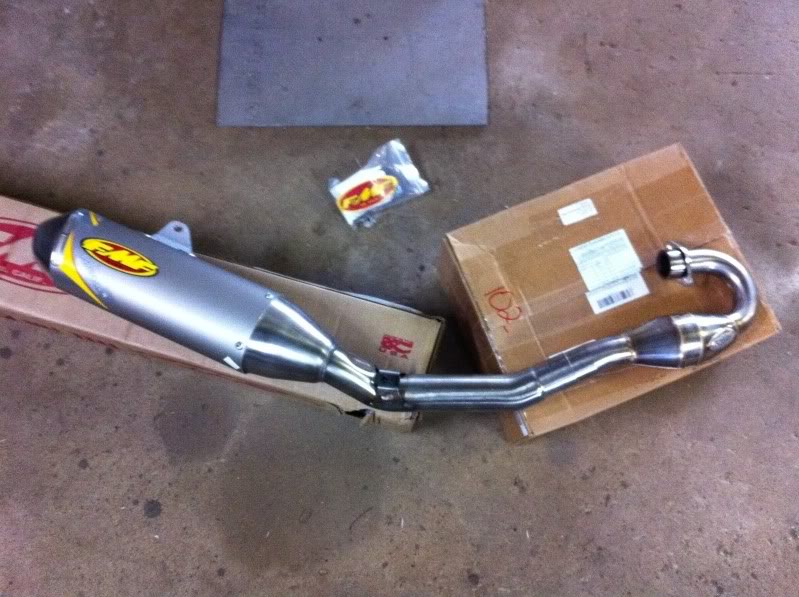
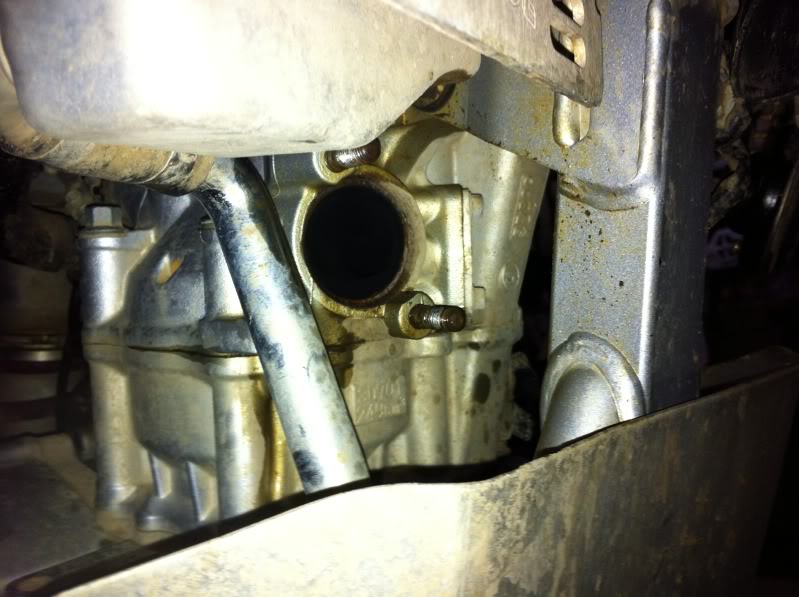
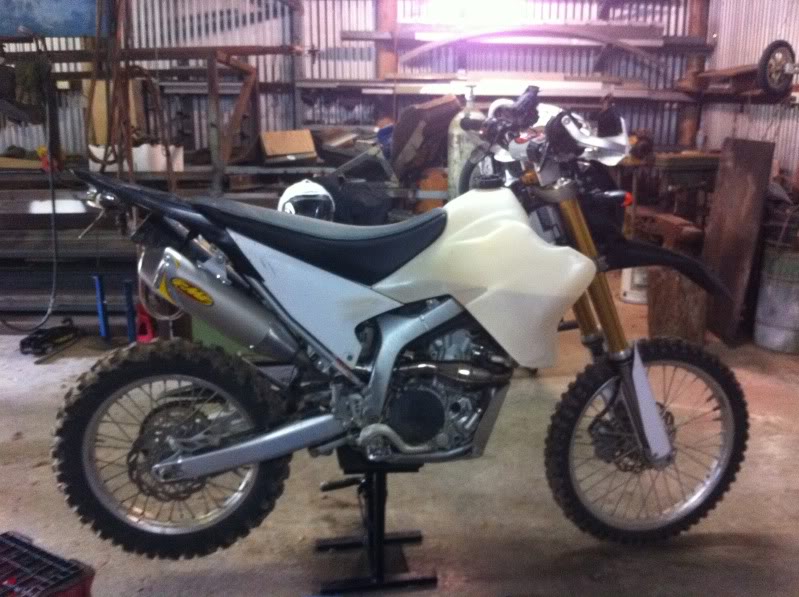
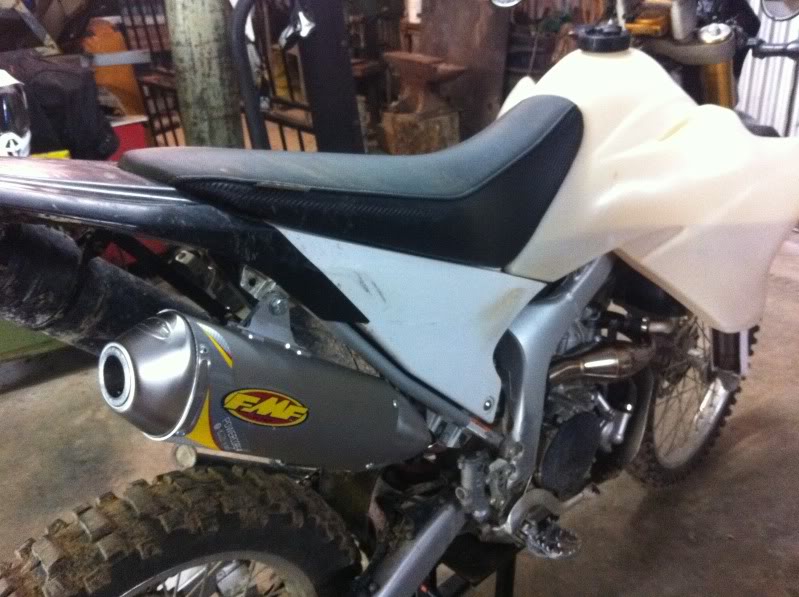
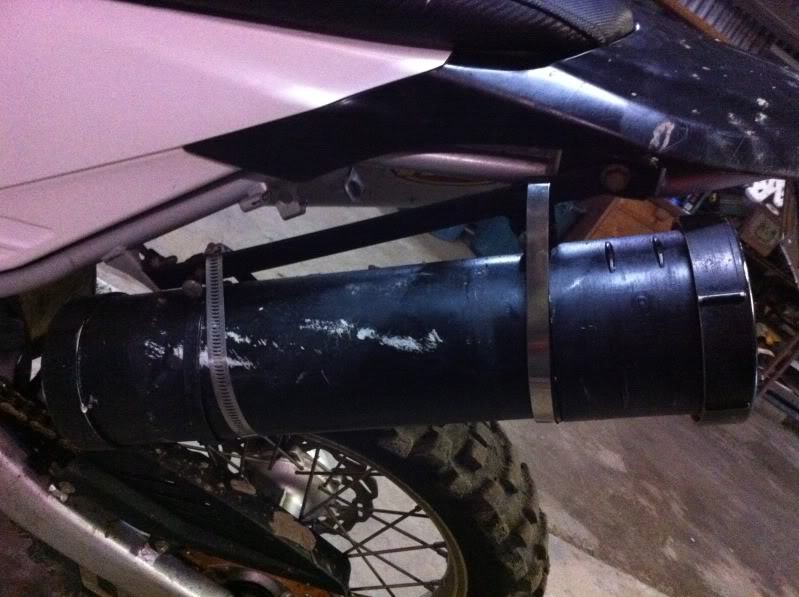
| Indicator broke after some hard riding, so replaced it with a new one: 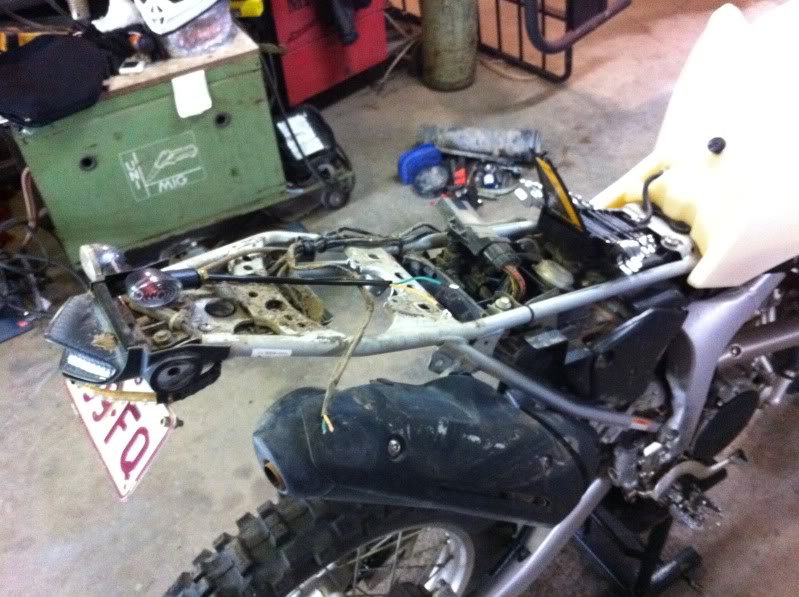  On that note, I also never got around to doing the head light guard and a mate's roost cracked my headlight too!! Anyway, got myself an air hawk for some of those longer trips:  Bought a staintune exhaust: 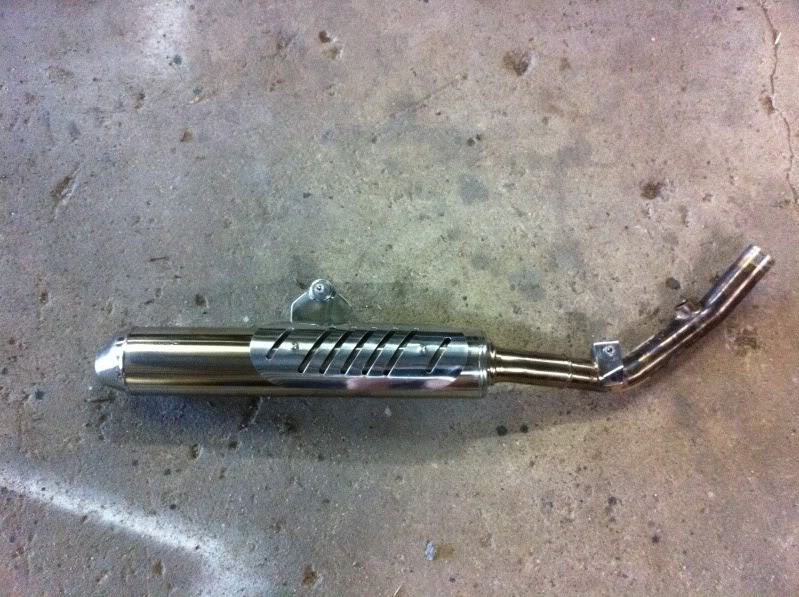 Stock V Stainy  Fitted the stainy up, O2 sensor in, found an awesome hose clamp and also a tiny bit of gasket goo, just to make sure it sealed properly:  Hmmmm........ well that doesn't work out too good does it!!  While I did the exhaust, I did the flapper, removed all the AIS, the EXUP stuff and all lines etc: 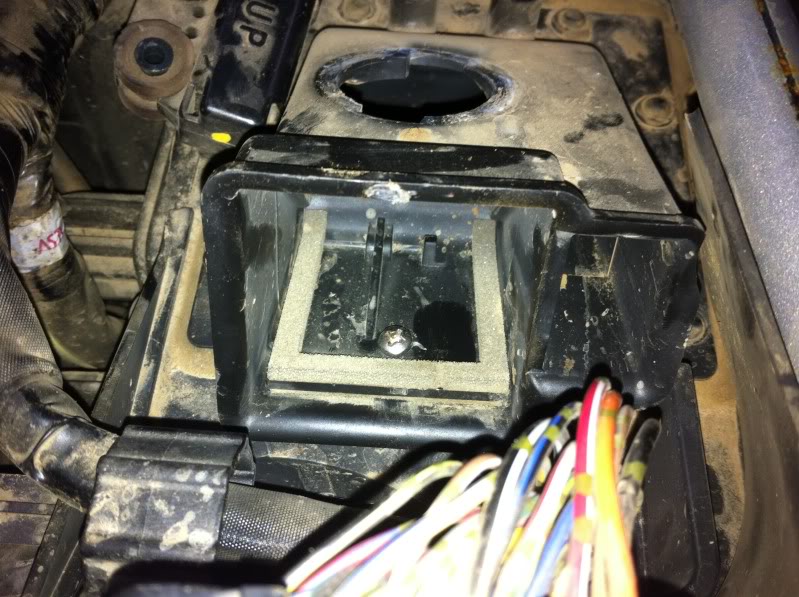 Fair bit of junk gone! 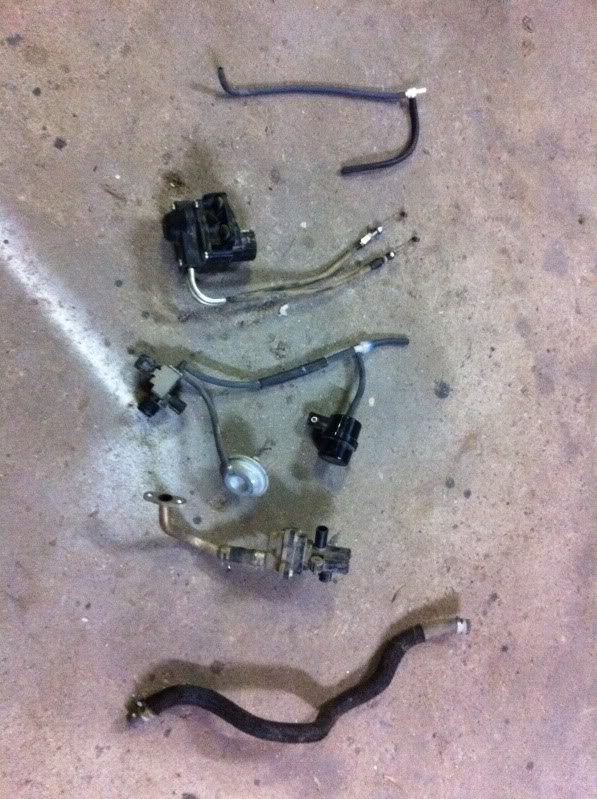 Found a great bung for the airbox side of the AIS:  Made up a plate for the AIS entry:   I also modified my front tank bolts because it was rather difficult to locate them when putting the tank back on:  Did a quick solution to the exhaust positioning problem:  My friend Charlie was overlooking my work:  Closer look, just a carpet python:   Here is the resistor I used, because I had already run the bike without the EXUP plugged in, it had thrown the code and had the light on so I had to plug the EXUP back in, then disconnect and put the resistor in place, No more light!!  Also gave the air filter a clean because I wanted everything to be tip top for my first ride with all the mods:  I also got some white side covers and white fork guards, the beginning to the bike being totally changed to white when I do the fairing: 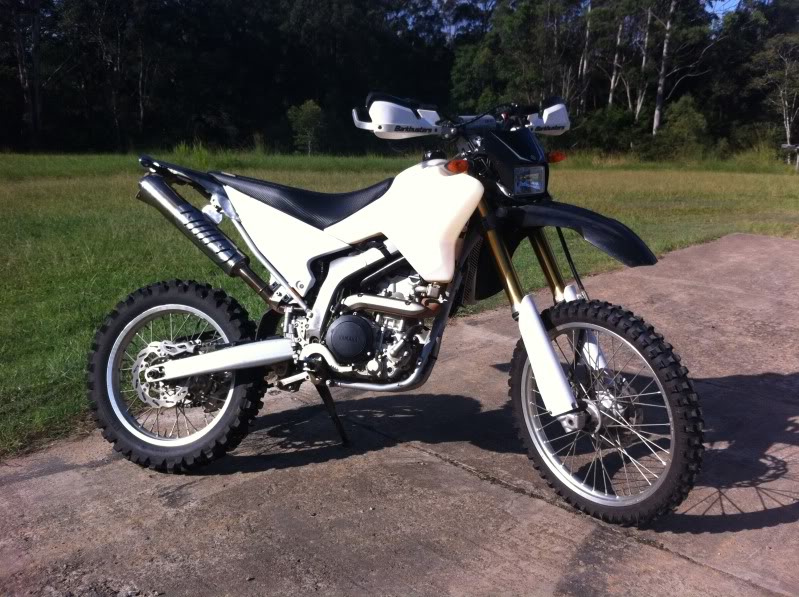  So here is a quick clip of the new exhaust:  | |
| | | | 47une
| | Subject: Re: My WR250R Build. Sun Mar 18, 2012 3:18 am | |
| | |
| | | | mordicai
| | Subject: Re: My WR250R Build. Sun Mar 18, 2012 12:50 pm | |
| Well a fun read this morning. Your having a good time with it. Could have fooled me on page one when you said" Keeping the bike pretty well stock while it is still under warranty mate." Look forward to the next shop adventure! How's your airhawk working out. You like it? I have the Seat Concepts and like it much more than stock but also needed more. I put a long haired sheep skin on it, which works great for me. Kind of like sitting on your dog. | |
| | | | 47une
| | Subject: Re: My WR250R Build. Mon Mar 19, 2012 5:27 am | |
| - mordicai wrote:
- Well a fun read this morning. Your having a good time with it. Could have fooled me on page one when you said" Keeping the bike pretty well stock while it is still under warranty mate." Look forward to the next shop adventure! How's your airhawk working out. You like it? I have the Seat Concepts and like it much more than stock but also needed more. I put a long haired sheep skin on it, which works great for me. Kind of like sitting on your dog.
Yeah mate, loving the bike. It is too damn hard to keep anything stock!! I always modify my cars and bikes. Next workshop adventure will be mounting my UHF and placement of Push To Talk button. Then keeping going on my bash plate. I haven't actually ridden with the air hawk on this bike. I have had one before when I had a DR650 and Vstrom. I LOVED it then, so I am sure this will be the same on those longer rides. | |
| | | | mordicai
| | Subject: Re: My WR250R Build. Mon Mar 19, 2012 10:04 am | |
| Uhf ? 70 cm? You a HAM ? Been thinking about mounting a 2 meter rig on this bike. KJ6UWP | |
| | | | 47une
| | Subject: Re: My WR250R Build. Tue Mar 20, 2012 9:09 pm | |
| It is just one of the small 5W hand held units. I am setting it up with a throat mic and a push to talk button on the handlebars.
One of thse guys: http://www.uniden.com.au/australia/p_uh078SXnb_index.asp | |
| | | | mordicai
| | Subject: http://www.universal-radio.com/catalog/ht/0777.html Tue Mar 20, 2012 9:43 pm | |
| - 47une wrote:
- It is just one of the small 5W hand held units. I am setting it up with a throat mic and a push to talk button on the handlebars.
One of thse guys: http://www.uniden.com.au/australia/p_uh078SXnb_index.asp | |
| | | | 47une
| | Subject: Re: My WR250R Build. Wed Mar 21, 2012 1:54 am | |
| WOW! That one looks pretty fancy with heaps of features! My mate and I just got units that were waterproof and durable just to have some good quality, resonably long range bike to bike coms. | |
| | | | 47une
| | | | | 47une
| | Subject: Re: My WR250R Build. Fri Jul 20, 2012 5:37 am | |
| | |
| | | | Coop

| | Subject: Re: My WR250R Build. Fri Jul 20, 2012 8:30 am | |
| Nice work.
I had an FMF PC4 on my bike and it was way too loud for my tastes. Good luck with that. | |
| | | | motokid
Moderator

| | Subject: Re: My WR250R Build. Fri Jul 20, 2012 10:01 am | |
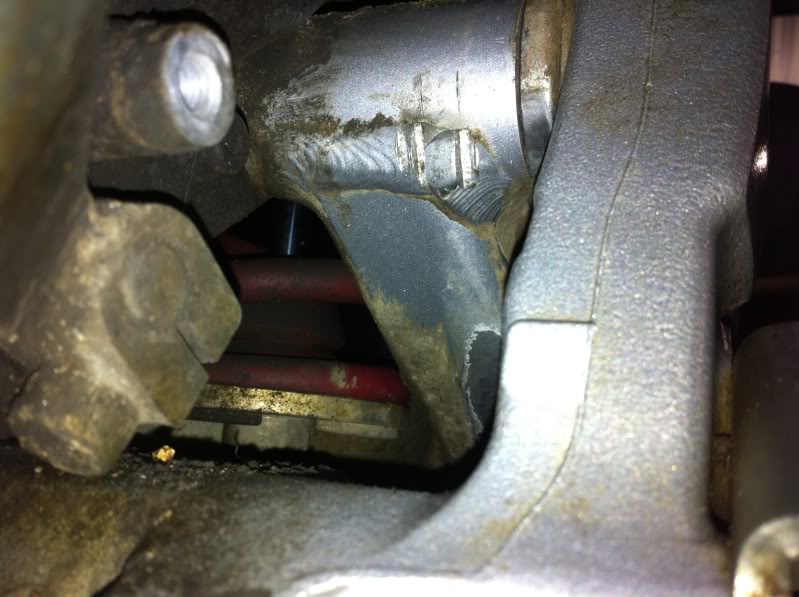
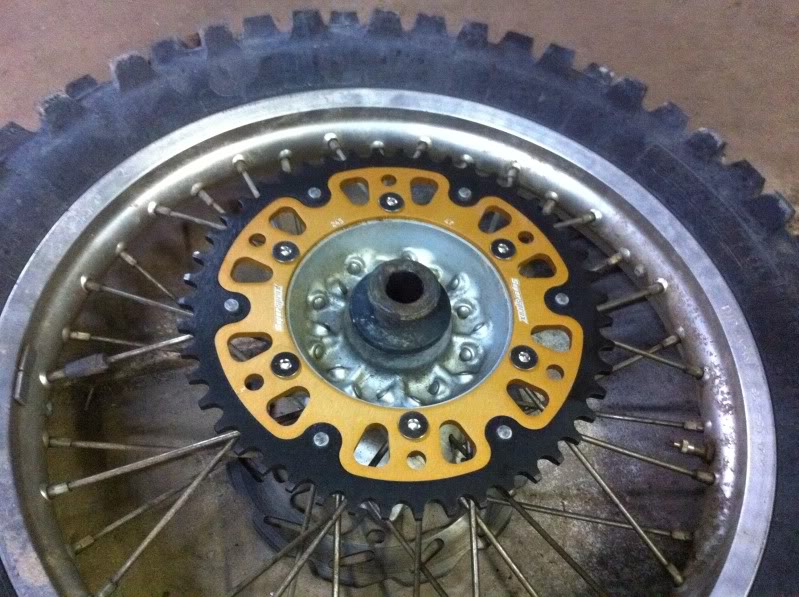
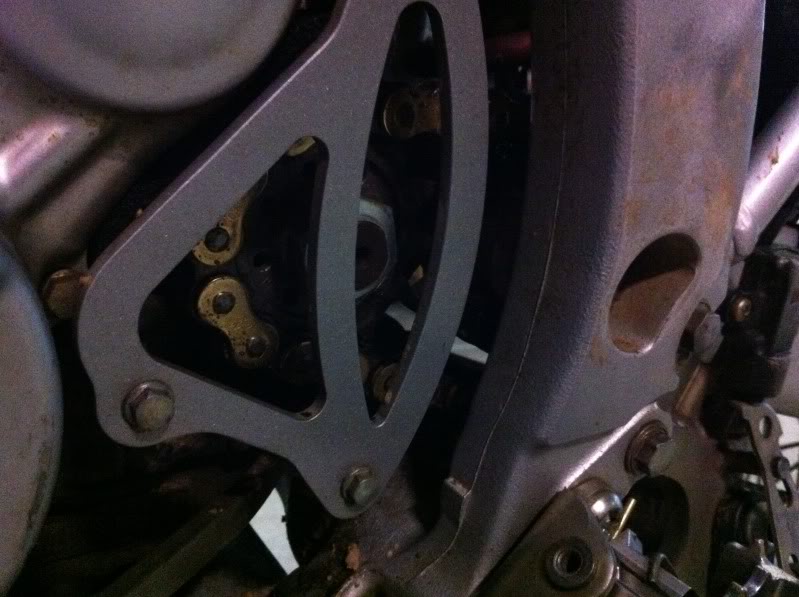
| How many miles/km's were on that chain slider? Looks like you really caught it just in time. How many teeth on the new rear sprocket? Looks sexy. 
_________________
2008 WR250X
Gearing: 13t - 48t
Power Commander 5 / PC-V
Airbox Door Removed - Flapper glued - AIS removed
FmF Q4
Bridgestone Battlax BT-003rs
| |
| | | | Sponsored content
| | Subject: Re: My WR250R Build. | |
| |
| | | | | | My WR250R Build. | |
|
Similar topics | |
|
| | Permissions in this forum: | You cannot reply to topics in this forum
| |
| |
| |