Welcome to the WRR/X Forum
Would you like to react to this message? Create an account in a few clicks or log in to continue.
Welcome to the WRR/X Forum

A place to share your passion for the WR250R/X!
 
HomeHome  Latest imagesLatest images  SearchSearch  RegisterRegister  Log inLog in  
WR250R/X Forum


 My WR250R Build.

Go down 
+20
WRXer
LordEndo
mudmojo
Coop
mordicai
mcdoudlehopper
IndigoWolf
No~One
motokid
nu_b
SheWolf
YZEtc
Jäger
MotoKirby
combo
TBird1
0007onWR
WRXR
cryptomundo
47une
24 posters
Go to page : Previous  1, 2, 3, 4
AuthorMessage
47une

47une


My WR250R Build. - Page 4 Empty
PostSubject: Re: My WR250R Build.   My WR250R Build. - Page 4 EmptyFri Jul 20, 2012 6:11 pm

Coop: Yeah the thing is pretty damn loud!! But it gives me the best performance, so that is what I was looking for.

Motokid: The bike has 13000km so it hasn't done too bad considering the chain condition and running a 12T front sprocket for so long. I knew it was bound to happen and checked it regularly for a period after fitting the 12T front, but got lazy after a while and forgot about it. So yeah, caught it just in time for sure.

I am now running 13/47 with a DID 520VT2 chain.
Back to top Go down
mudmojo


My WR250R Build. - Page 4 Empty
PostSubject: Re: My WR250R Build.   My WR250R Build. - Page 4 EmptyMon Aug 20, 2012 3:18 am

47une wrote:
G'day mate. Yeah, it's my property, about 45 acres worth. I have just finished making the track and I ride the track every single day. I feel a bit strange if I have to miss a day of riding it....

You are quite the lucky man to have a setup like that in your own backyard! bannana
Back to top Go down
LordEndo

LordEndo


My WR250R Build. - Page 4 Empty
PostSubject: Re: My WR250R Build.   My WR250R Build. - Page 4 EmptyWed Oct 31, 2012 9:04 pm

Good call on the height of your skid plate. I had a branch knock out the solid tube between the flex hoses on my WR - got it fixed with no issue and the tube wasn't even dented.....kind of makes me wonder if one of the clamps was missing from the stealership.......

Looks great in black!
Back to top Go down
WRXer


My WR250R Build. - Page 4 Empty
PostSubject: Re: My WR250R Build.   My WR250R Build. - Page 4 EmptyThu Nov 01, 2012 11:01 pm

Is there a place to order Yamaha parts online from OZ?
Back to top Go down
millert85


My WR250R Build. - Page 4 Empty
PostSubject: Re: My WR250R Build.   My WR250R Build. - Page 4 EmptyFri Nov 02, 2012 1:35 am

you can email me... happy to post stuff
Back to top Go down
Krispy

Krispy


My WR250R Build. - Page 4 Empty
PostSubject: Re: My WR250R Build.   My WR250R Build. - Page 4 EmptyMon Nov 05, 2012 7:49 pm

where was that motor cross park you went too?
Back to top Go down
47une

47une


My WR250R Build. - Page 4 Empty
PostSubject: Re: My WR250R Build.   My WR250R Build. - Page 4 EmptyTue Nov 06, 2012 5:18 am

Been a long time since I have updated here, so here goes with all the stuff over the last few months:

Started the big changes with going all white plastics:

My WR250R Build. - Page 4 IMG_4152

KTM front guard:

My WR250R Build. - Page 4 IMG_4154

My WR250R Build. - Page 4 IMG_4155

Some gold rim tape for a bit of bling:

My WR250R Build. - Page 4 IMG_4156

Some new folding levers, much shorter, really quite good:

My WR250R Build. - Page 4 IMG_4157

My WR250R Build. - Page 4 IMG_4158

Lack of adjustment on the brake master cyclinder though:

My WR250R Build. - Page 4 IMG_4161

New front guard fitted:

My WR250R Build. - Page 4 IMG_4164

My WR250R Build. - Page 4 IMG_4165

New levers:

My WR250R Build. - Page 4 IMG_4167

My WR250R Build. - Page 4 IMG_4168

Low guard.........nah:

My WR250R Build. - Page 4 IMG_4170

My WR250R Build. - Page 4 IMG_4171

Setup of the new tail with foam tape where factory put it:

My WR250R Build. - Page 4 IMG_4174

All new white plastics (Except headlight, not needed for future fairing)

My WR250R Build. - Page 4 IMG_4175

My WR250R Build. - Page 4 IMG_4176

My WR250R Build. - Page 4 IMG_4178

My WR250R Build. - Page 4 IMG_4179

My WR250R Build. - Page 4 IMG_4180


So then continued on with my rally bash plate making:

My WR250R Build. - Page 4 IMG_4183

My WR250R Build. - Page 4 IMG_4184

My WR250R Build. - Page 4 IMG_4185

My WR250R Build. - Page 4 IMG_4186

Fitted a rear rim lock as, due to lack of care and attention, let the rear go so flat I ripped the valve stem!!

My WR250R Build. - Page 4 IMG_4187

Took a bit of balancing!!

My WR250R Build. - Page 4 IMG_4189

My WR250R Build. - Page 4 IMG_4190

Heading off for an overnighter:

My WR250R Build. - Page 4 IMG_4194

New front braided brake line and new brake fluid front and rear:

My WR250R Build. - Page 4 IMG_4197

My WR250R Build. - Page 4 IMG_4198

My WR250R Build. - Page 4 IMG_4199

Bash plate all welded up (THANKS DRJOE!!!!!!) My welder is not set up for alloy unfortunately!

My WR250R Build. - Page 4 IMG_4202

My WR250R Build. - Page 4 IMG_4203

Making the lids:

My WR250R Build. - Page 4 IMG_4204

My WR250R Build. - Page 4 IMG_4205

My WR250R Build. - Page 4 IMG_4206

Fitted:

My WR250R Build. - Page 4 IMG_4207

My WR250R Build. - Page 4 IMG_4208

My WR250R Build. - Page 4 IMG_4209

My WR250R Build. - Page 4 IMG_4210

Beginning to sand and polish everything:

My WR250R Build. - Page 4 IMG_4211

Latches for bash plate mounting:

My WR250R Build. - Page 4 IMG_4212

Cleaning down all welds:

My WR250R Build. - Page 4 IMG_4213

Inside:

My WR250R Build. - Page 4 IMG_4214

Sealed with silicone just in case:

My WR250R Build. - Page 4 IMG_4215

My WR250R Build. - Page 4 IMG_4216

My buffing setup, cheap, but very very effective!!

My WR250R Build. - Page 4 IMG_4220

My WR250R Build. - Page 4 IMG_4221

My WR250R Build. - Page 4 IMG_4222

My WR250R Build. - Page 4 IMG_4223

My WR250R Build. - Page 4 IMG_4224

My WR250R Build. - Page 4 IMG_4225

My WR250R Build. - Page 4 IMG_4226

ITS A MONSTER!!!!!

My WR250R Build. - Page 4 IMG_4227

My WR250R Build. - Page 4 IMG_4228

My WR250R Build. - Page 4 IMG_4229

My WR250R Build. - Page 4 IMG_4230

My WR250R Build. - Page 4 IMG_4241

My WR250R Build. - Page 4 IMG_4242

Nope, that is going to rattle around WAY too much!!

My WR250R Build. - Page 4 IMG_4243

Winner:

My WR250R Build. - Page 4 IMG_4244

Now onto the bloody pesty leaking fork seals!!

My WR250R Build. - Page 4 IMG_4235

My WR250R Build. - Page 4 IMG_4271

My WR250R Build. - Page 4 IMG_4272

My WR250R Build. - Page 4 IMG_4273

My WR250R Build. - Page 4 IMG_4274

My WR250R Build. - Page 4 IMG_4275

My WR250R Build. - Page 4 IMG_4277

This was such and easy and enjoyable job, I would NEVER pay anyone to do it ever!!

My WR250R Build. - Page 4 IMG_4279


Back to top Go down
47une

47une


My WR250R Build. - Page 4 Empty
PostSubject: Re: My WR250R Build.   My WR250R Build. - Page 4 EmptyTue Nov 06, 2012 5:43 am

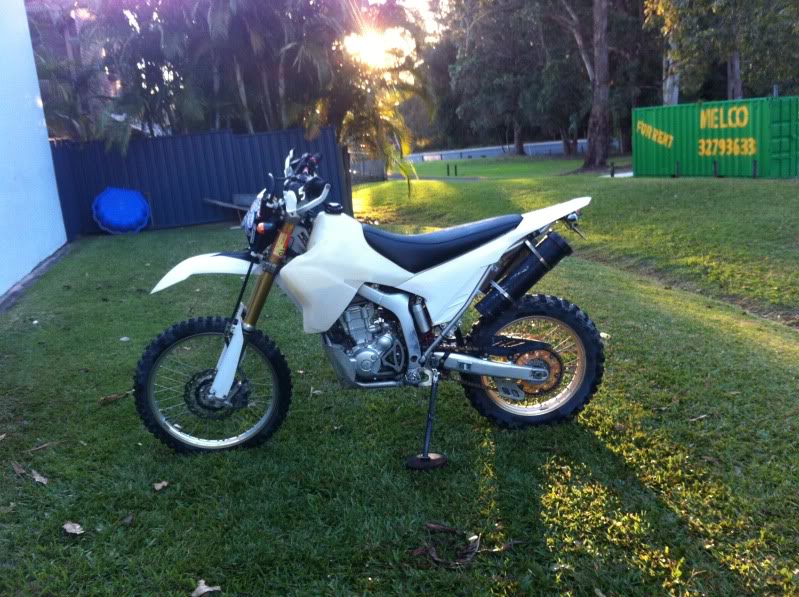
So it was now time to get onto the serious job of doing a full fairing and nav tower, not a minor job to undertake by any means!

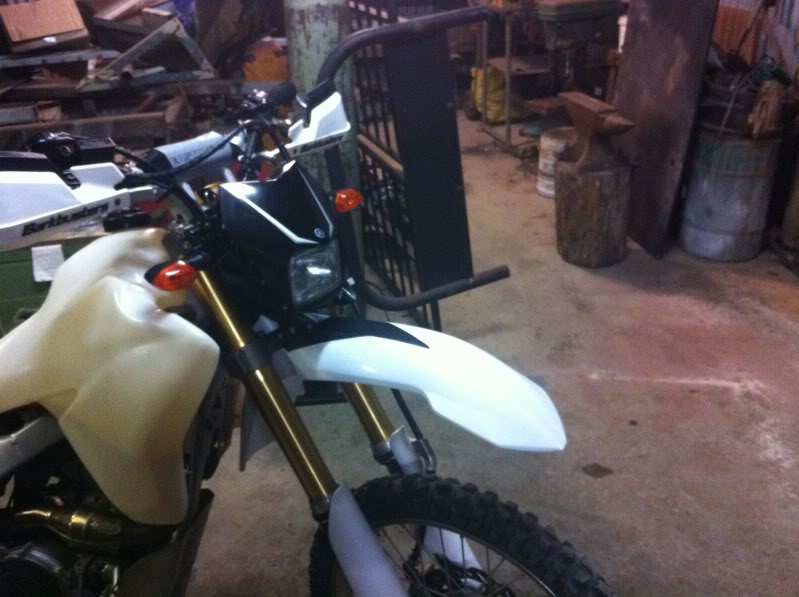
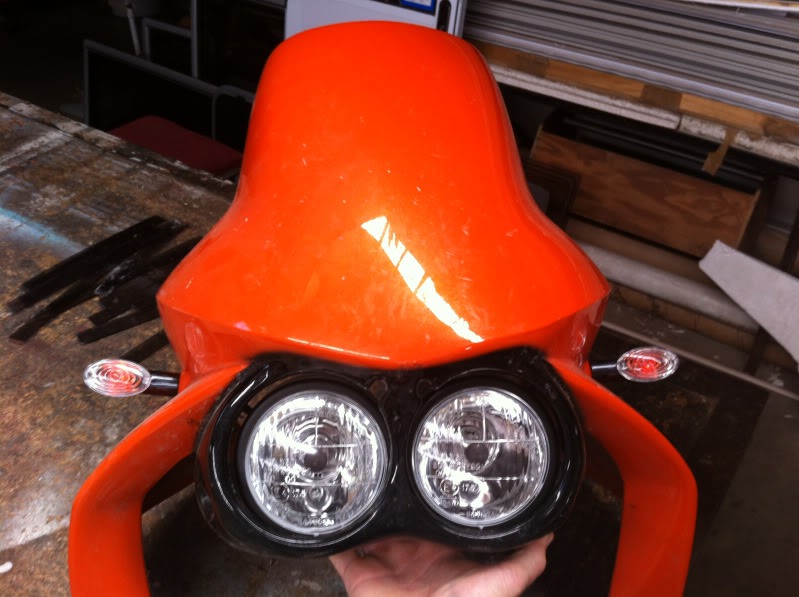
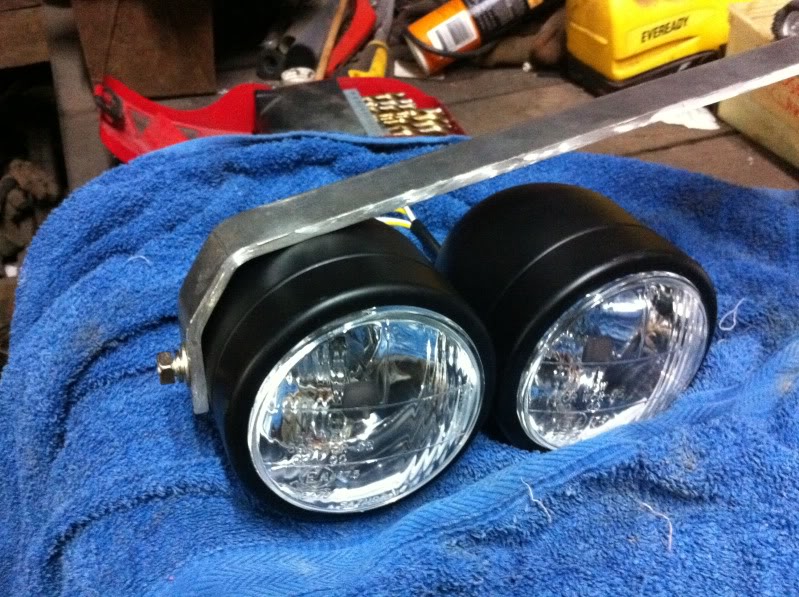
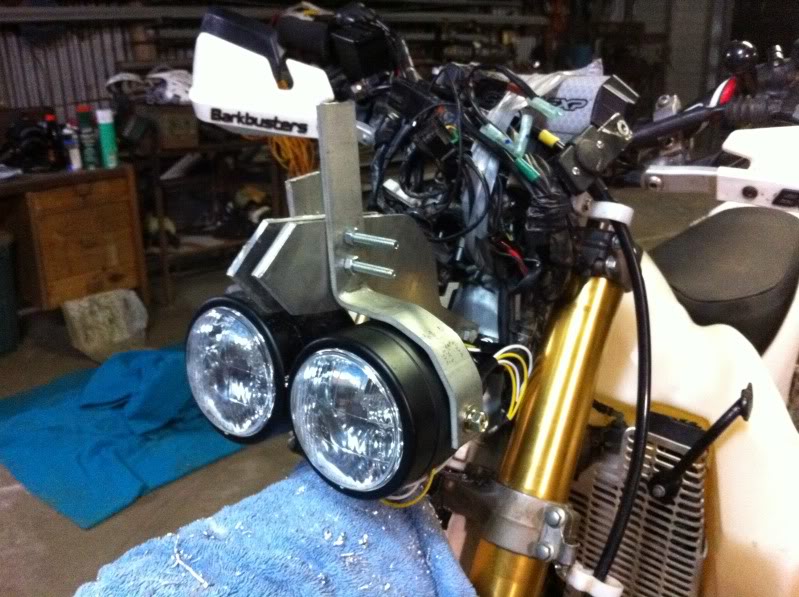
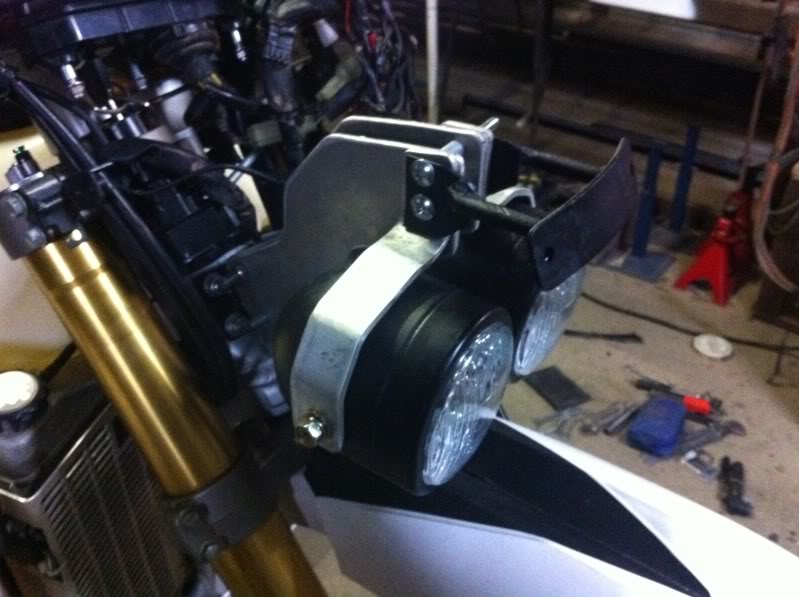
Sourced some decent headlights:

My WR250R Build. - Page 4 IMG_4150

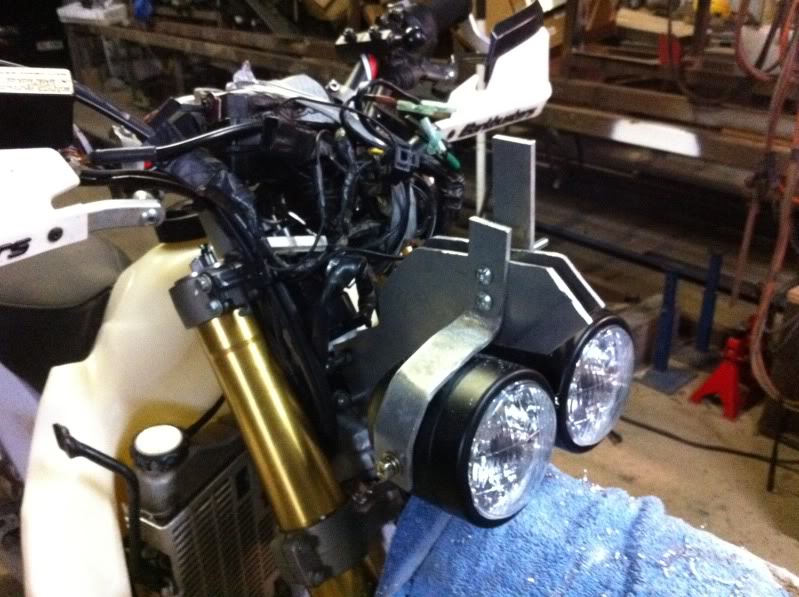
Fit like a bloody charm! Also some indicators fitted too:

My WR250R Build. - Page 4 IMG_4246

Cad drawings........computer modelling......CNC machines..... Nope!!! Some old steel, set square, tape measure and pencil and paper mate!! It's the Aussie way!!

My WR250R Build. - Page 4 IMG_4248

Head gear all removed:

My WR250R Build. - Page 4 IMG_4240

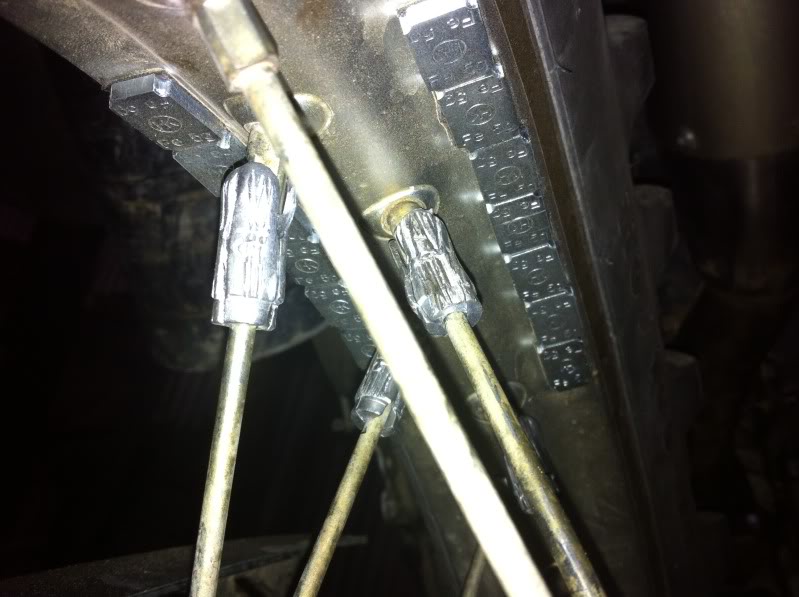
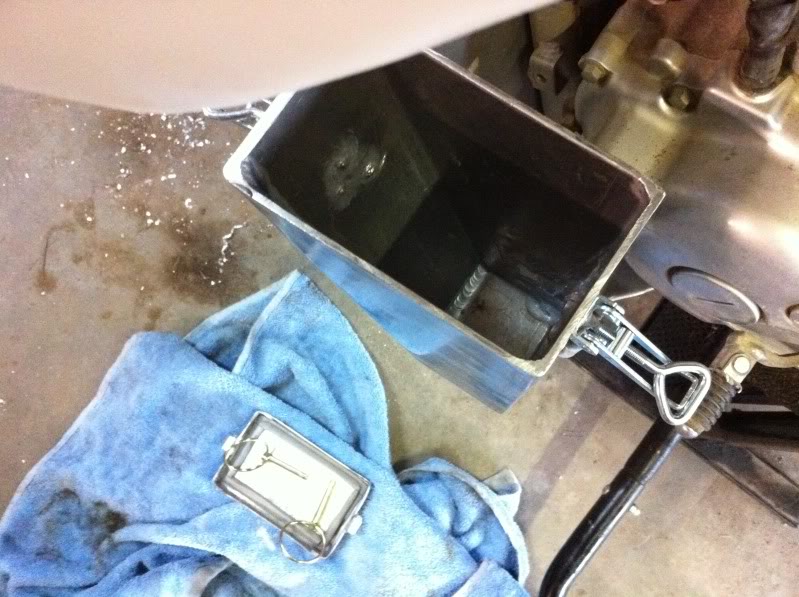
Removing the ignition barrel:

My WR250R Build. - Page 4 IMG_4236

My WR250R Build. - Page 4 IMG_4237

My WR250R Build. - Page 4 IMG_4238

My WR250R Build. - Page 4 IMG_4239

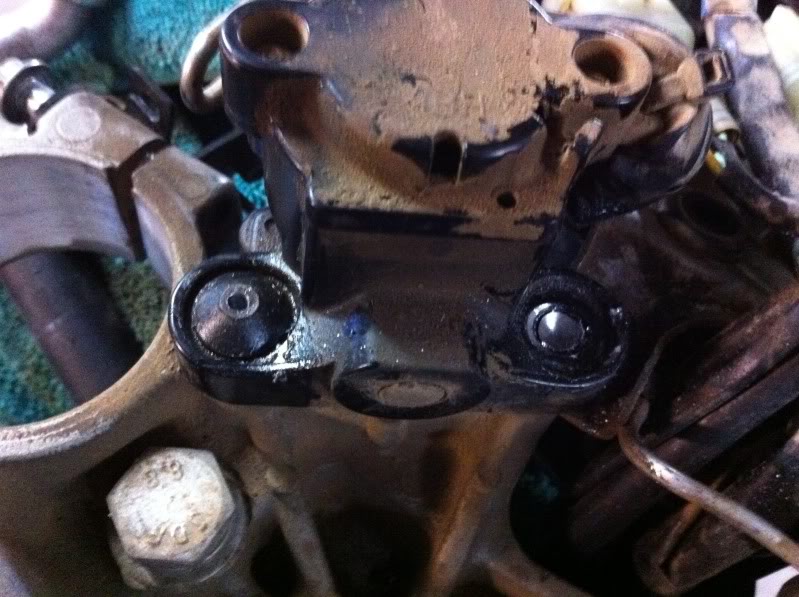
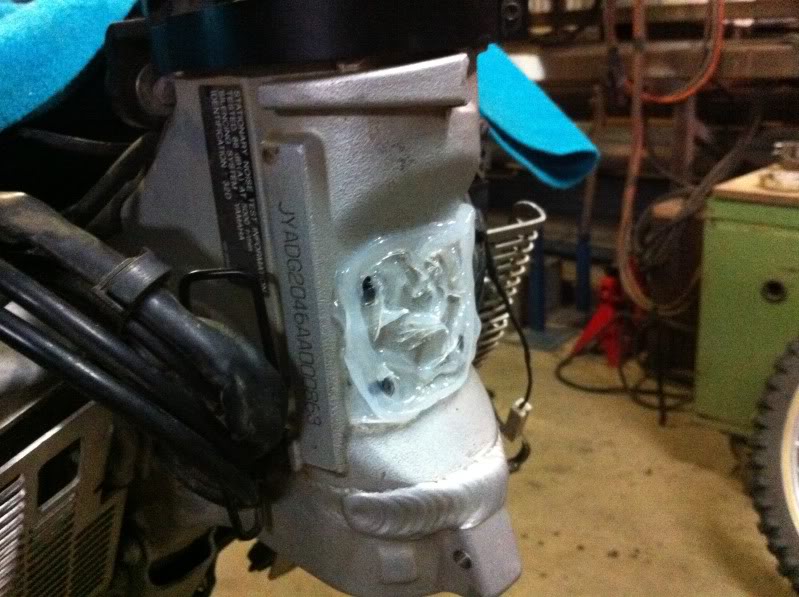
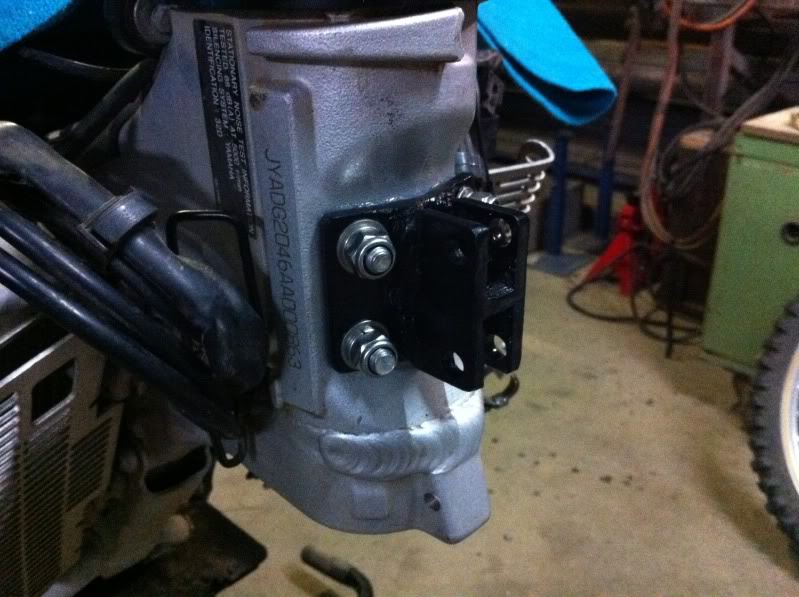
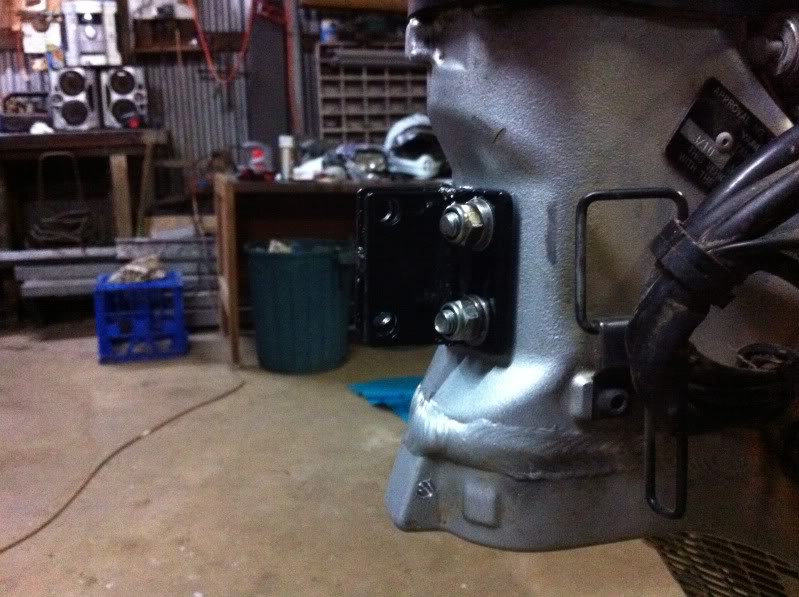
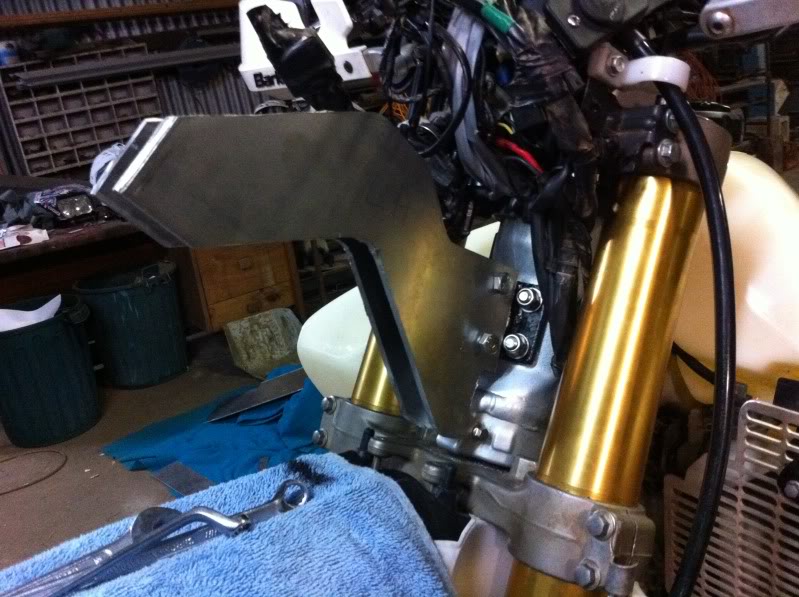
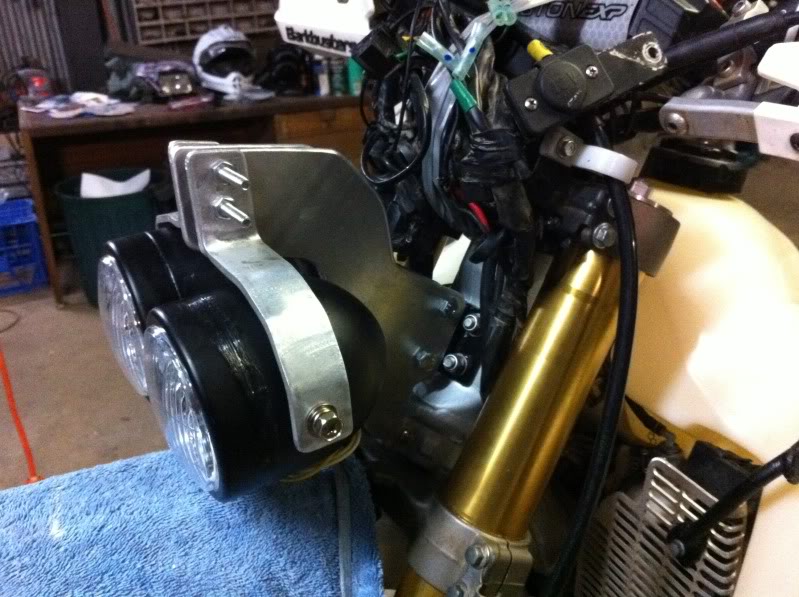
Now for Nav tower mounting:

My WR250R Build. - Page 4 IMG_4249

My WR250R Build. - Page 4 IMG_4250

Yup, real mans stuff!!

My WR250R Build. - Page 4 IMG_4251

My WR250R Build. - Page 4 IMG_4252

My WR250R Build. - Page 4 IMG_4253

My WR250R Build. - Page 4 IMG_4254


My WR250R Build. - Page 4 IMG_4257

The scariest part of the whole job!!! PLEASE BE IN THE RIGHT SPOT!!!

My WR250R Build. - Page 4 IMG_4262

My WR250R Build. - Page 4 IMG_4264

My WR250R Build. - Page 4 IMG_4266

My WR250R Build. - Page 4 IMG_4267

My WR250R Build. - Page 4 IMG_4268

My WR250R Build. - Page 4 IMG_4269

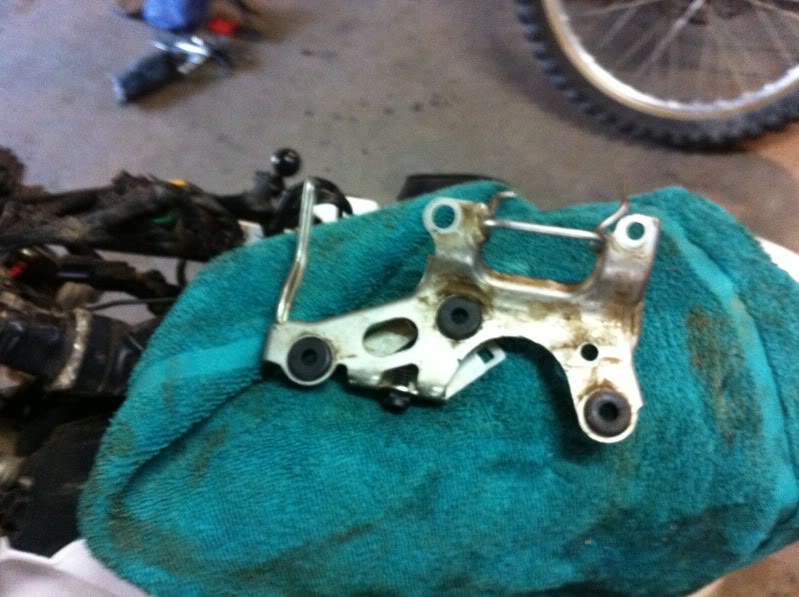
Bugger, not enough length on the outward prongs, start again!!

My WR250R Build. - Page 4 IMG_4270

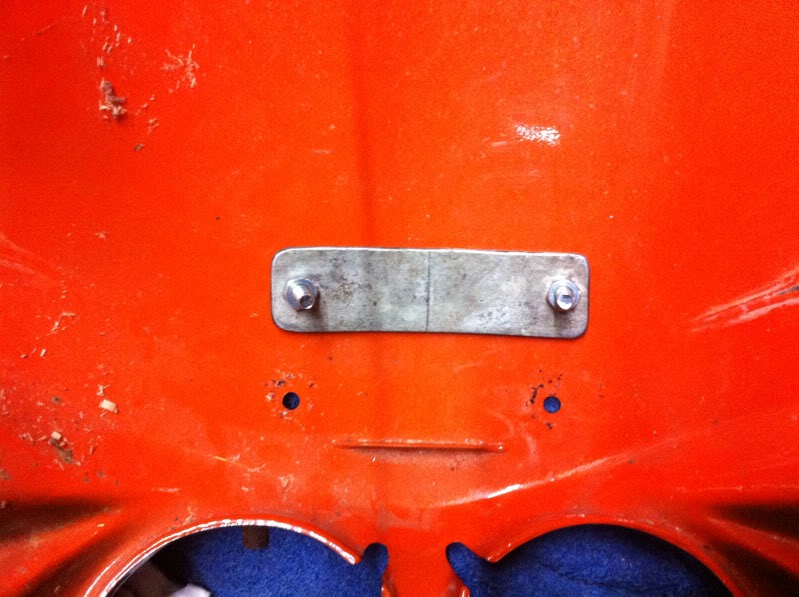
Sealing up to make sure no dust or water works its way into the headstem:

My WR250R Build. - Page 4 IMG_4280

My WR250R Build. - Page 4 IMG_4281

My WR250R Build. - Page 4 IMG_4284

My WR250R Build. - Page 4 IMG_4285

My WR250R Build. - Page 4 IMG_4290

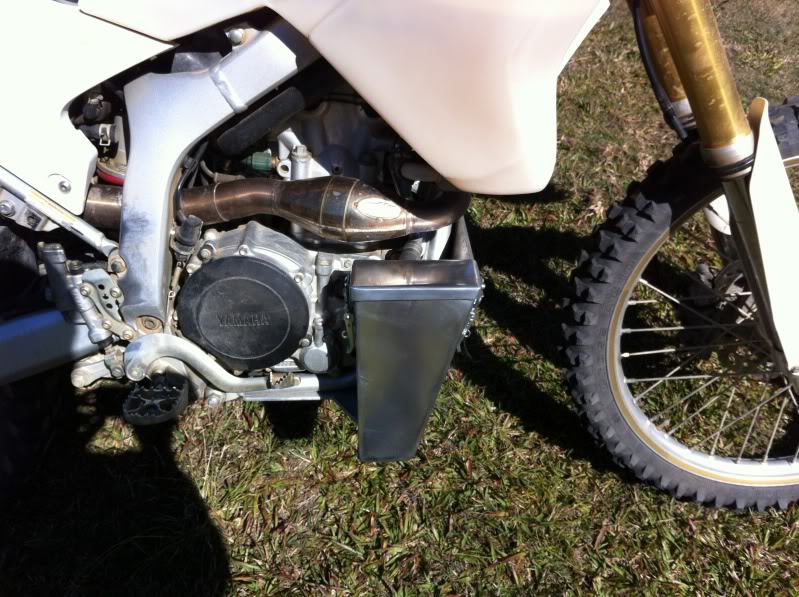
Thought I should replace the plug while I had the bike apart too, lucky I did check it!!

My WR250R Build. - Page 4 IMG_4292

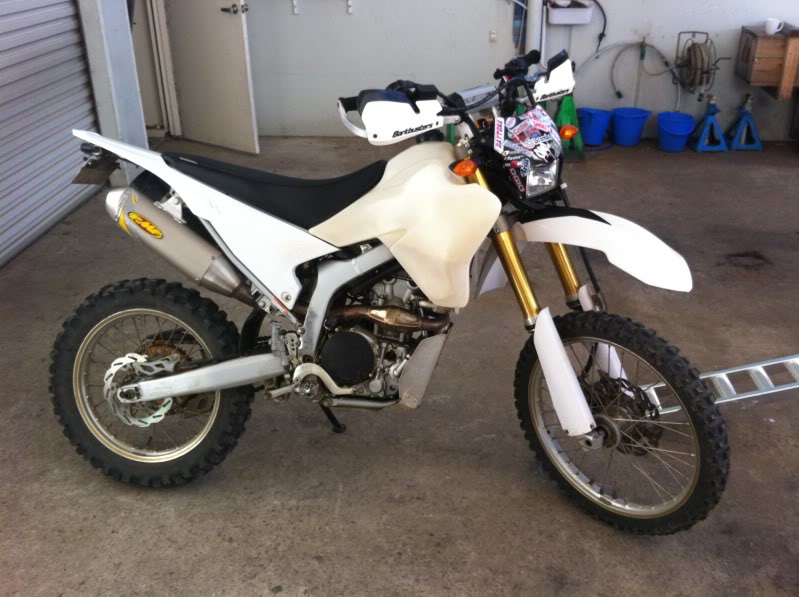
So now with the Nav tower mount on, the bike can go back together:

My WR250R Build. - Page 4 IMG_4293

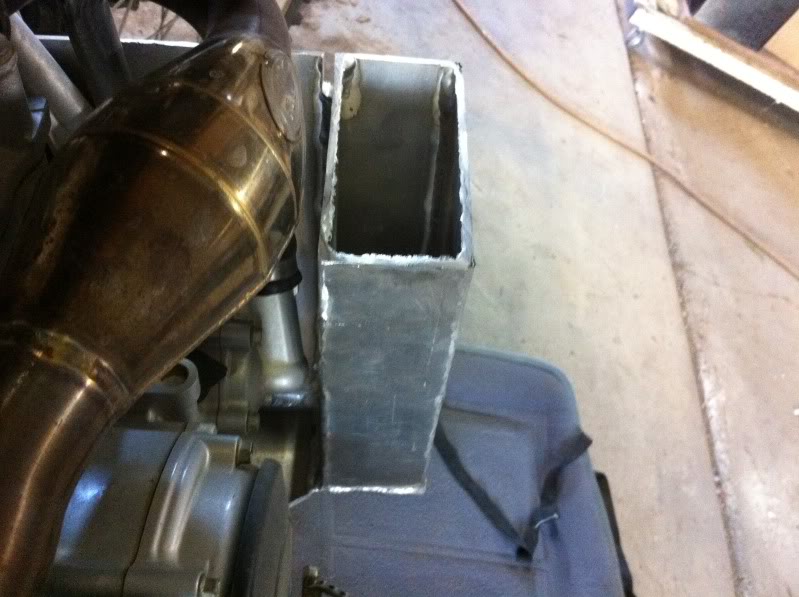
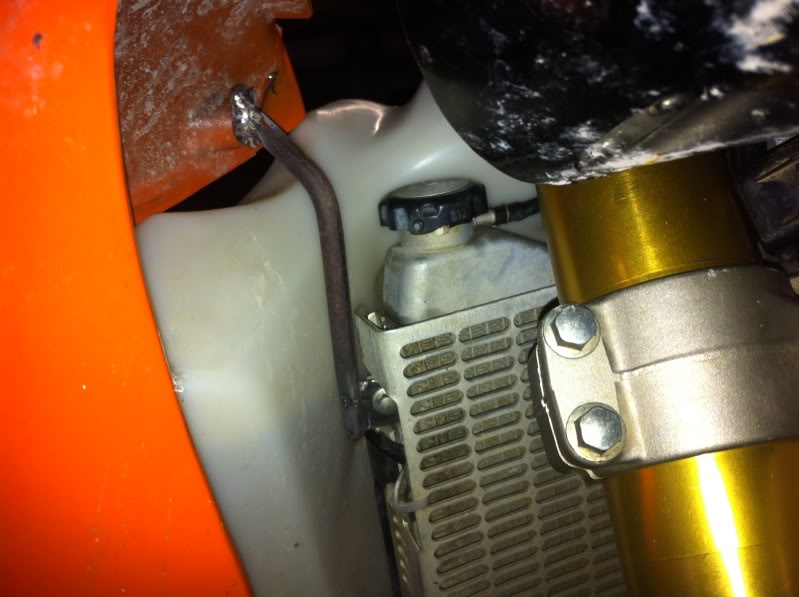
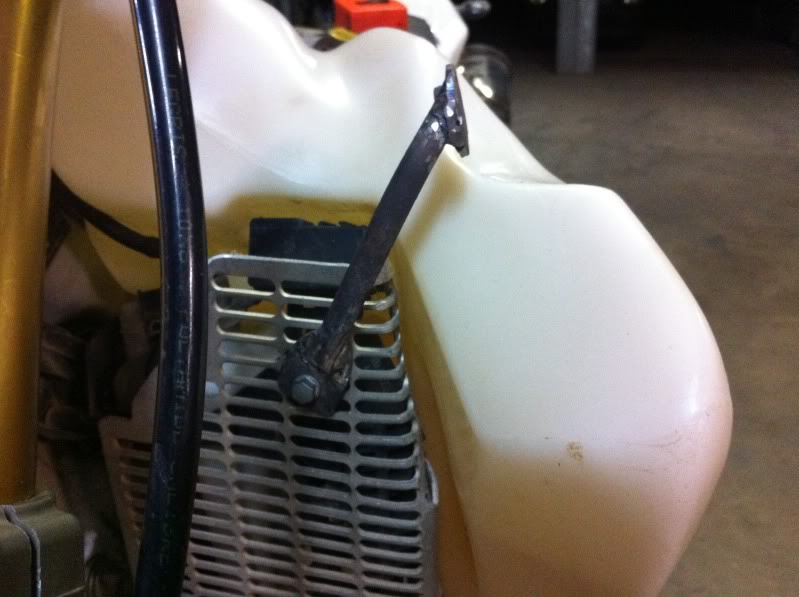
Started making the side fairing mounts:

My WR250R Build. - Page 4 IMG_4295

My WR250R Build. - Page 4 IMG_4297

My WR250R Build. - Page 4 IMG_4300

My WR250R Build. - Page 4 IMG_4301

My WR250R Build. - Page 4 IMG_4302

My WR250R Build. - Page 4 IMG_4303

My WR250R Build. - Page 4 IMG_4305

My WR250R Build. - Page 4 IMG_4307

My WR250R Build. - Page 4 IMG_4310

My WR250R Build. - Page 4 IMG_4311

My WR250R Build. - Page 4 IMG_4312

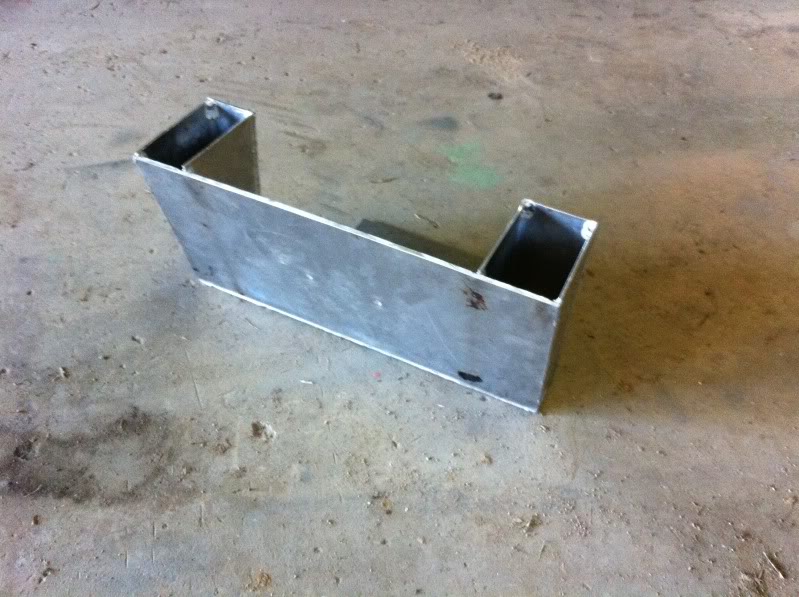
Got a suitable sticker made up for the bash plate:

My WR250R Build. - Page 4 IMG_4334

My WR250R Build. - Page 4 IMG_4335

My WR250R Build. - Page 4 IMG_4336

My WR250R Build. - Page 4 IMG_4337

My WR250R Build. - Page 4 IMG_4338

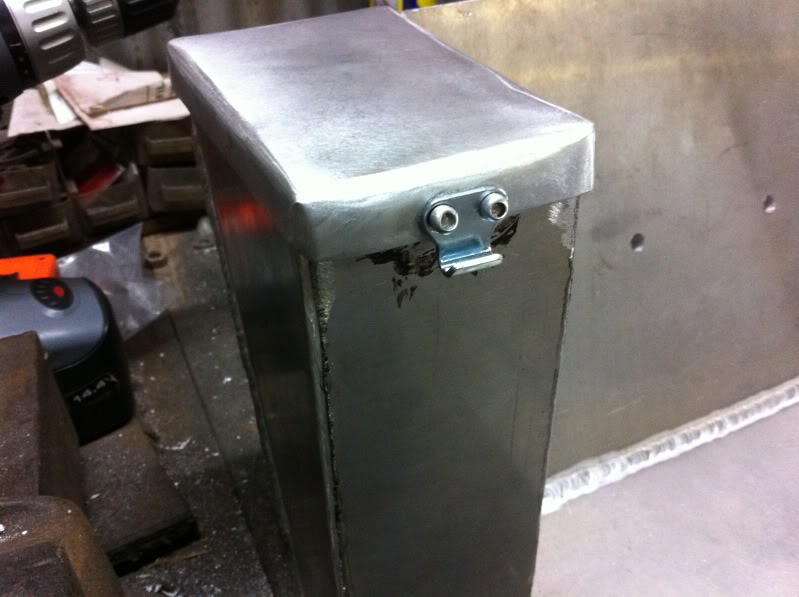
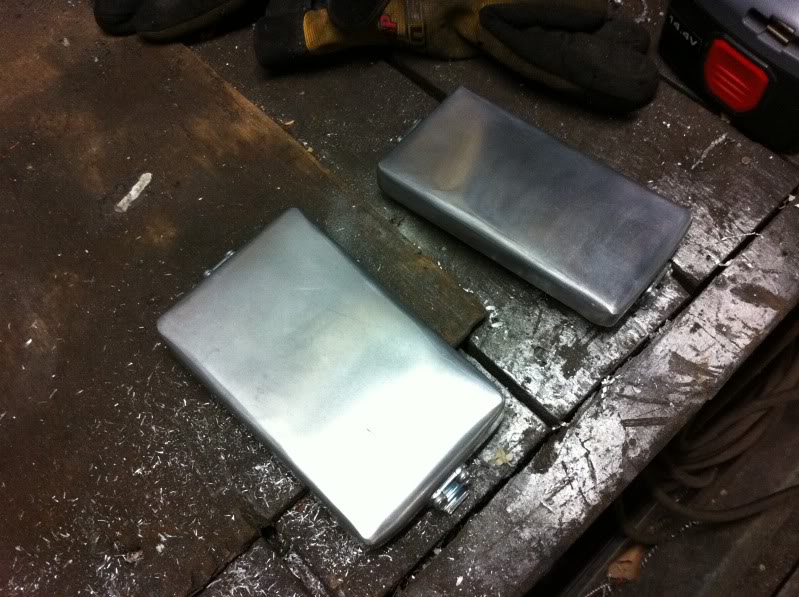
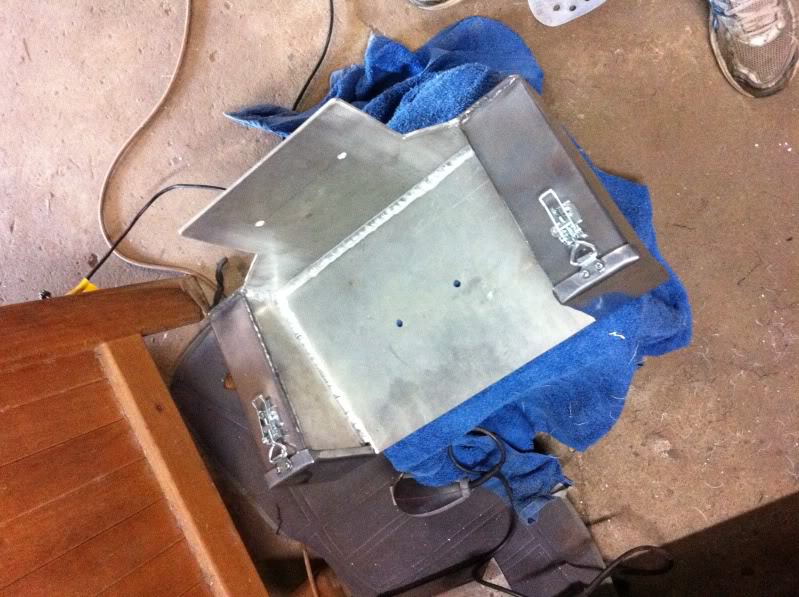
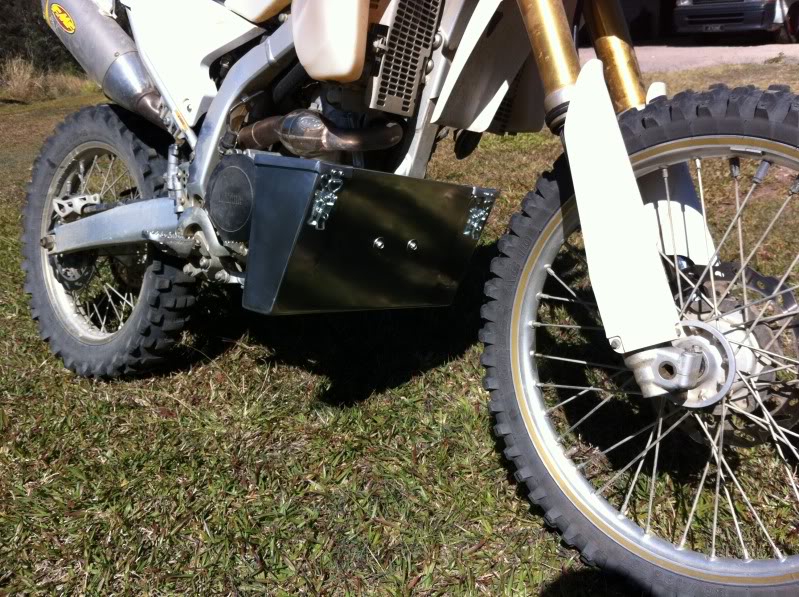
Quite easily fit this in just one side of the bash plate:

My WR250R Build. - Page 4 IMG_4339


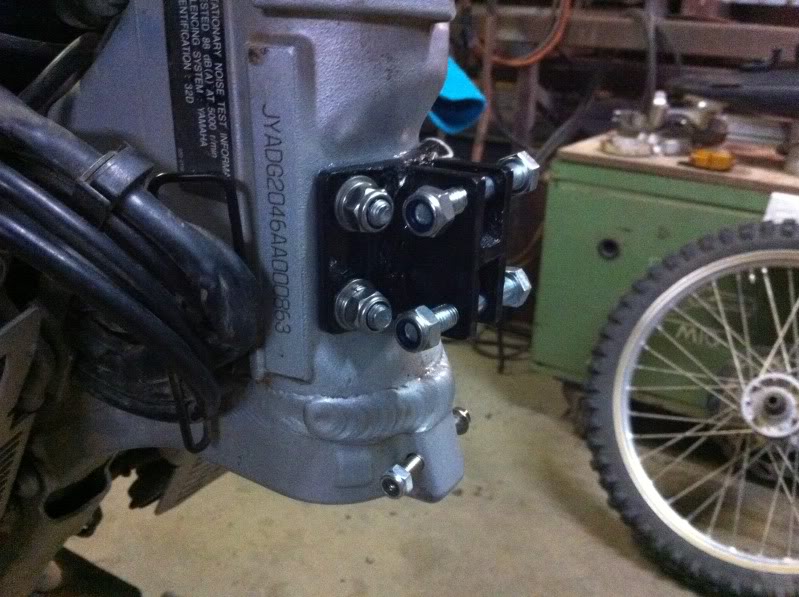
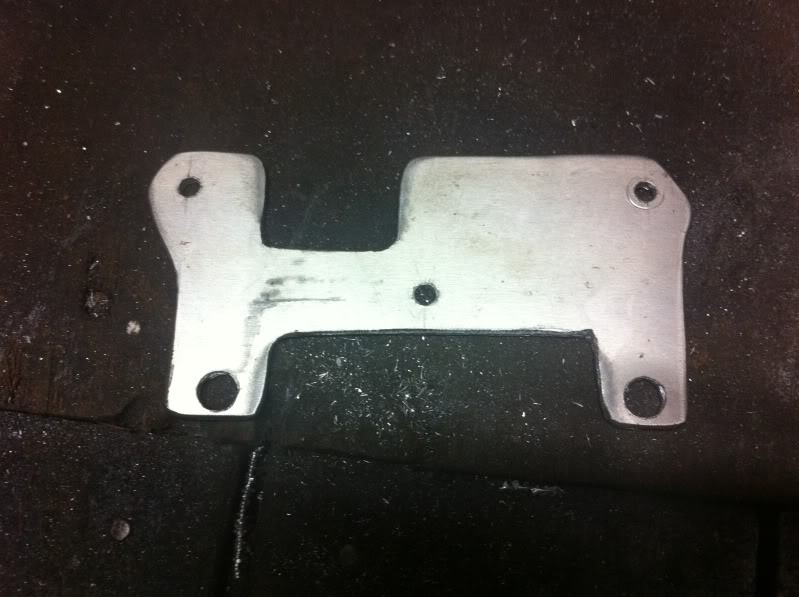
Ok, so it was now onto the Nav Tower plates:
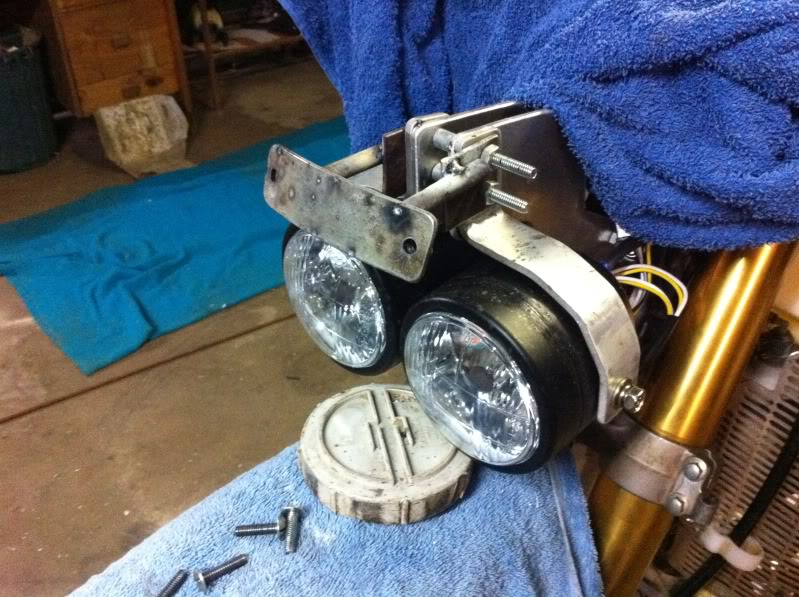
My WR250R Build. - Page 4 IMG_4340

My WR250R Build. - Page 4 IMG_4341

My WR250R Build. - Page 4 IMG_4342

My WR250R Build. - Page 4 IMG_4343

My WR250R Build. - Page 4 IMG_4344

Light mounting:

My WR250R Build. - Page 4 IMG_4345

My WR250R Build. - Page 4 IMG_4347

My WR250R Build. - Page 4 IMG_4348

My WR250R Build. - Page 4 IMG_4349

Getting there!!

My WR250R Build. - Page 4 IMG_4350

My WR250R Build. - Page 4 IMG_4351

My WR250R Build. - Page 4 IMG_4352

My WR250R Build. - Page 4 IMG_4353

My WR250R Build. - Page 4 IMG_4354

My WR250R Build. - Page 4 IMG_4355

My WR250R Build. - Page 4 IMG_4356

My WR250R Build. - Page 4 IMG_4357

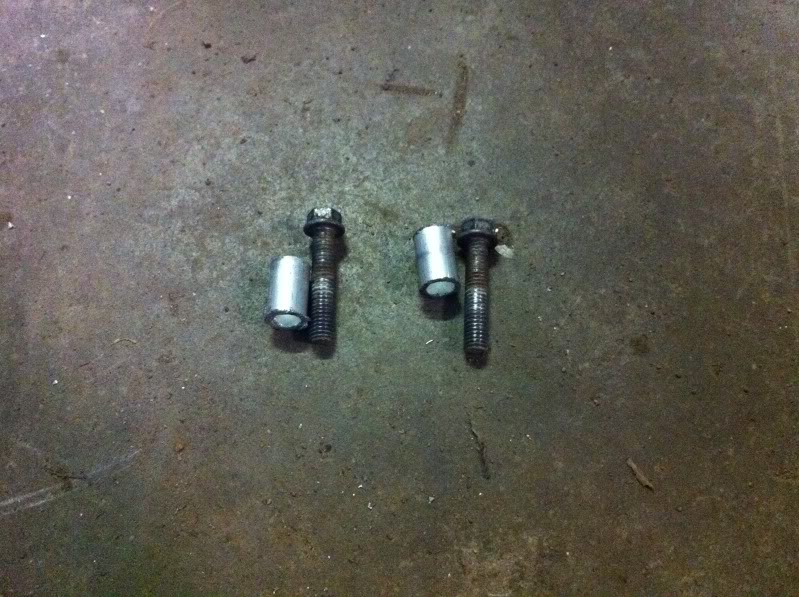
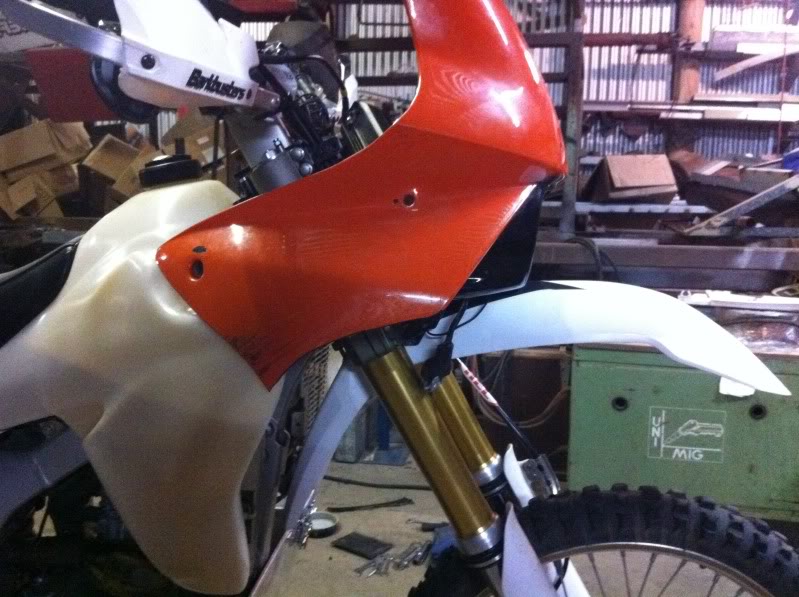
Front mountings for the fairing:

My WR250R Build. - Page 4 IMG_4358

My WR250R Build. - Page 4 IMG_4359

My WR250R Build. - Page 4 IMG_4360

My WR250R Build. - Page 4 IMG_4361

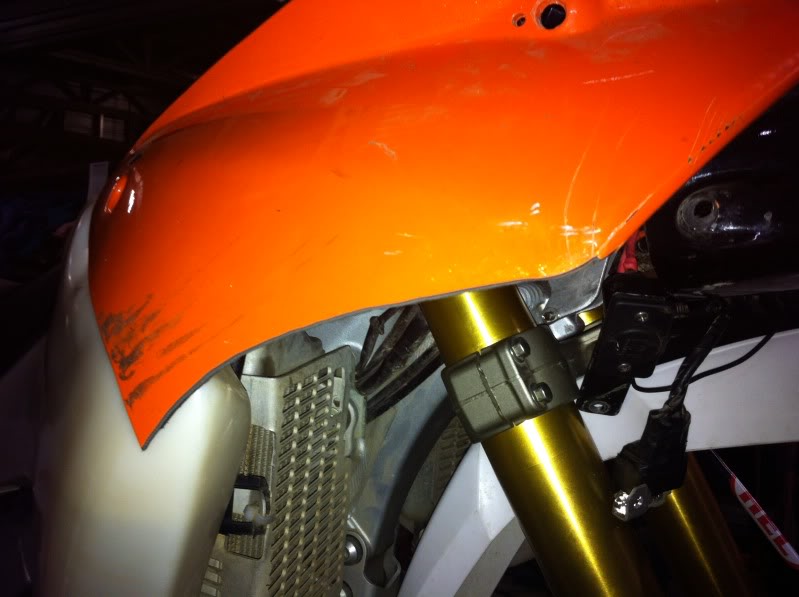
Trimming the fairing to suit the lines of the bike/fuel tank:

My WR250R Build. - Page 4 IMG_4362

My WR250R Build. - Page 4 IMG_4363

My WR250R Build. - Page 4 IMG_4364

My WR250R Build. - Page 4 IMG_4365

My WR250R Build. - Page 4 IMG_4366

My WR250R Build. - Page 4 IMG_4367

My WR250R Build. - Page 4 IMG_4368

Relocating the OEM instrument panel:

My WR250R Build. - Page 4 IMG_4369

My WR250R Build. - Page 4 IMG_4370

My WR250R Build. - Page 4 IMG_4371

My WR250R Build. - Page 4 IMG_4373

GPS mount/Roadbook mount:

My WR250R Build. - Page 4 IMG_4380

My WR250R Build. - Page 4 IMG_4381

My WR250R Build. - Page 4 IMG_4382

My WR250R Build. - Page 4 IMG_4383

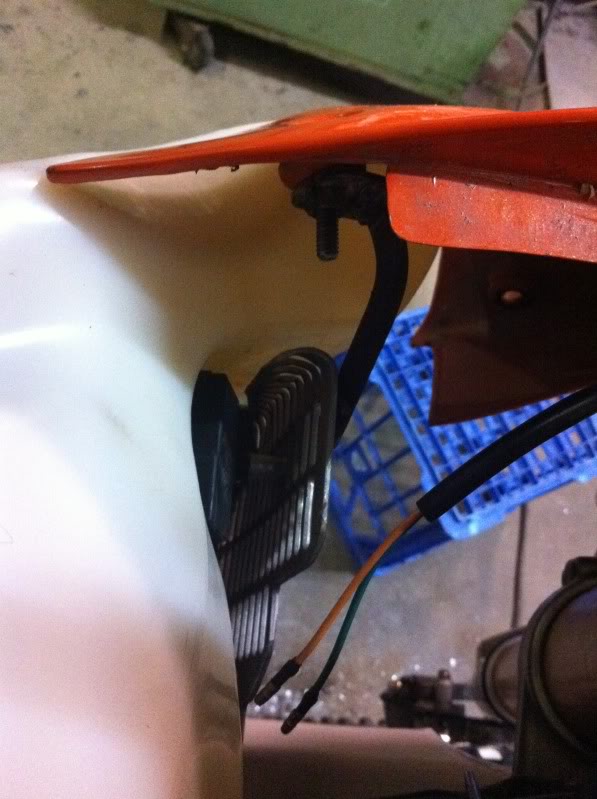
Wiring and heated grip switch mounting:

My WR250R Build. - Page 4 IMG_4384

12V outlet mounting:

My WR250R Build. - Page 4 IMG_4385

My WR250R Build. - Page 4 IMG_4386

Painting fairing:

My WR250R Build. - Page 4 IMG_4387

My WR250R Build. - Page 4 IMG_4388

My WR250R Build. - Page 4 IMG_4389

My WR250R Build. - Page 4 IMG_4397

My WR250R Build. - Page 4 IMG_4398

My WR250R Build. - Page 4 IMG_4399


So, the fairing is mounted from four simple screw head bolts, so it is easy to take on and off. I own a van, so it has to come off each time for transport.

It's maiden voyage!

My WR250R Build. - Page 4 IMG_4400

My WR250R Build. - Page 4 IMG_4401

My WR250R Build. - Page 4 IMG_4402

My WR250R Build. - Page 4 IMG_4403

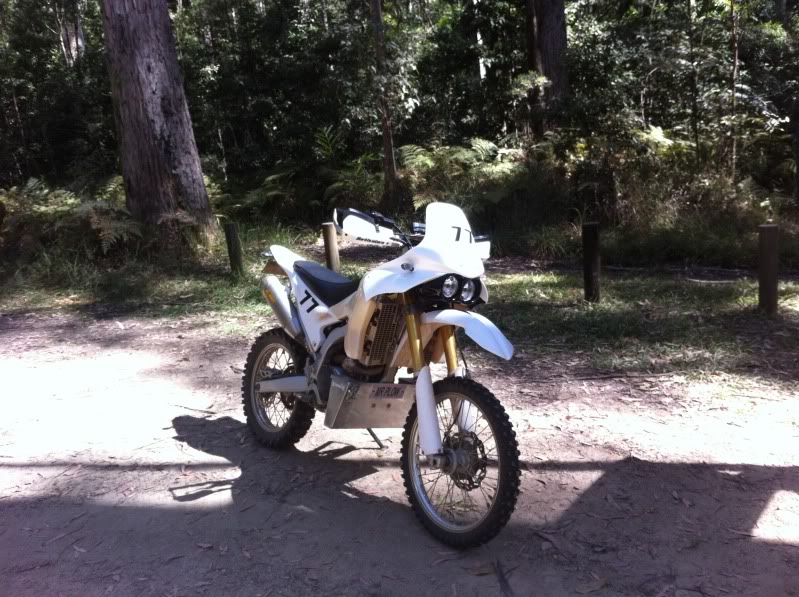
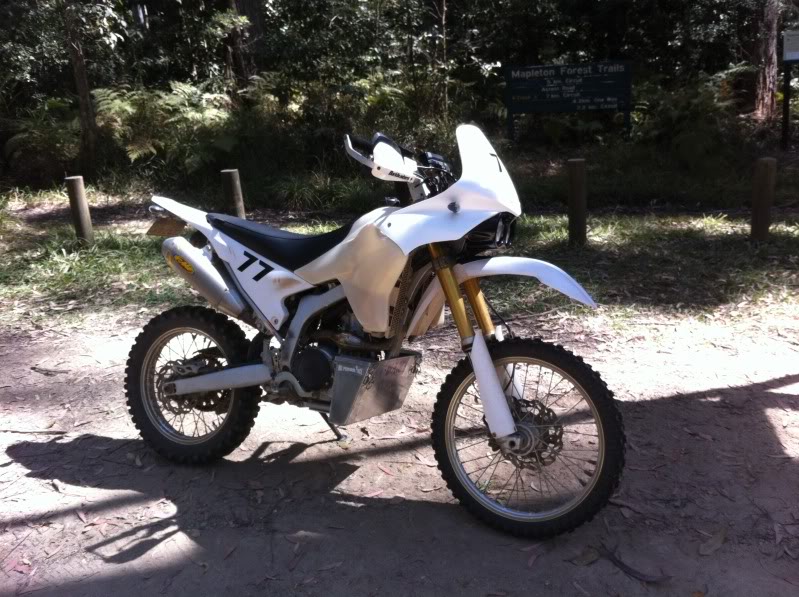
Then it was time for a bit of stickering up to make it look the part:

My WR250R Build. - Page 4 IMG_4426

My WR250R Build. - Page 4 IMG_4427

My WR250R Build. - Page 4 IMG_4429

My WR250R Build. - Page 4 IMG_4430

My WR250R Build. - Page 4 IMG_4431

Then it was off for 3000+ kilometres to test it all out. Performed flawlessley. Man I LOVE this bike!!!!


My WR250R Build. - Page 4 CY29

My WR250R Build. - Page 4 CY445-800x600

My WR250R Build. - Page 4 CY254-800x600

My WR250R Build. - Page 4 CY546

My WR250R Build. - Page 4 CY70


Back to top Go down
Egorkin


My WR250R Build. - Page 4 Empty
PostSubject: Re: My WR250R Build.   My WR250R Build. - Page 4 EmptyFri Apr 05, 2013 8:37 am

"Here is the resistor I used, because I had already run the bike without the EXUP plugged in, it had thrown the code and had the light on so I had to plug the EXUP back in, then disconnect and put the resistor in place, No more light!!"


Hi, guys! Recently I changed my stoсk pipe for LeoVince X3. That on the dashboard check engine lamp didn't burn, I installed the same resistor, in the same sockets, as shown in your photo. I used the resistor of 7,5 k/Om, capacity of 0,25 wt. But at me as before, the orange control lamp burns. I disconnected the minus ( - ) plug from the accumulator, but it didn't help me.

Help, what it is necessary to make? Perhaps, it is necessary to enter into the diag mode and somehow to erase this error No. 17 from memory?
Back to top Go down
gatorfan

gatorfan


My WR250R Build. - Page 4 Empty
PostSubject: Re: My WR250R Build.   My WR250R Build. - Page 4 EmptyFri Apr 05, 2013 4:08 pm

Dude, I think your ready for an IED with that bash plate!

Very impressive.
Back to top Go down
LordEndo

LordEndo


My WR250R Build. - Page 4 Empty
PostSubject: Re: My WR250R Build.   My WR250R Build. - Page 4 EmptySat Apr 06, 2013 7:47 pm

You sir are a maniac!! What an awesome thread!
Back to top Go down
LordEndo

LordEndo


My WR250R Build. - Page 4 Empty
PostSubject: Re: My WR250R Build.   My WR250R Build. - Page 4 EmptySat Apr 06, 2013 7:48 pm

What was the fairing originally off of?
Back to top Go down
Sponsored content


My WR250R Build. - Page 4 Empty
PostSubject: Re: My WR250R Build.   My WR250R Build. - Page 4 Empty

Back to top Go down
 
My WR250R Build.
Back to top 
Page 4 of 4Go to page : Previous  1, 2, 3, 4
 Similar topics
-
» MiniBeast build - WR250R
» Blackdog's WRR build
» '08 WRX Build
» Another 310cc build
» Servo sub build

Permissions in this forum:You cannot reply to topics in this forum
Welcome to the WRR/X Forum :: Technical :: Sweet Mods & Bike Accessories-
Jump to: